

How to tie dye using natural avocado dye
Make your own clothes using avocado stones!

How to tie dye with avocados!
20th September 2020
This month I’ve been learning the art of natural avocado dying to make the next latest craft kit for all my wonderful eco crafting subscribers!
I love tie dye and it’s having a massive resurgence in popularity this year. I’ve been researching commercial dyes for a while and can’t find any that I’m happy with. They’re mostly really highly toxic, dreadful for the fish and come in single use plastic. I’ve also seen lots of tie dye done with loads of squeezy plastic bottles. Nope that’s not for me. This kit is something totally different.
By far the best person to speak to if you’re interested in natural dying is Rebecca Desnos. The kit and the video guide that goes with it is a distillation of Rebecca’s method. I’ve taken the essential parts you need to make a quick start with this craft. Let’s be honest, you really need to see this in action before you can even believe that it’s possible to get a pink dye from an avocado right?
How does it work?
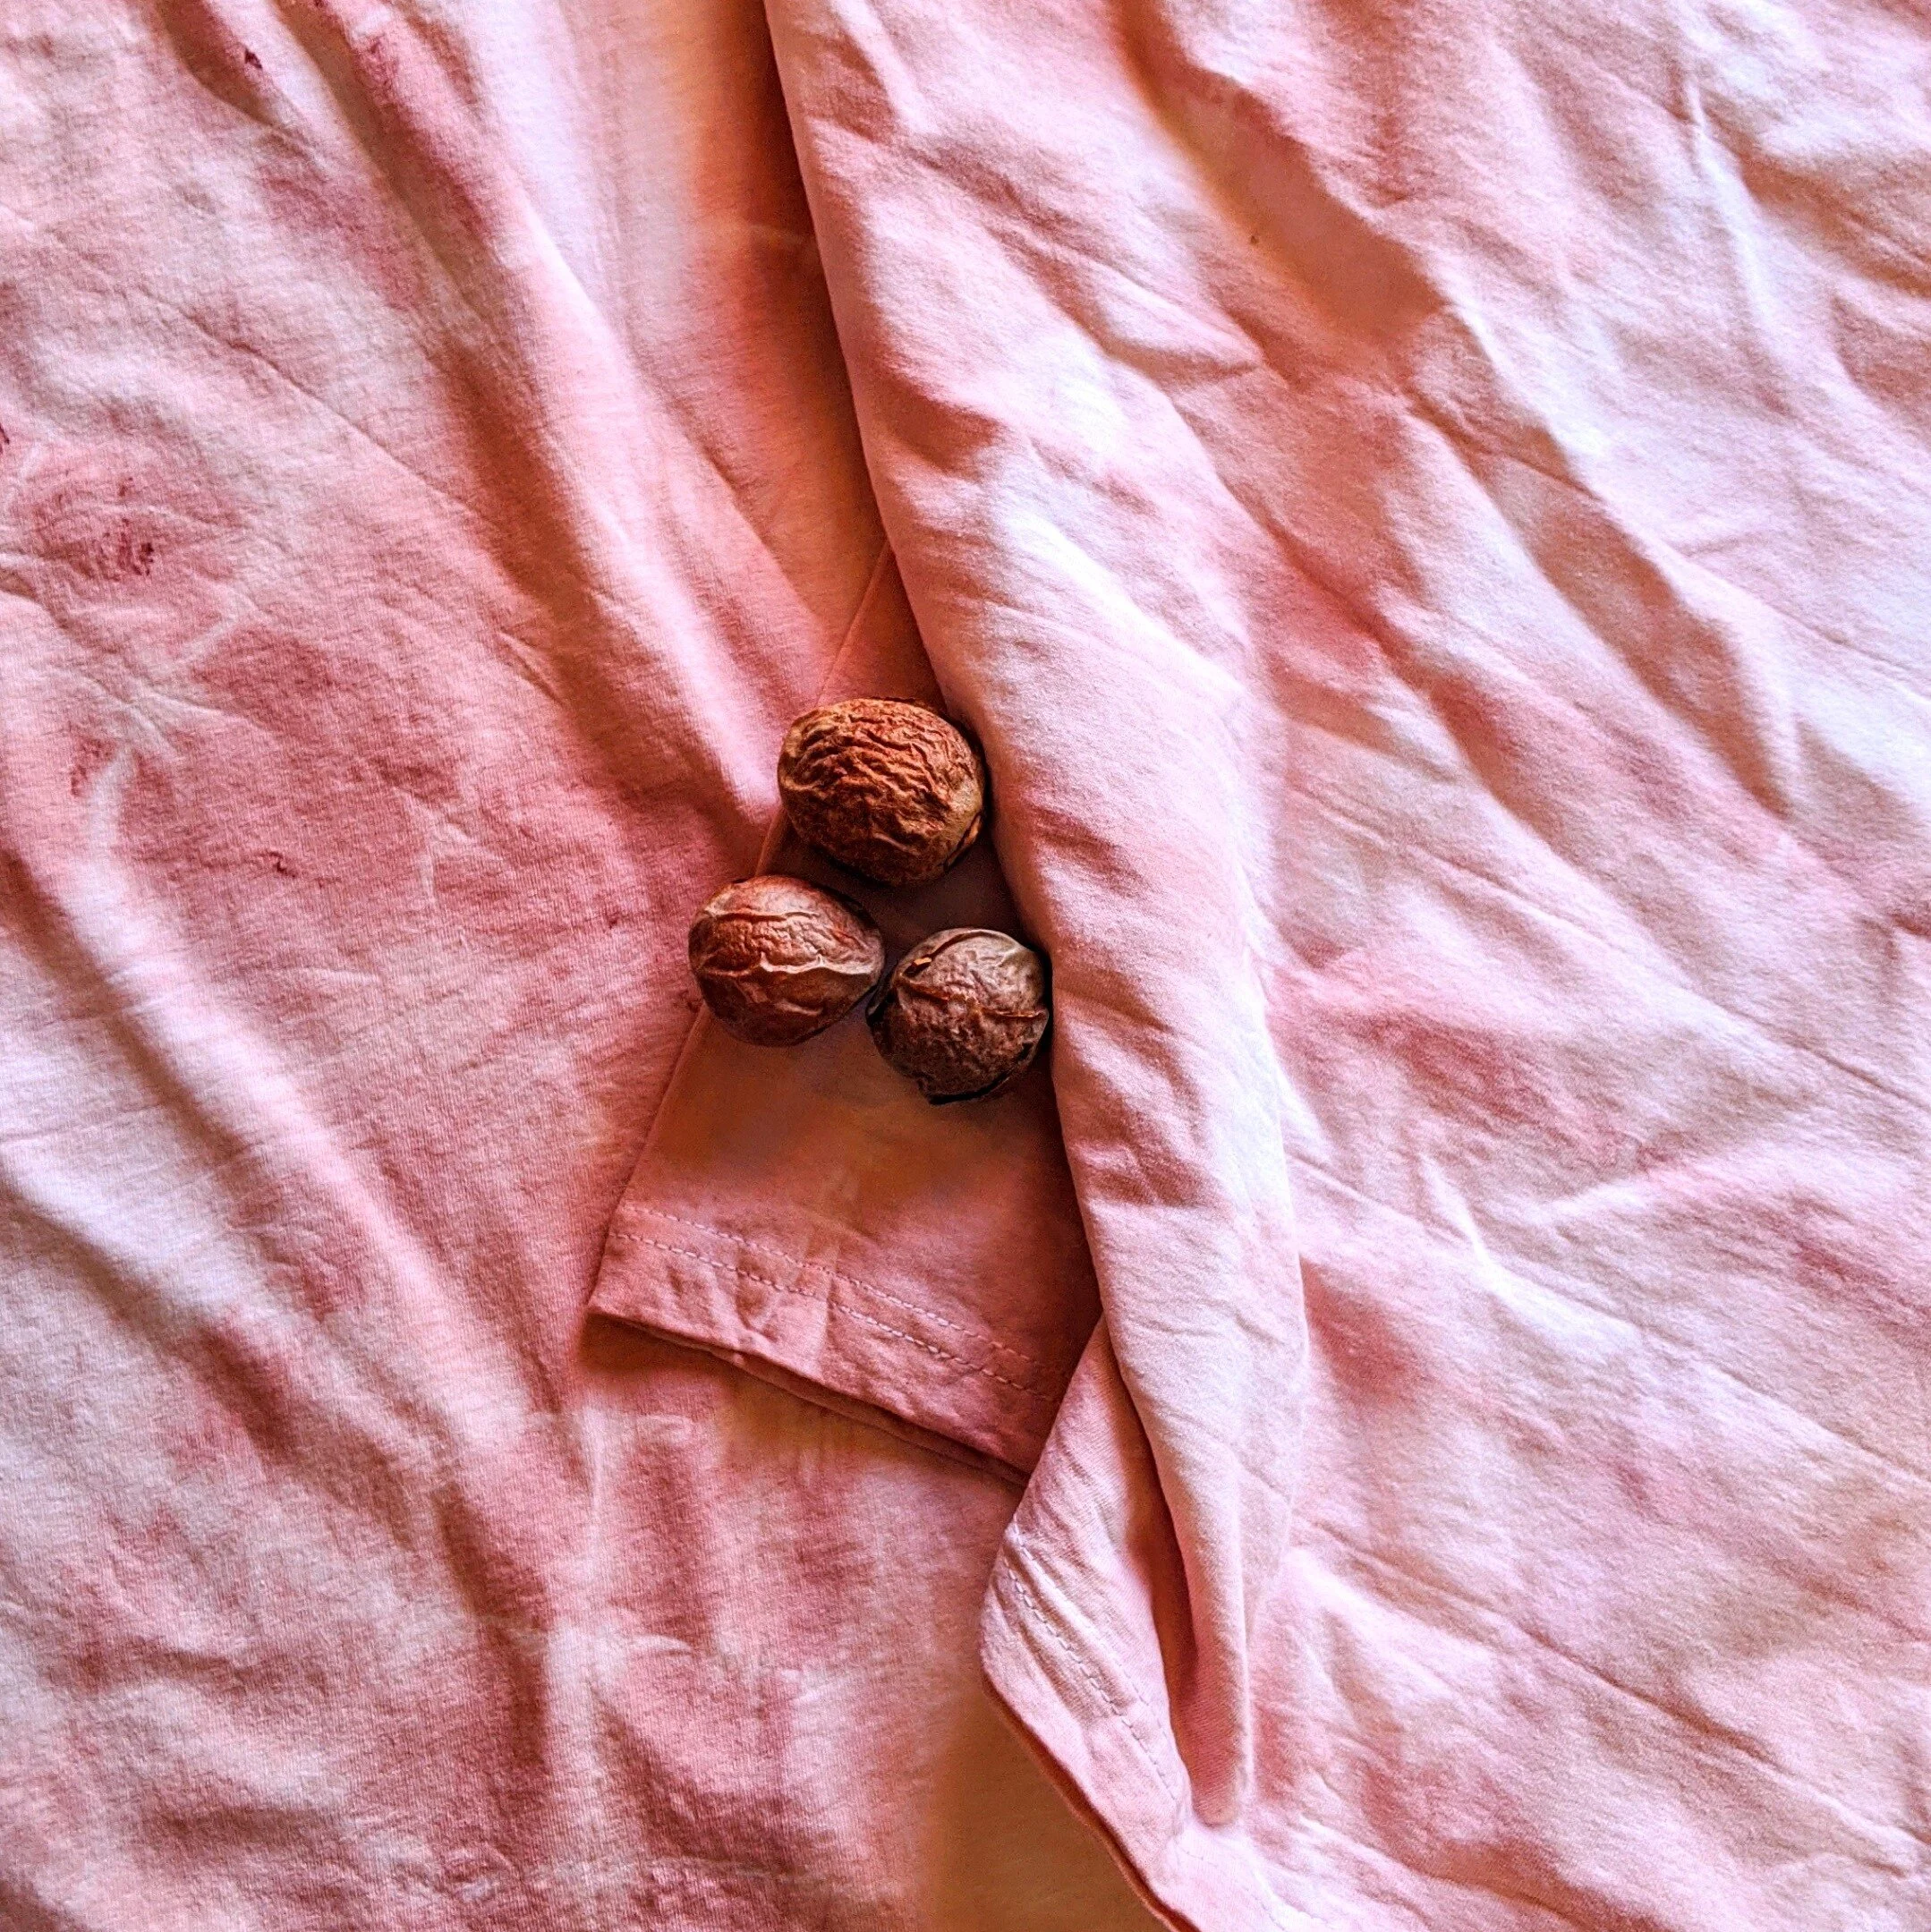
Avocados are particularly good to use for dying! Not only do they contain this beautiful pink colour (some people call it millennial pink but I prefer strawberry ice cream pink) but they also contain tannins which help the dye stick to your fabric, even after washing!
How to make avocado dye
This is the easiest way to make lovely deep pink fabric dye from avocados. For more information, check out the video guide or subscribe and ask for this as your first kit!
Save up your avocados! - I’ve found, for best results, you need about 4 avocados for a couple of t-shirts.
Keep the stones - the easiest thing to use for making dye is the stones as they store really well and the make the deepest pink dye. You can pop them in the freezer or dry them. If drying, store them in something breathable like cardboard so they don’t go mouldy!
Give yourself a little time - the process of making natural dye takes a little while so make yourself a tea and have a home day.
Gently simmer your stones - simmer your stones very gently for an hour.
Get squeezing - after an hour, your stones should soften up. Get a potato masher and give them a good squeeze to get all the dye out of the stones.
Strain your dye! - in our craft kits, the stones come in little muslin bags but if you’re doing it on your own, make sure you strain your dye through a tea towel or a fine sieve. If you get little bits of skin in your dye, you’ll get brown specks on your fabric and it just looks messy!
Leave the dye overnight - it will oxidise and intensify the colour.
Tie your pattern - there’s loads of info about on tie dye patterns so I won’t go into that here. But! You’re leaving your fabric in the dye for longer with natural dyes, so tie tighter than usual for a sharper pattern.
Pre soak your fabric - soak your fabric in warm water before you dye. It relaxes the fibres making them ready to accept the colour.
Get dying - warm your dye up to just below a simmer and cover your fabric in the dye. Leave it on a VERY low heat for an hour then leave to cool.
Bag it up - place your wet fabric in a biodegradable “plastic” bag. The longer you leave it the better but I find overnight is just fine.
Dry naturally - remove the fabric from the bag and dry naturally. Make sure it’s not dripping onto anything as it will stain and make sure it’s not in direct sunlight as that will make the colour slightly fade.
Don’t throw it away! - now I don’t quite get why, but if you keep your dye and use it again, it just gets better! Give it a go and let me know how you get on.

Want to get crafting fast?
Join loads of happy crafters and get crafting today. Join Craft Box Club for £20 a month or less.


How to host your own virtual craft party!
Want to know how easy it is to host your own craft party?

TOP TIPS FOR HOSTING YOUR OWN VIRTUAL CRAFT PARTY!
15th September 2020
Since lockdown at the start of the year I’ve hosted several amazing live crafternoons! I’ve totally loved it. It’s been incredible to meet a bunch of lovely, interesting people who have had loads of fun and made something they’re proud of. I loved the idea so much that I wanted to help you host your very own to spread the crafty love.
Why host a virtual craft party?
It’s super fun - making something that is your own with you hands is really rewarding.
Even more fun with friends - sharing the experience of making is the best thing. It’s a great conversation starter and amazing way to bond with your friends, family or colleagues.
Great for connection and mental health - right now, it’s pretty tough meeting up with a group of friends. You never know when the COVID rules will change to ruin your party plans. Host an online party with a difference, get back those awesome chats and rebuild those connections! It’s a great mental health boost that we all need.
You can all learn together - when you’re learning something new, it’s awesome to have your friends around for support and, let’s be honest, to show off to.
It’s easy! - Craft Box Club makes it so easy. Just follow the steps below and you’ll be crafting in no time!
How to order?
It couldn’t be easier! Click on ORDER HERE below. All we need is the the names and addresses of your party and your choice of craft kit to get going. The bigger the party, the cheaper each kit so bring a crowd!
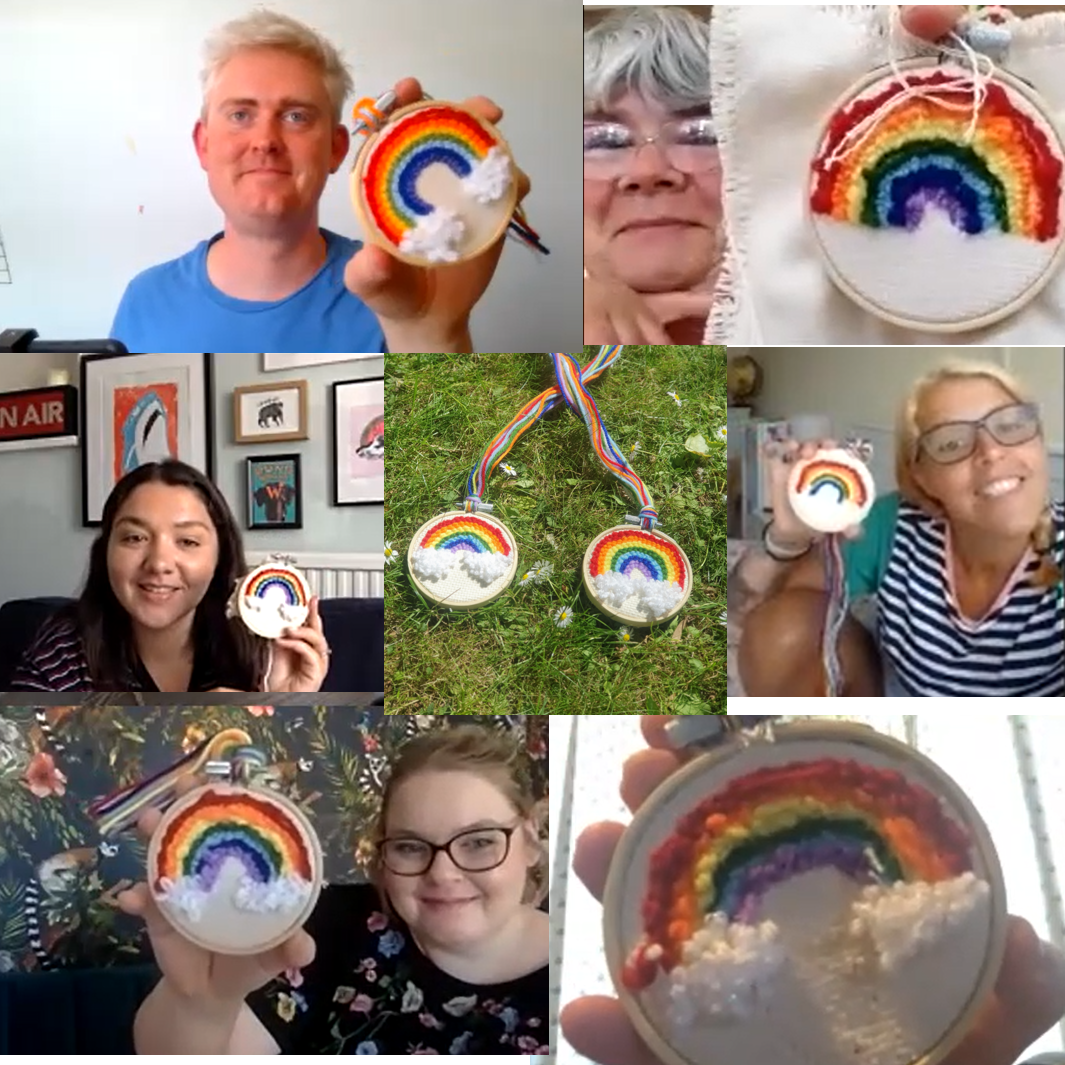
We had loads of fun during lock down making rainbows!
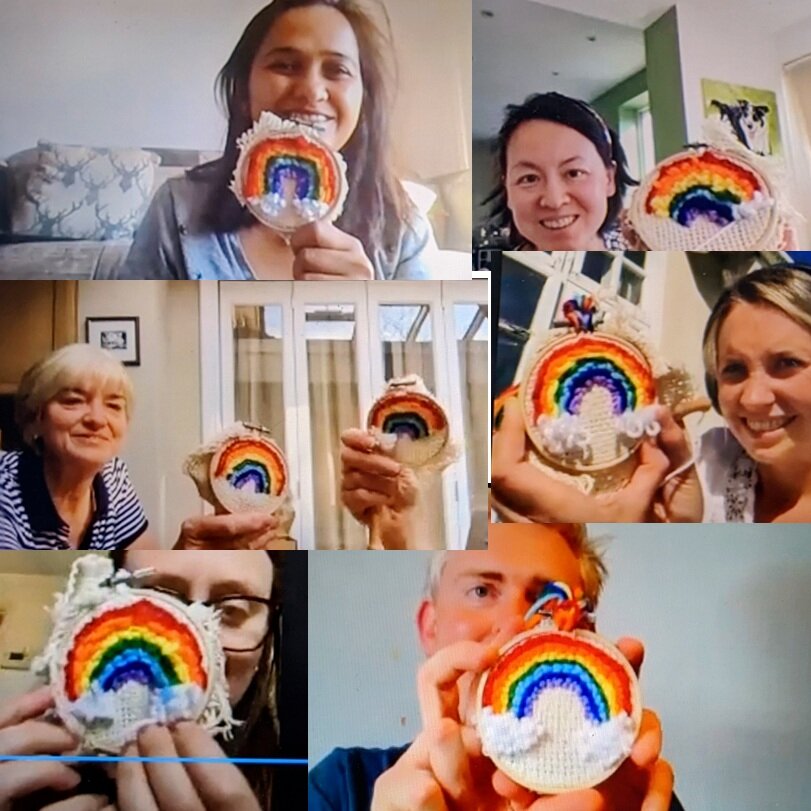
So much fun, we did it quite a few times!
HOW TO CHOOSE YOUR CRAFT
Check out all of the current kits - using the button below. Most are still available for craft parties.
Choose wisely - we have a wide variety of kits available. Some take more time than others and a few need you to wait overnight for things to dry or develop. There are details in each other the guides. Choose the one that fits with your event. For questions and recommendations email adam@craftboxclub.co.uk.
which video chat?
Chose your platform - There are so many platforms to choose from and they all have different pros and cons. Don’t worry about all the fancy ones, go for a tried and tested popular one that all of your party will have. The two that work best for me are Facebook Messenger and Skype. On Facebook you can set up an event especially for a group chat which makes scheduling super easy!
Go hands free - While I’m on the subject of video chats. If you’re going to use your phone, make sure you have something so you can call hands free. You’re not going to get far crafting with one hand! If you don’t have a snazzy gizmo don’t worry! Just have something to prop your phone up against.
The main thing is to make sure that everyone knows when and how to log on and you’ll be fine!

on the day
Clear some space - Clear a space for crafting and get cosy.
Get your kit ready - Make sure you have all the kit you need. Craft Box Club kits come with all the essentials but sometimes you also need scissors, water etc. so read the tip sheet in the box to check.
Refreshments - If it’s a crafternoon get the coffee and biscuits ready. If it’s a boozy bubbles and craft night then make sure your glass is ready to go! If you need nibbles in the post for your craft party, we know who to recommend!
Relax! - Yes, it’s all about the craft but don’t forget to party. Don’t put pressure on yourself to get everything perfect. Just dive in and have fun and great chats!
Video guides - Don’t forget, all Craft Box Club kits are video guided. Decide whether you’re going to watch these as a group or in advance
Yes let’s do it!
Great! You won’t regret it. Get your craft on and order below! If you have any questions email adam@craftboxclub.co.uk.


New kit! Paper Quilled Jewellery Set
Behind the scenes of making this kit…

Behind the scenes!
9th September 2020
Aaand it's ready! The lastest craft from Craft Box Club! I know I always say it, but I’m really proud of this one. The kits just keep getting better and better. In this one you get everything you need to make two earrings and a pendant from beautiful, little coloured coils of paper. Magic! There’s also loads of extra paper in the kit too so you can go ahead and change the colours. You can also experiment with loads of other designs too!
I’m so pleased that this kit is out in the world. Although it was inspired by summer flowers, the heat in the studio was super intense! I do not recommend quilling when it’s over 30c! Sweaty hands and paper = mess! It’s been a mega busy time over the summer and I’ve not been able to blog and chat to everyone as much as I’d like but I’m back on it now and ready for the next kit!
To make this kit extra special and keep the plastic in the supply chain down to an absolute minimum I’ve partnered with two other businesses who share my values. Check out the guide for more information and links. I’ve loved working with other crafters to make custom pieces for this set. It’s totally worth it for the planet and I love the feel of wooden tools rather than plastic.
Jewellery making
I really love making jewellery. There’s more to think about than if you’re just making some art for the wall. It’s got to work as well as look good. It’s been really fun working on the flower and teardrop design for this kit. I’ve not seen anything else quite like it so they really stand out. The techniques used aren’t to complicated either and are definitely suitable for beginners. Towards the end of this make there’s a little bit of wire wrapping. I really enjoy working the metal as you have to be gentle but firm to get the effect you want. The flat coiled wire attachment came after about an hour of trying other designs that were either way too tricky or just didn’t work properly. I’m really pleased with them. Let me know what you think!
Top tips for making paper quilled jewellery
Take your time and be methodical – there are a few stages to making this design. Work methodically making all the individual pieces you need before you complete the final design.
Don’t use too much glue – quilling paper is really thin. Using too much glue makes it all wet and ruins the neatness of the design.
Use the quilling template – particularly if you’re making flower designs it’s good to get everything to look uniform.
Embrace bright colours – I love all the colours in this kit. It was hard to narrow them down. These are bold statement pieces so go bright or go home!
Happy crafting!
JOIN THE MAKER MOVEMENT
If you’d like to learn the skills to start making your own beautiful and useful things, join us today! It won’t cost the Earth!