
How to tie dye using natural avocado dye

How to tie dye with avocados!
20th September 2020
This month I’ve been learning the art of natural avocado dying to make the next latest craft kit for all my wonderful eco crafting subscribers!
I love tie dye and it’s having a massive resurgence in popularity this year. I’ve been researching commercial dyes for a while and can’t find any that I’m happy with. They’re mostly really highly toxic, dreadful for the fish and come in single use plastic. I’ve also seen lots of tie dye done with loads of squeezy plastic bottles. Nope that’s not for me. This kit is something totally different.
By far the best person to speak to if you’re interested in natural dying is Rebecca Desnos. The kit and the video guide that goes with it is a distillation of Rebecca’s method. I’ve taken the essential parts you need to make a quick start with this craft. Let’s be honest, you really need to see this in action before you can even believe that it’s possible to get a pink dye from an avocado right?
How does it work?
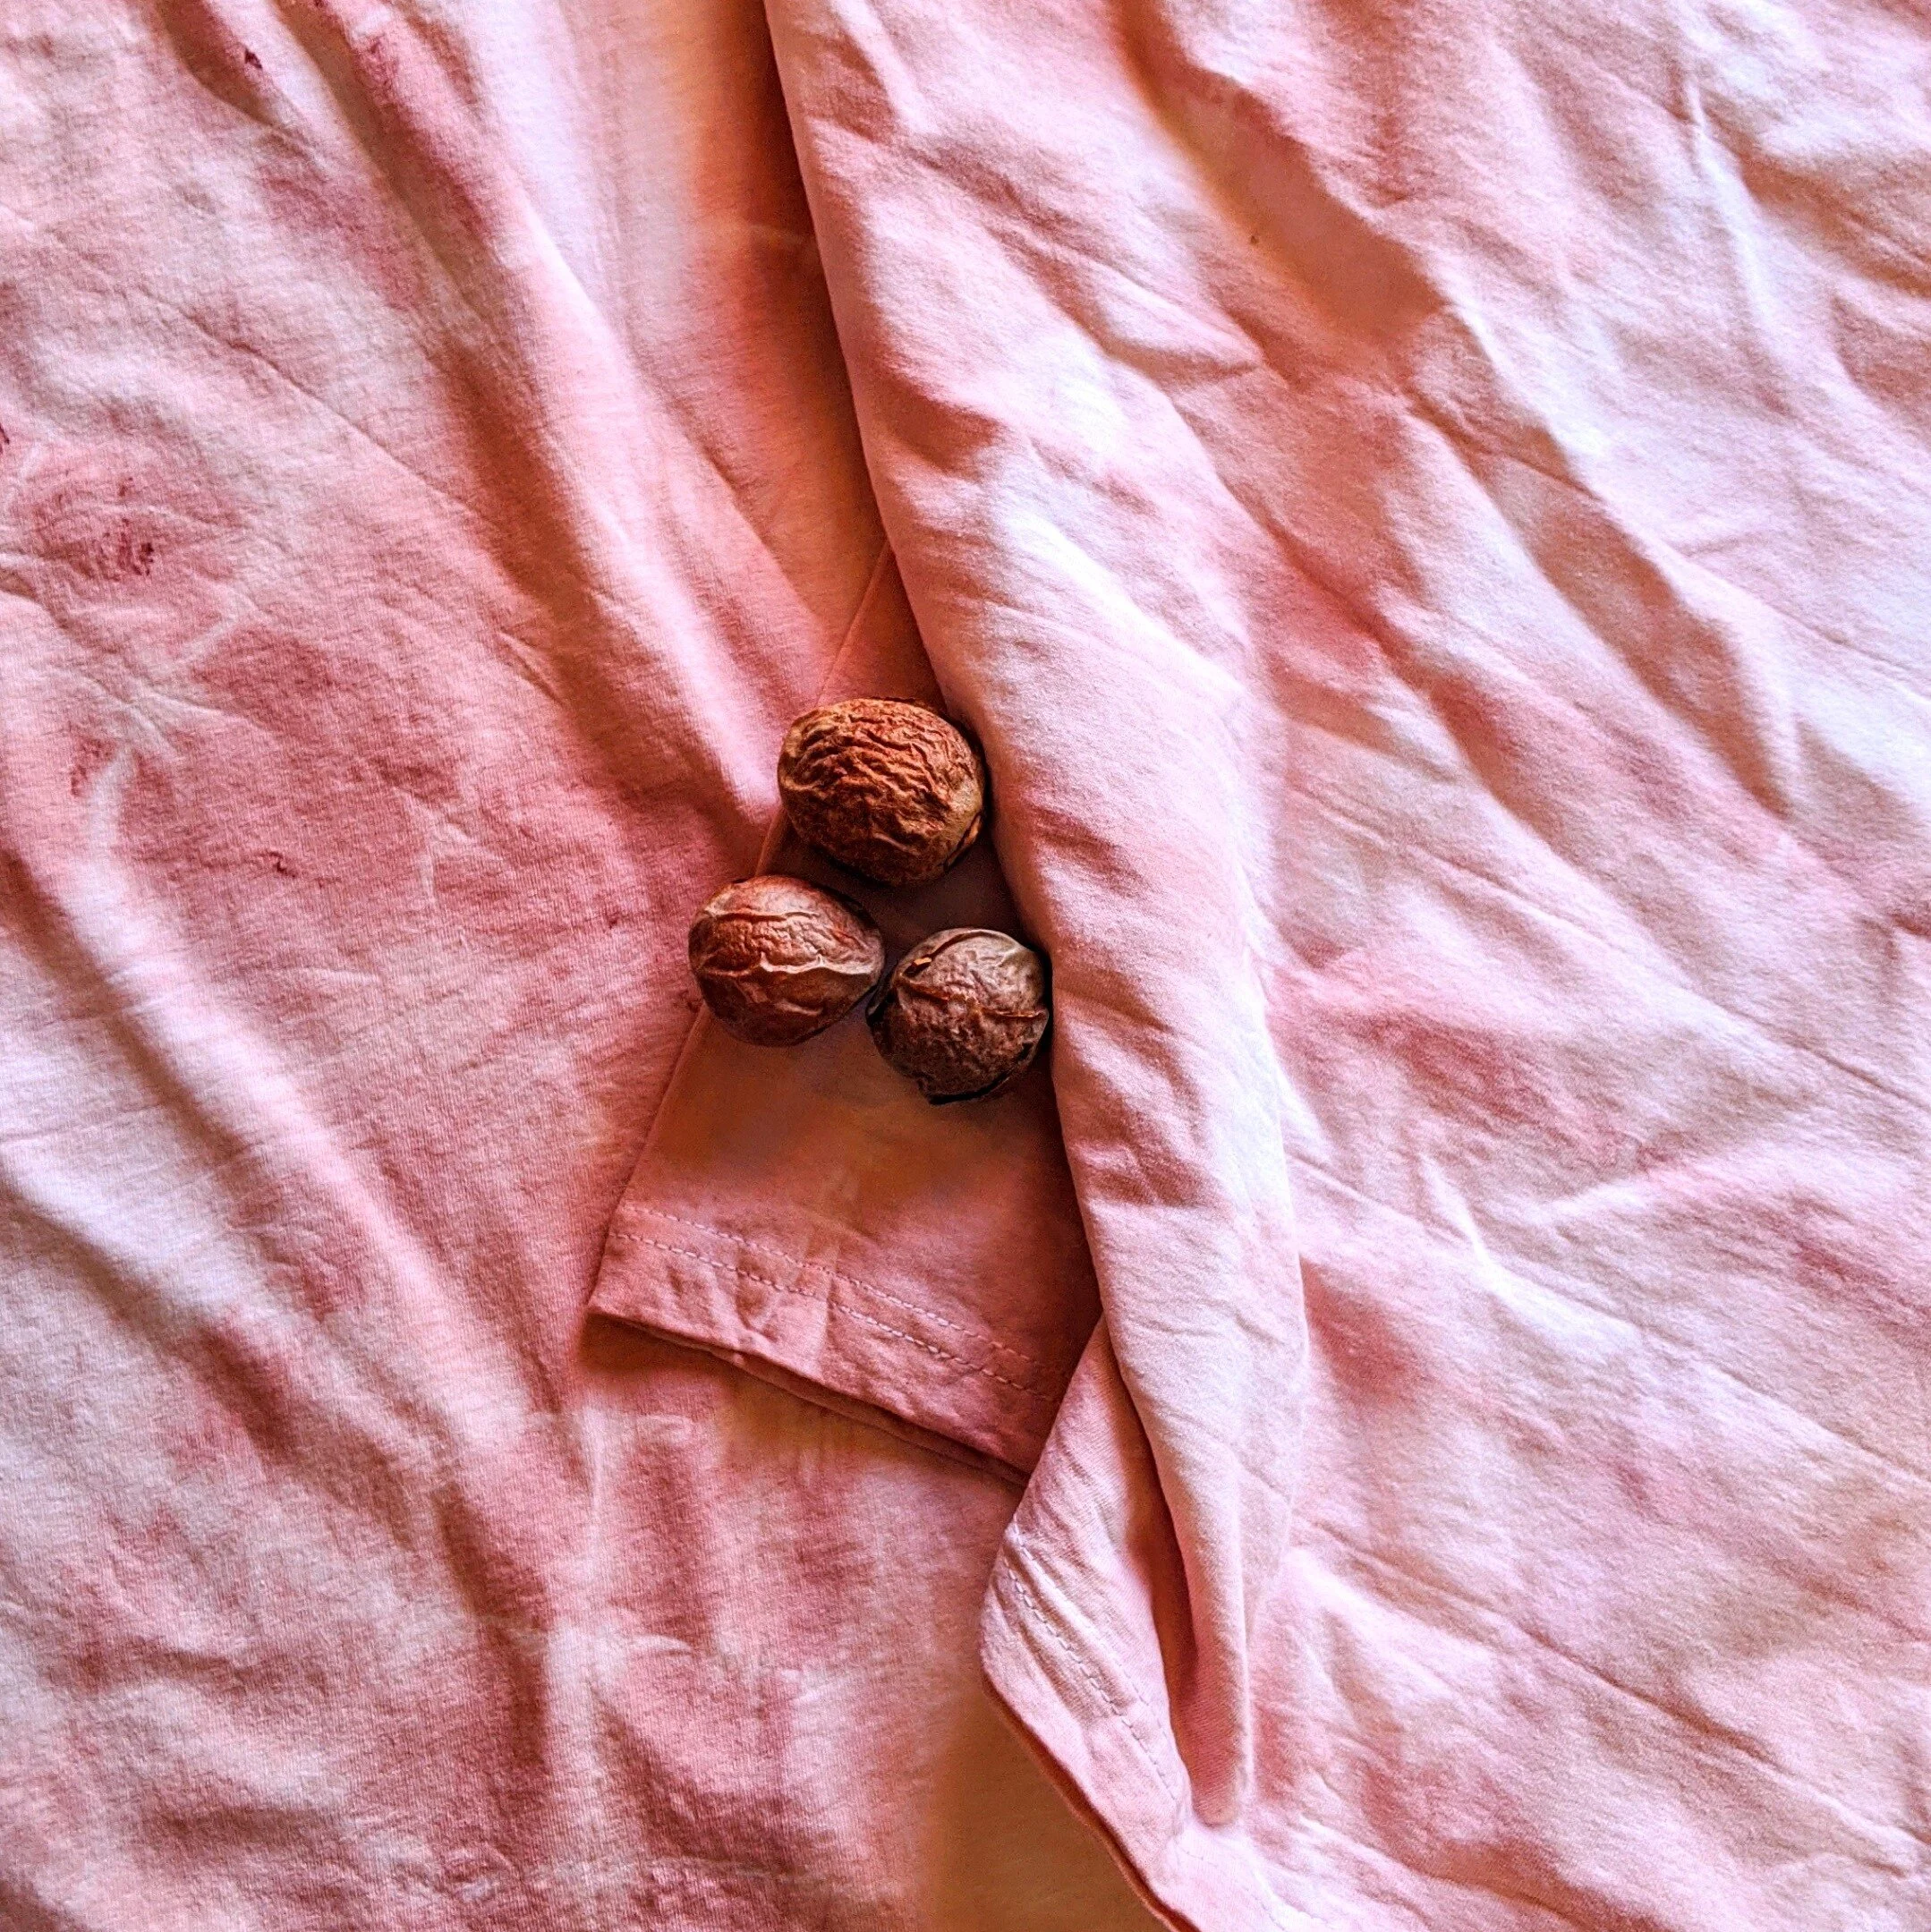
Avocados are particularly good to use for dying! Not only do they contain this beautiful pink colour (some people call it millennial pink but I prefer strawberry ice cream pink) but they also contain tannins which help the dye stick to your fabric, even after washing!
How to make avocado dye
This is the easiest way to make lovely deep pink fabric dye from avocados. For more information, check out the video guide or subscribe and ask for this as your first kit!
Save up your avocados! - I’ve found, for best results, you need about 4 avocados for a couple of t-shirts.
Keep the stones - the easiest thing to use for making dye is the stones as they store really well and the make the deepest pink dye. You can pop them in the freezer or dry them. If drying, store them in something breathable like cardboard so they don’t go mouldy!
Give yourself a little time - the process of making natural dye takes a little while so make yourself a tea and have a home day.
Gently simmer your stones - simmer your stones very gently for an hour.
Get squeezing - after an hour, your stones should soften up. Get a potato masher and give them a good squeeze to get all the dye out of the stones.
Strain your dye! - in our craft kits, the stones come in little muslin bags but if you’re doing it on your own, make sure you strain your dye through a tea towel or a fine sieve. If you get little bits of skin in your dye, you’ll get brown specks on your fabric and it just looks messy!
Leave the dye overnight - it will oxidise and intensify the colour.
Tie your pattern - there’s loads of info about on tie dye patterns so I won’t go into that here. But! You’re leaving your fabric in the dye for longer with natural dyes, so tie tighter than usual for a sharper pattern.
Pre soak your fabric - soak your fabric in warm water before you dye. It relaxes the fibres making them ready to accept the colour.
Get dying - warm your dye up to just below a simmer and cover your fabric in the dye. Leave it on a VERY low heat for an hour then leave to cool.
Bag it up - place your wet fabric in a biodegradable “plastic” bag. The longer you leave it the better but I find overnight is just fine.
Dry naturally - remove the fabric from the bag and dry naturally. Make sure it’s not dripping onto anything as it will stain and make sure it’s not in direct sunlight as that will make the colour slightly fade.
Don’t throw it away! - now I don’t quite get why, but if you keep your dye and use it again, it just gets better! Give it a go and let me know how you get on.

Want to get crafting fast?
Join loads of happy crafters and get crafting today. Join Craft Box Club for £20 a month or less.
