
New kit! - Sand Cast Candles
Introducing our latest amazing craft kit!
Introducing our latest craft kit
It’s that time again! Every month I dive into a totally new craft and make up a brilliant super cool and totally unique craft kit for you to try. This month I’m making candles! Yay!
Using natural materials
Beeswax
These candles are made from beeswax, the same blocks we use for our beeswax wraps kit. Unlike candles made from other wax, beeswax candles burn brighter and cleaner as they emit negative ions that are known to help purify the air. Beeswax also smells great when burned without any added chemicals or scents, as it’s naturally aromatic from the honey and flower nectar that’s found in the honeycomb.
Shells
I’ve gone to incredible lengths to search for responsibly sourced seashells to decorate one of the candle designs. The majority are from UK waters and from the seafood industry. Many craft shells you’ll find are not sourced responsibly and can be part of widespread habitat destruction. These candles are nice and all but not worth destroying the planet over. So we made a better choice. They are absolutely beautiful and were delivered to me plastic free.
sand Casting
There are many many candle moulds out there made from plastic, silicone and all sorts. I wanted to stick to using natural materials. I also thought of all the candle moulds that have been bought to play with and only ever used once. I really didn’t want to add that that pile of waste so I was really pleased to discover sand casting!
What is sand casting?
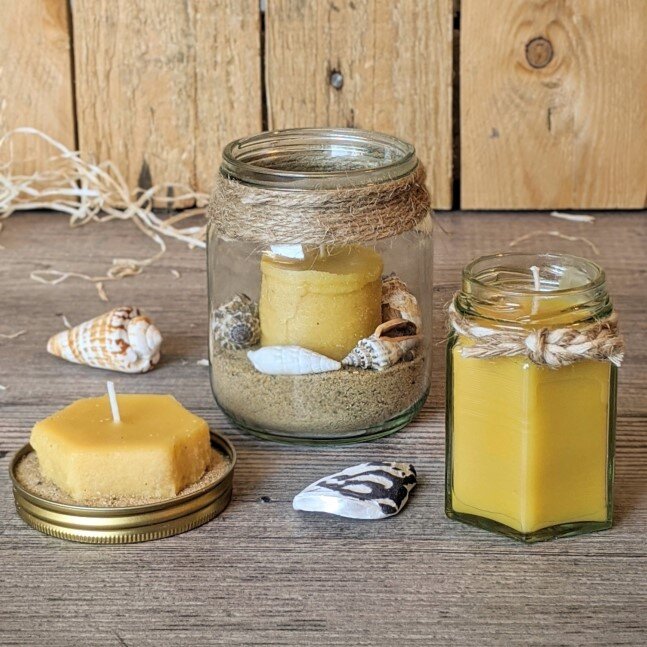
Sand casting is just what it sounds like! Casting candles with a mould made from sand! Love making sand castles? Haven’t made it to the beach this summer? You’ve in luck! To make the casts you get the sand “sand castle” wet, then shape it around anything you want the candle to look like. I’ve provided a cardboard tube and a hexagonal jar to use as moulds but you can really use anything solid! Once you’ve made the mould, place your wick in the middle and pour in your molten wax. Let it cool and then you’re done!
Sand cast candle top tips
Be careful - You don’t need to get your wax very hot, in fact the cooler the better. But it’s very easy to forget that 100c is still HOT!
Beware sink holes - These are holes that appear in the middle of your candle after the wax has cooled. They can really mess your candle up so watch out! I’ve tried all the tips to prevent them but found that none of them really work. Best to embrace them! Leave a small amount of wax behind after your first pour then pour the rest into your sink hole later. Solved!
Smooth your casts - Get those sand casts as neat as possible before your pour the wax. Once you pour, there’s no going back!
This kit is now ready to go. It’s amazing! You make 3 totally different candles from a single kit! Want to try? Sign up below and reply to the welcome email asking for this kit!

A Paper Quilling Quest
A beginners guide to quilling…
An introduction to Paper Quilling for Beginners
Each month I learn a new craft, create a unique design and make up awesome video guided kits to introduce my wonderful subscribers to a the craft.There’s magic in this method as it means that I have all the mistakes, the hard parts and how to solve problems fresh in my mind. It also means that every month I get to share how it feels to learn a new technique and use it to create something I’m proud of.
Err… what is Paper Quilling?
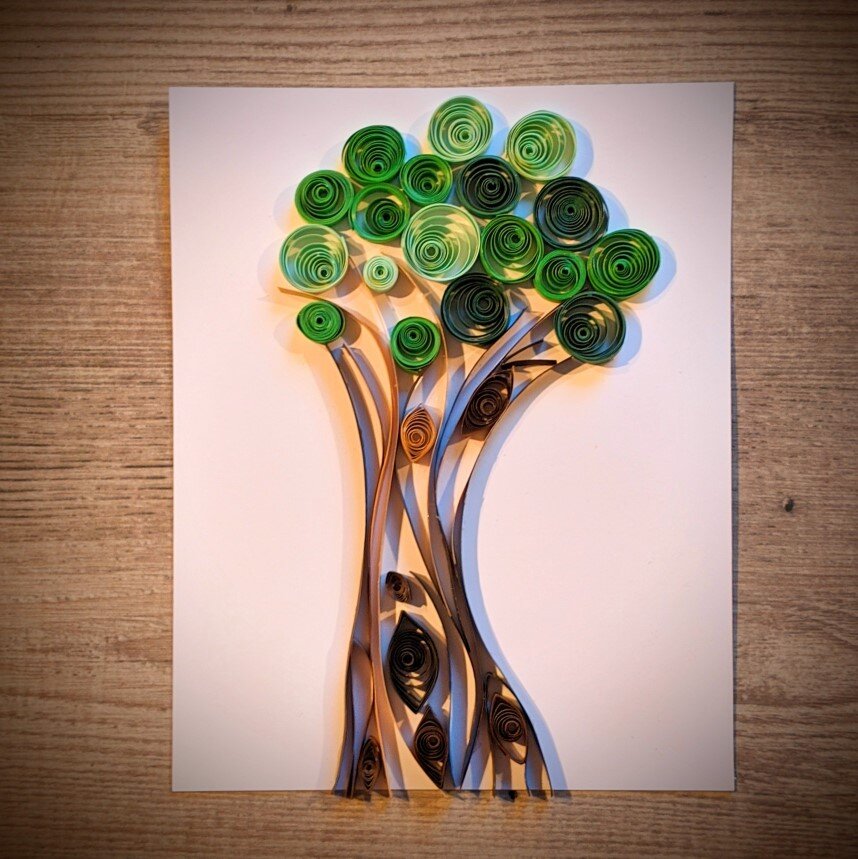
So, yeah, it sounds like a naughty word right? Anyone else? So quilling is art made from long strips of colourful paper that is often coiled using a quilling needle. You can see the effect you get in the photo at the top of this page. Once the paper is shaped as you want it, you can stick it to the page using pretty much any glue and you get these beautiful 3D pictures.
Why Paper Quilling?
I was attracted to quilling ages ago because of the brightly coloured paper and the amazing range of designs you can make. I’ve had my quilling paper sitting on a shelf for about a year but just never found the time to get making. Since going plastic free at the start of this year I thought paper quilling would be the perfect eco craft kit. But, it was harder than I thought to make this kit plastic free as most of the stuff you can buy is made of plastic and the paper always comes plastic wrapped. Luckily I found someone who will make wooden quilling needles for me, the other half I’m making myself, in house. So exciting!
What’s it like to do?
I loved doing it! I’ve never done it before and I’m pretty happy with my first attempt at the top of the page. It’s really suited to organic forms like trees and flowers as you can use the paper strips to get all the curves of the tree without much fuss. I really can’t draw so I’d find it really tough to get all the curves the way I wanted them using a pencil, but the paper strips are perfect!
Above all, it feels great. Making the paper circles is a lovely action and super relaxing and it’s so beginner friendly. Definitely one to try!
Beginner quilling top tips
Go freestyle - Don’t worry too much about a set design. Do for something organic like trees, leaves or flowers.
Make your paper quills/circles first - before you get into your design, make up a load of circles using your quilling tool so they’re ready to use.
Dip don’t spread - it’s way easier to have a little pool of glue to dip your paper into rather than trying to spread the glue directly onto the paper.
I’m working on a final design and a guide for this craft now so follow me on social media to hear when it’s going live. Once that’s done, the kit will be going out to all my lovely subscribers! Can’t wait for you all to have a go!

Earth Paint Love and Salt Dough Top Tips
Do you miss the beach? Me too! Here’s some seaside crafting for you
New earth paint & salt dough jewellery kit
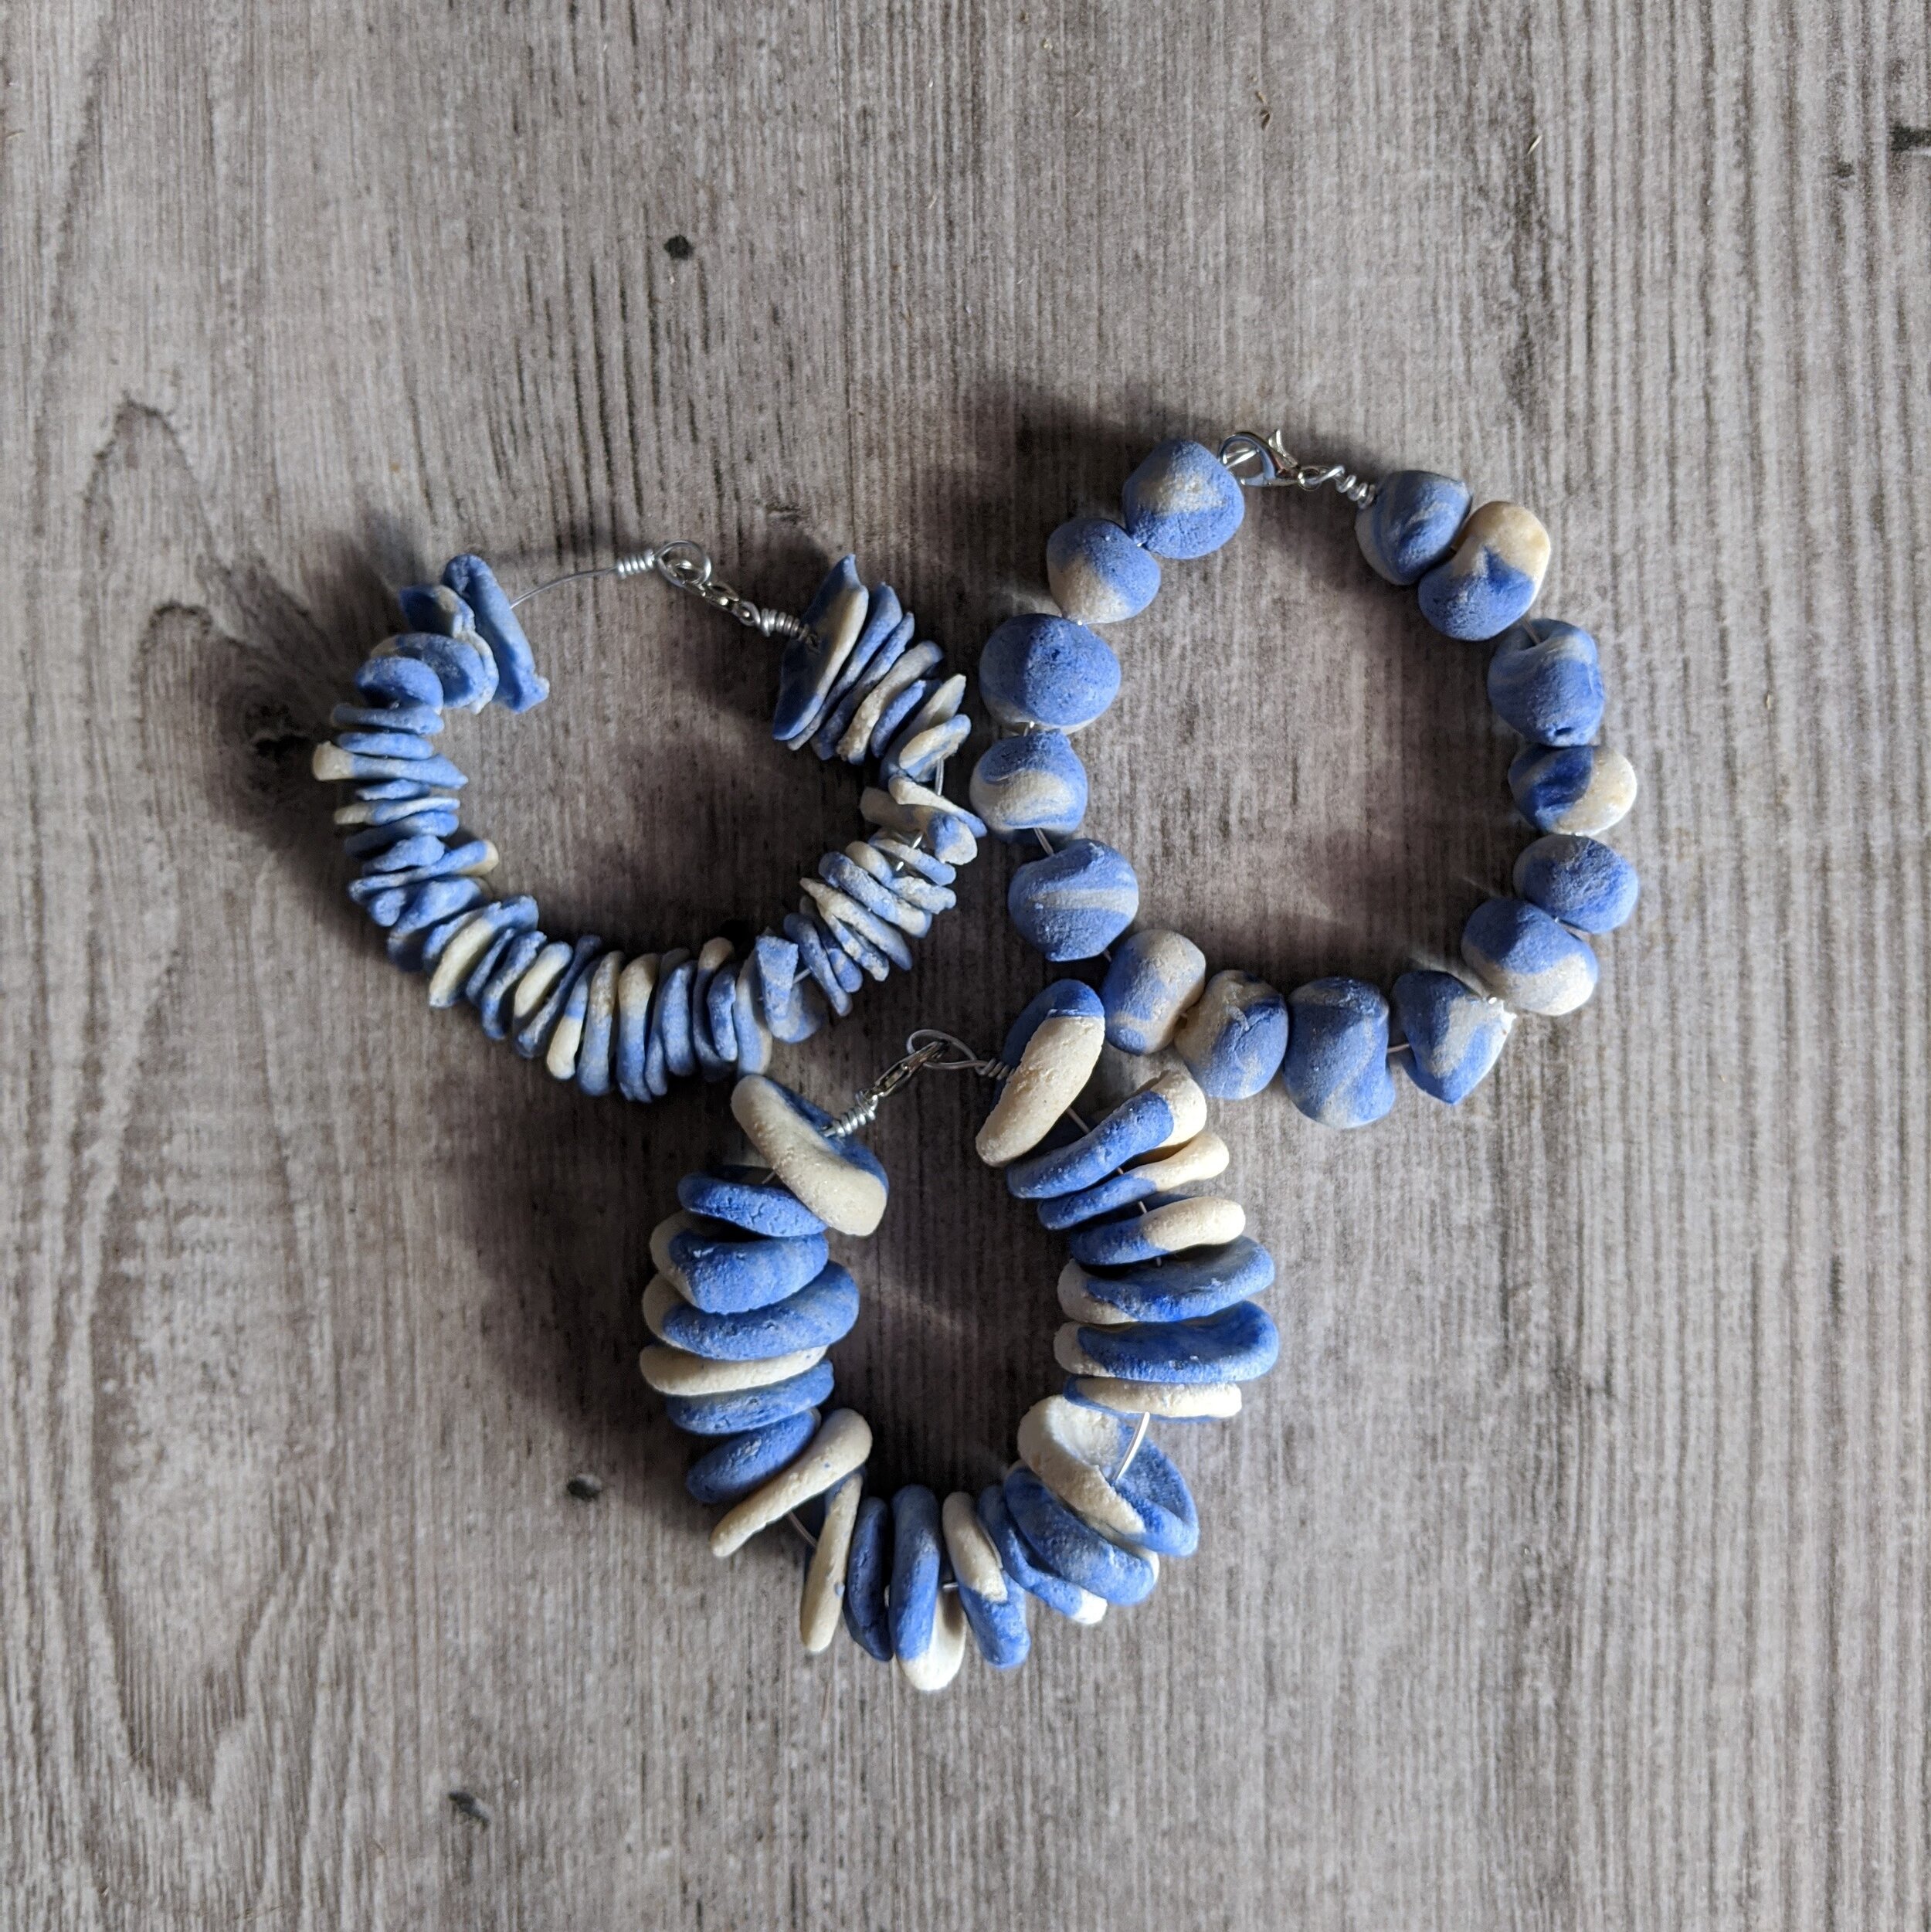
I love this kit. Really love it! At Craft Box Club we have an ongoing commitment to plastic free, non-toxic crafting and this kit just fits in perfectly! You make a white and a blue salt dough, then shape different kinds of beads to make three beautiful bracelets.
Introducing EArth Paint
Earth paints are non-toxic powdered paints make from earth minerals. They work really well in our craft kits because they are much easier to package plastic free than traditional liquid paint which need to go in plastic bottles.
This radiant blue pigment is fired to get this vibrant colour. It is composed of 90% earthen clay and 10% man-made, non-toxic minerals, and it is heated in an oven to a high temperature.
Throughout history, blues in nature were very rare and usually made with precious stones like Lapis Lazuli. These stones are now unsustainably harvested in Afghanistan, so we use this beautiful, non-toxic and sustainably-made alternative.
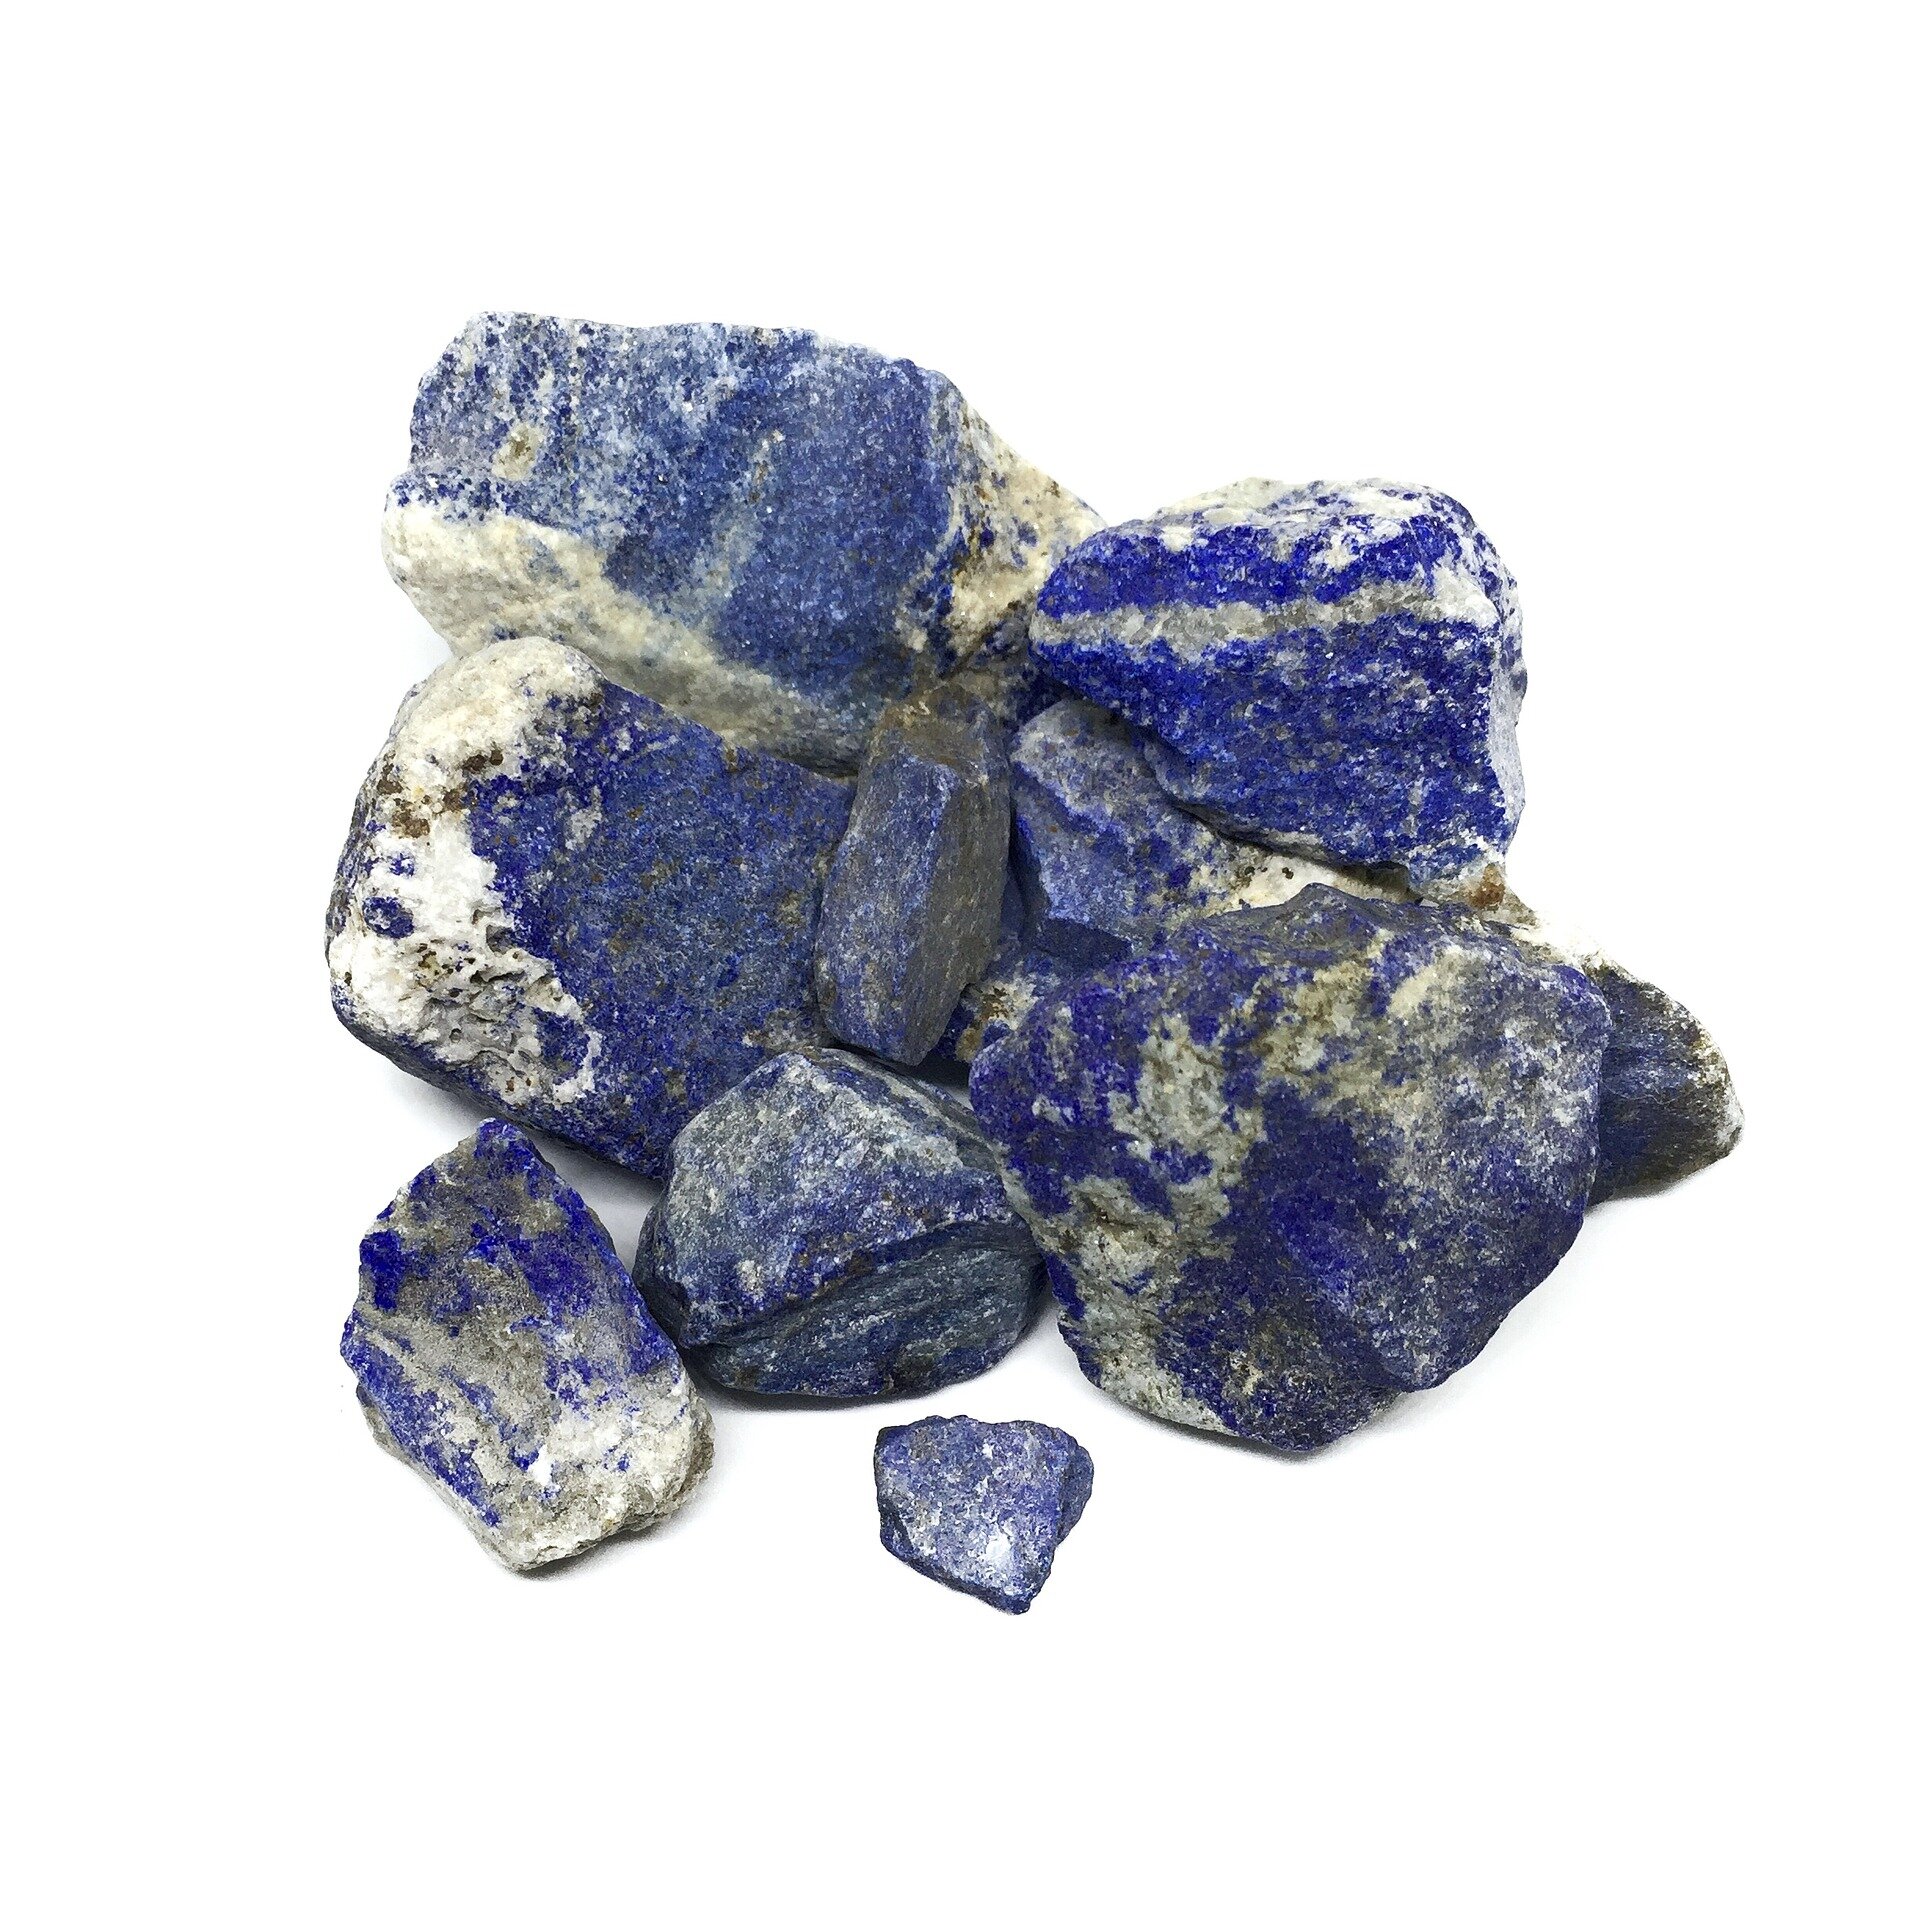
Lapis Lazuli
What inspired this kit?
I love the beach! I don’t live by the sea but a visit to a sandy shoreline really energises me. Every year i set a target of ten beach trips just to make sure it happens. It looks like that might be tough this year with the world in a Corona lock down but I wanted to use the beach as an inspiration for a craft kit. The beads in this kit, the texture of the salt dough and the vivid blue colour all remind me of trips to the sea.

Top tips for salt dough success
Follow the recipe - 2 cups flour, 1 cup salt, 1 cup water.
Knead for a good 10 minutes until the dough is smooth.
Use the dough right away or the gluten relaxes and the dough goes soggy. If you do want to put it aside, leave it in a jam jar and add some more flour to it when you could back to it.
Use plain flour not self raising!
Make a dry dough. Wet dough is harder to handle and won’t keep its shape.
Dry your creations out slowly! For best and more eco-friendly results, dry in the sunshine. Too much heat causes cracks.
If you’re making beads keep an eye on the holes through the middle, the dough swells as it dries and holes close up.
Experiment! You can make so many shapes with salt dough, just keep on creating!
Fancy getting more creative? Join Craft Box Club today and get a totally different craft delivered to your door every month or join our mailing list below and get free creative challenges to do every week!

Introducing the Washi tape coaster kit
Instant coasters with your own unique design!

Hot off the press, I’m pleased to be introducing the new Washi tape coasters craft kit! Coming soon to subscribers across the UK.
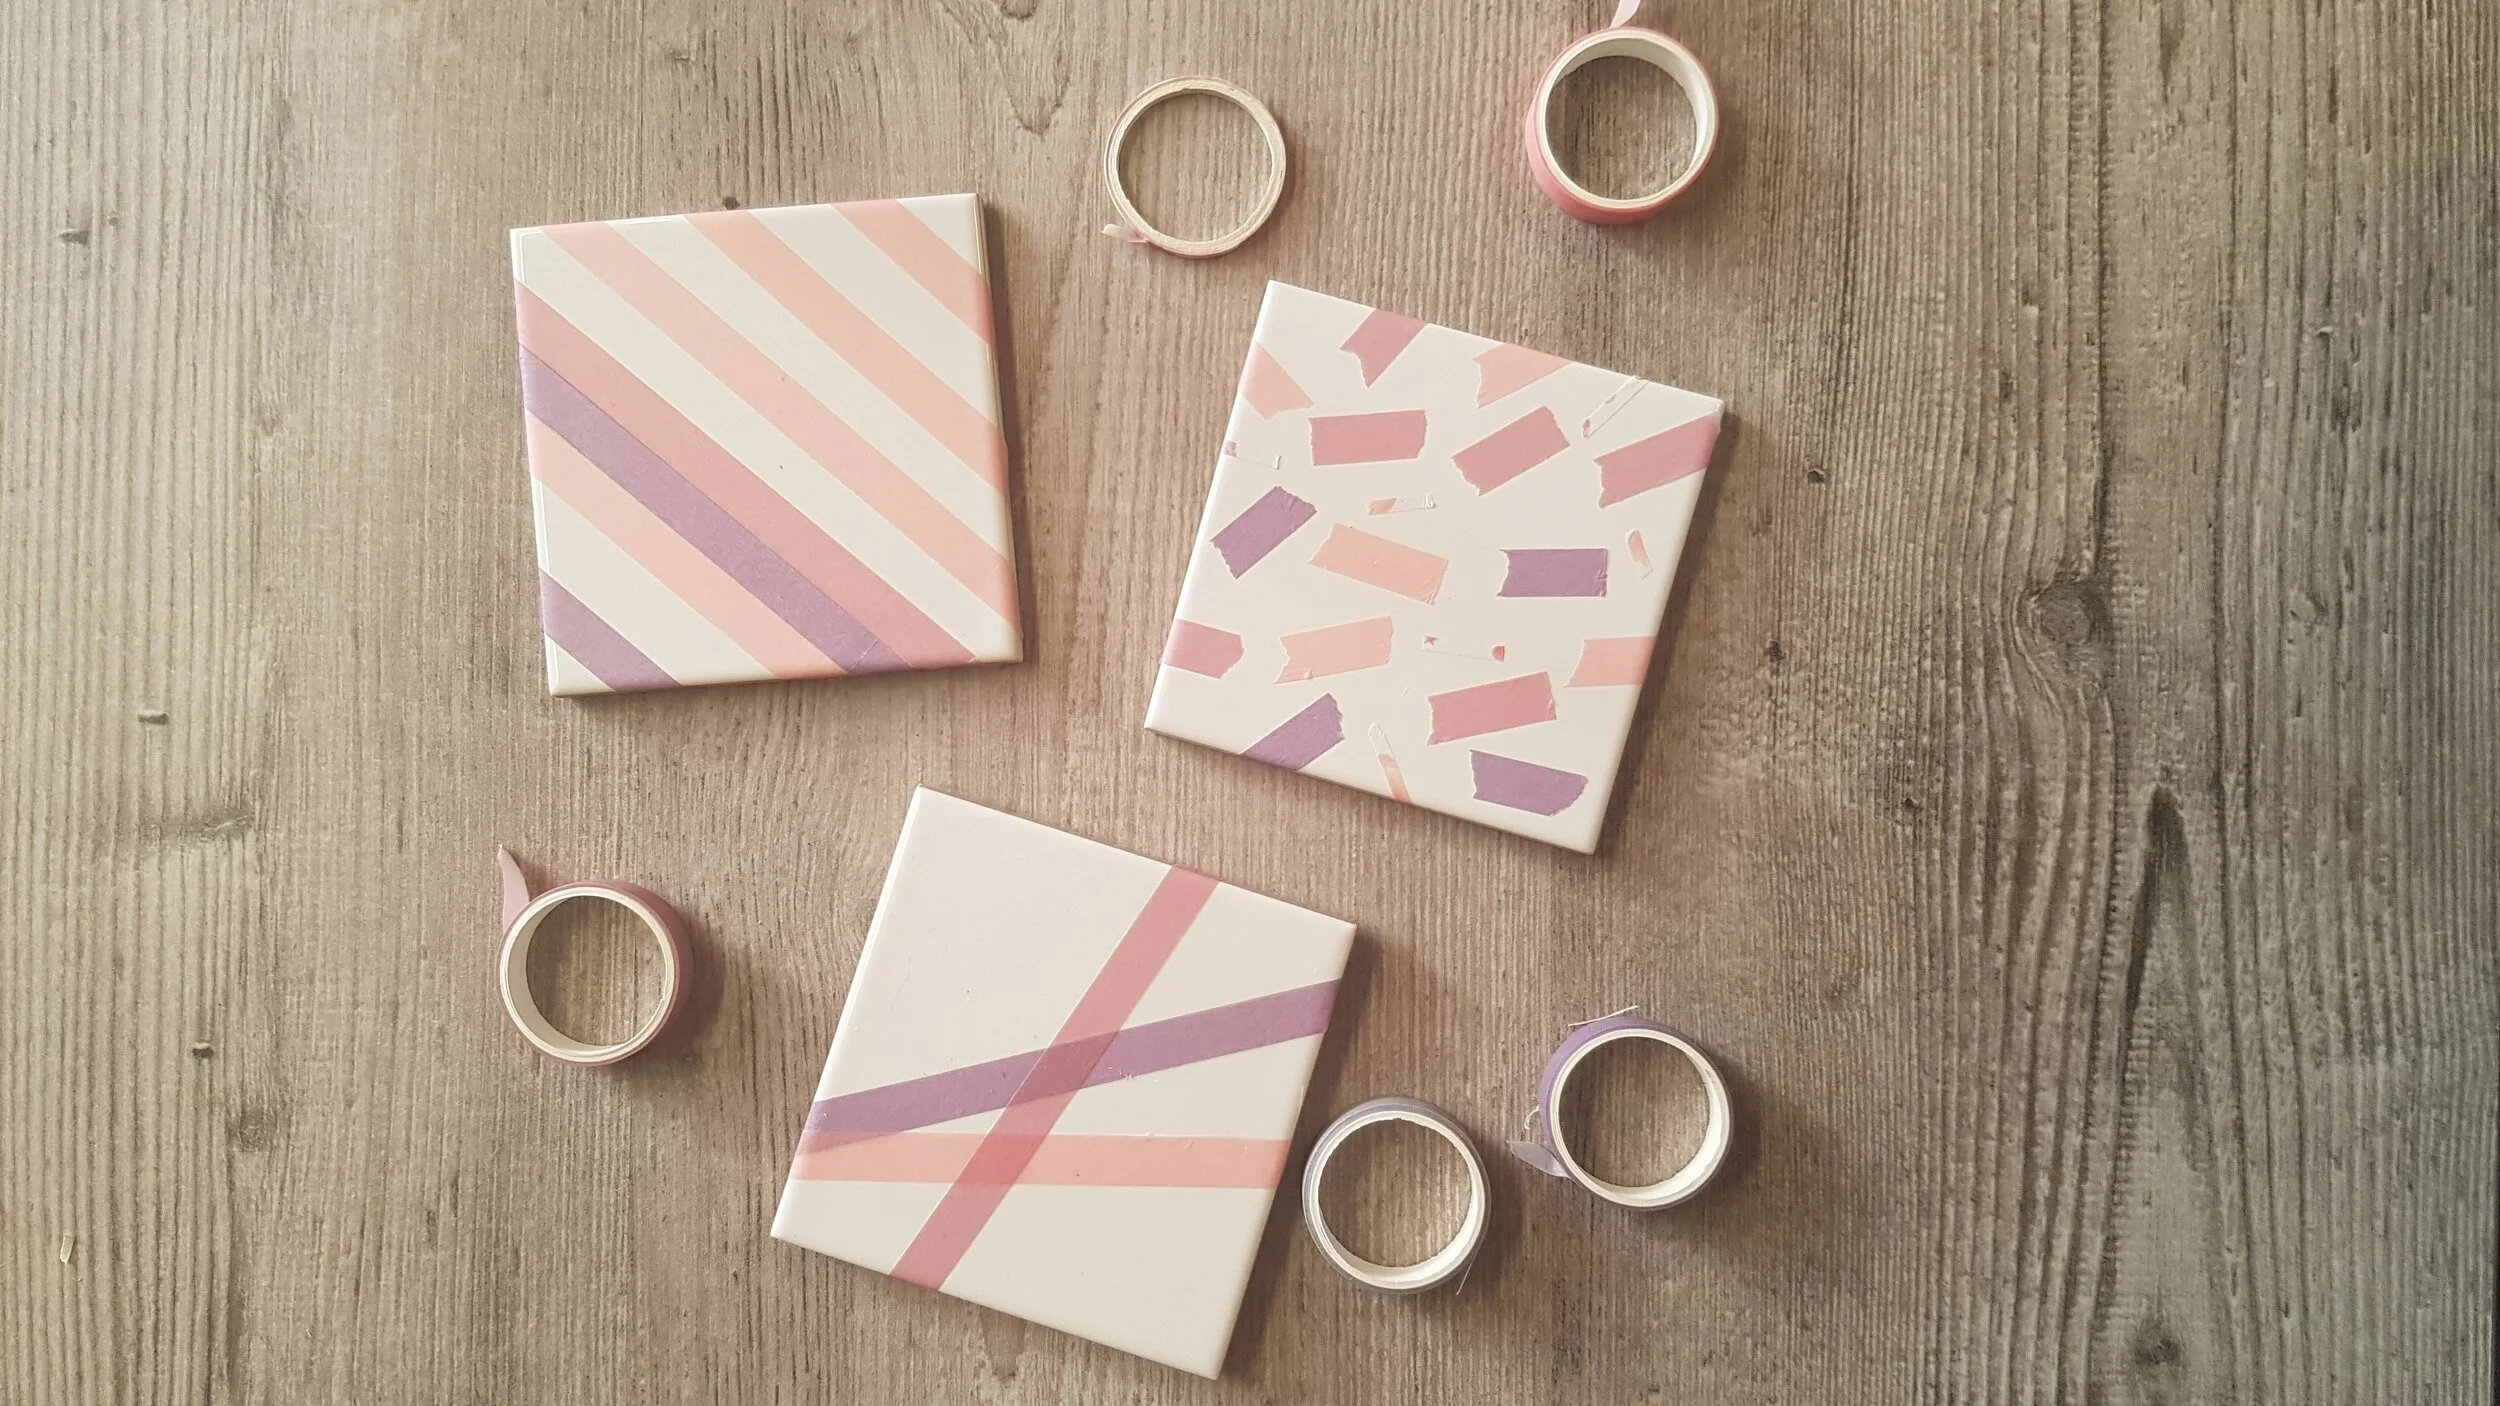
I just love how this kit looks. The mix of natural colours and textures with the bright white tiles and the flash of the tin looks great against the colour pops from the Washi tape.
Errr what is Washi tape, I hear you scream! It is a decorative tape made out of rice paper. Originally from Japan and now every scrapbookers best friend, Washi tape is my new favourite thing. It comes in all the colours of the rainbow, and some awesome patterns too. It is commonly used in art and craft projects, particularly paper crafts.
With this kit, you can play with designs until you’re happy with them. Then, just brush on the sealer and you’ve just created your own unique set of coasters.
Washi Tape, or Japanese masking tape, first originated in Japan by the business Kamoi Kakoshi Co., Ltd. under the name MT masking tape. It all started in 2006 when puzzled Kamoi received an email from a little group of women who developed a book making use of their industrial masking tape. The email stated that they would like to tour their facility before working on a second book utilizing their masking tapes. Confused Kamoi didn’t initially respond to this curious email, and later received a package from the ladies; It contained colourful, beautifully designed pages all carried out in masking tape! Kamoi ultimately agreed to let the ladies tour their facility, and their marvel and fascination at the tape creating process filled Kamoi with fantastic pride. Later, they received a second book filled with a lot more stunning pages from 17 different artists, all employing their masking tape to develop a thing of beauty! The women requested that Kamoi produce much more masking tape colours. Kamoi didn’t hesitate after a big art exhibition in Tokyo and plenty of media coverage; they took the plunge and began to work on producing the excellent rolls to use for crafts and design! They not only created numerous far more colours, but also designs that were cute and functional.
These are my very own set of coasters, the first couple I made. They’re now a permanent feature in the studio! Might have to make more for around the house too!
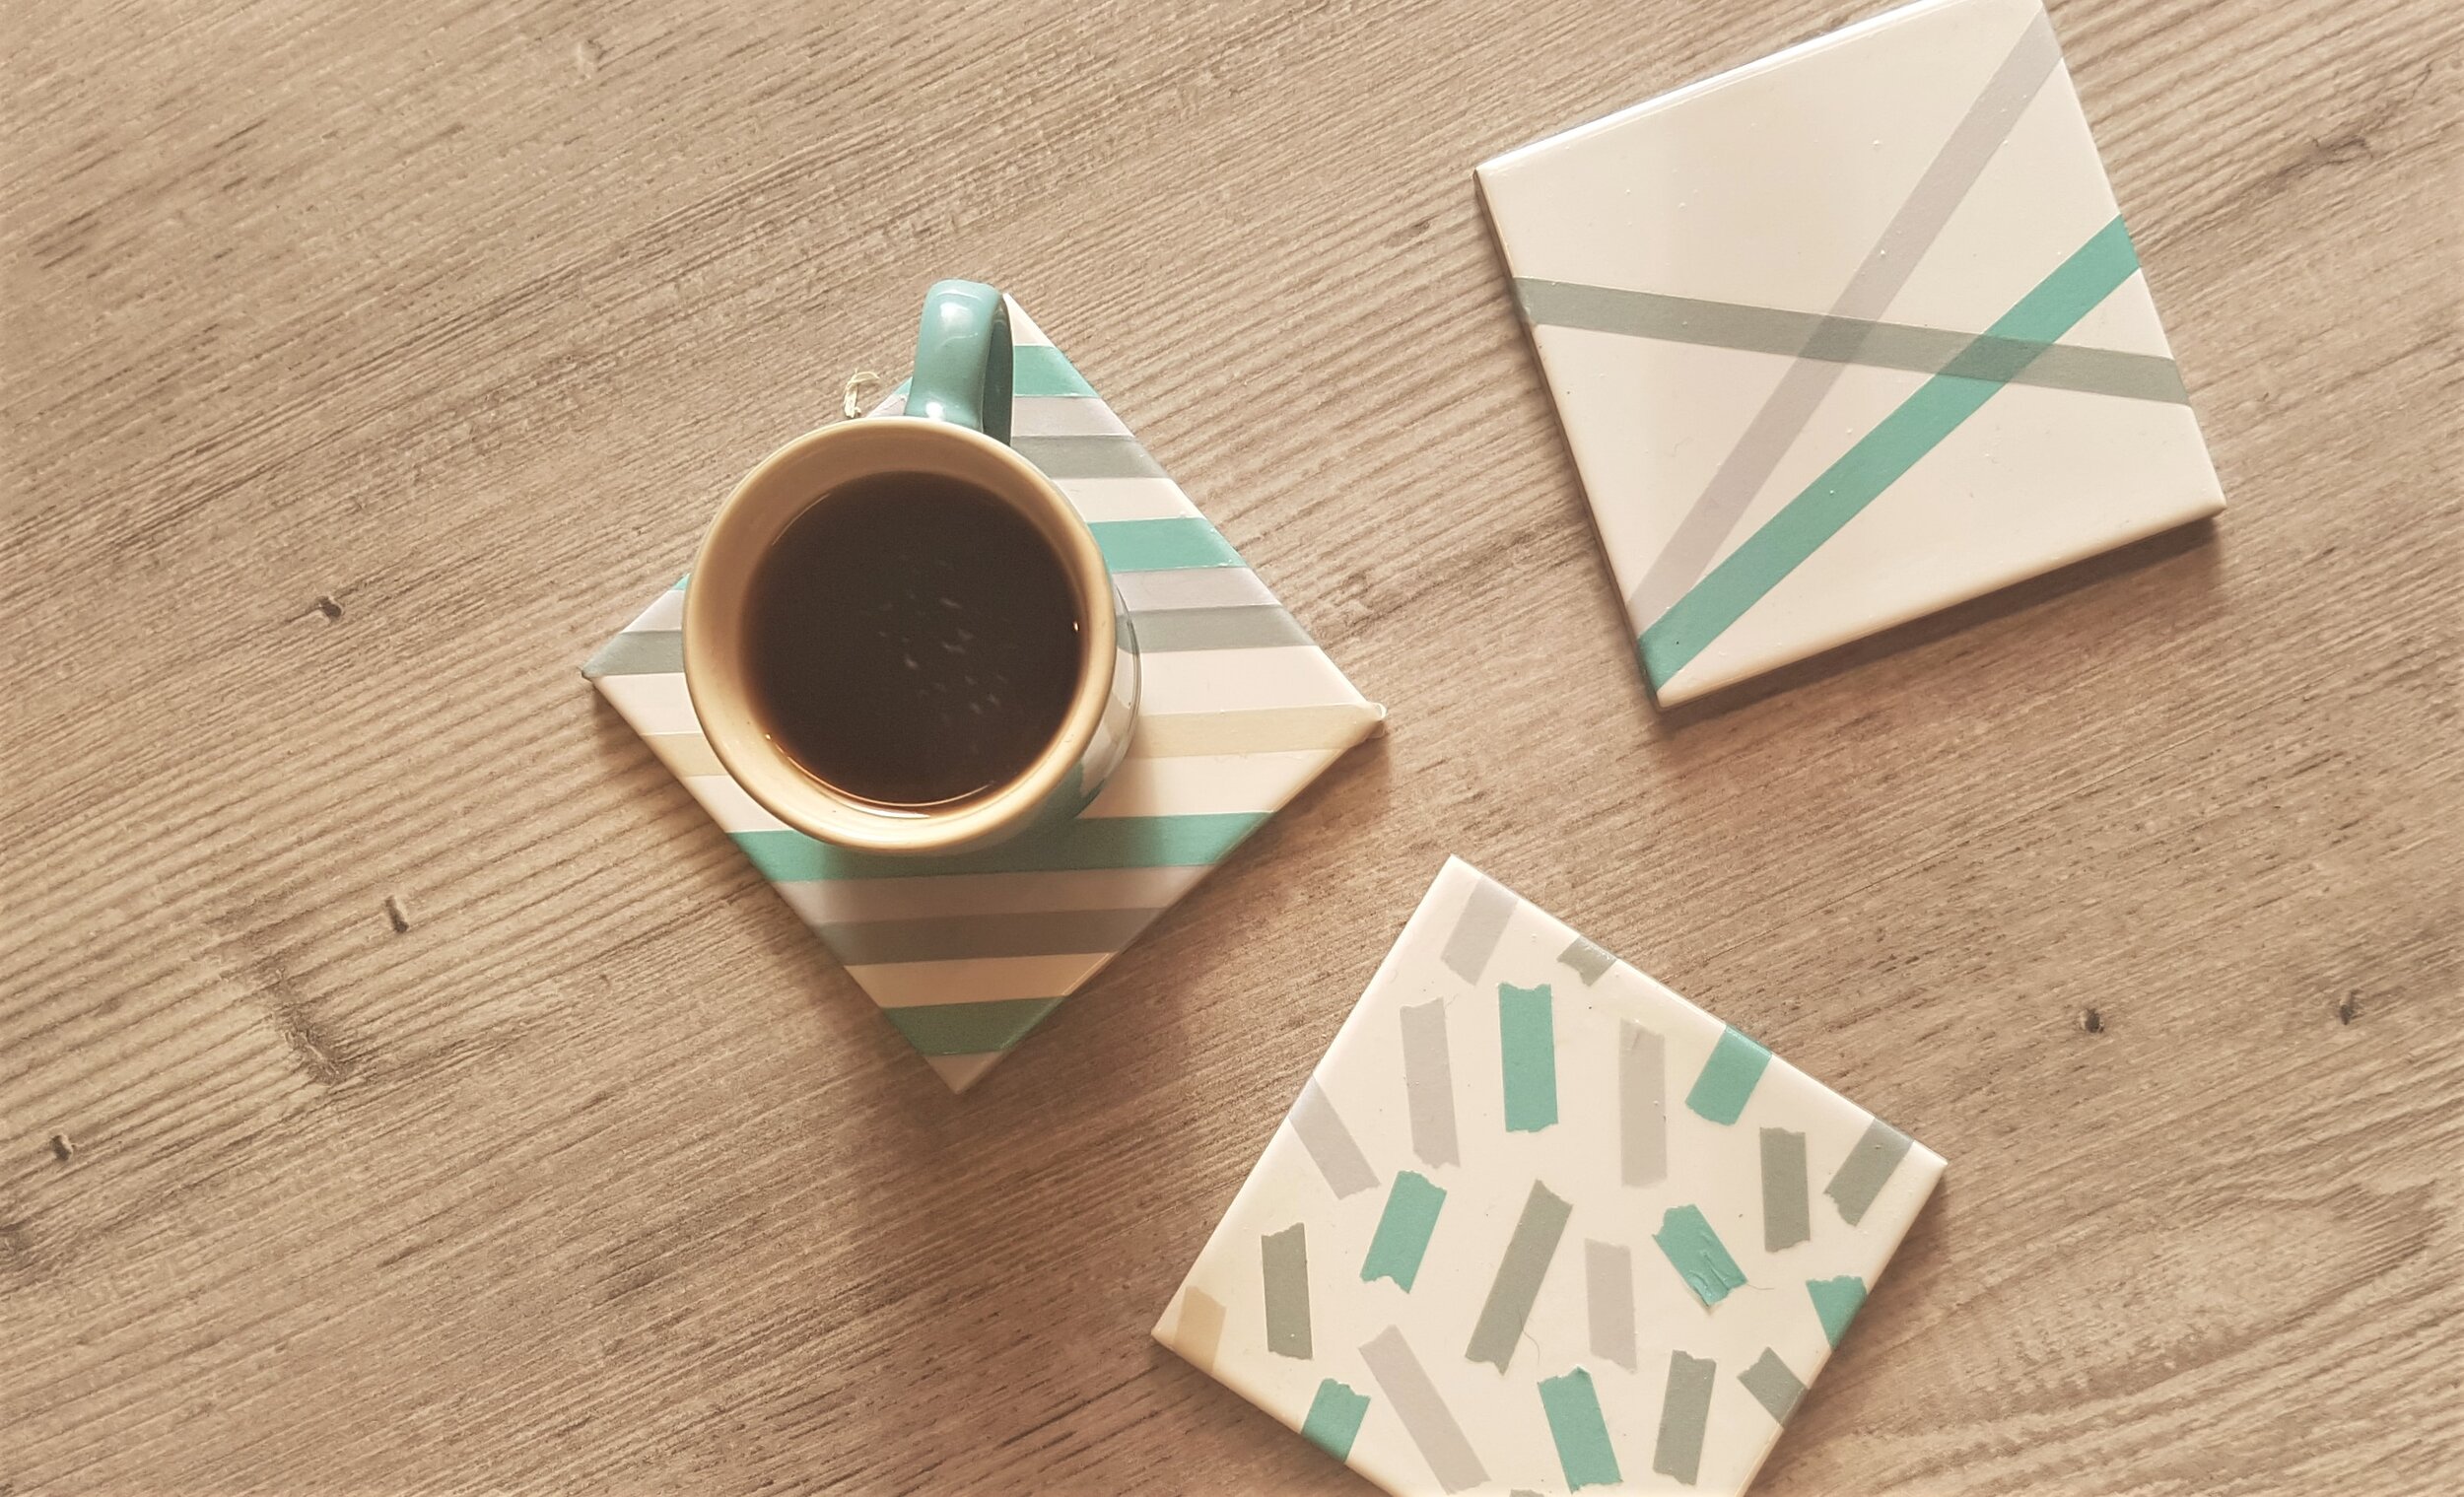
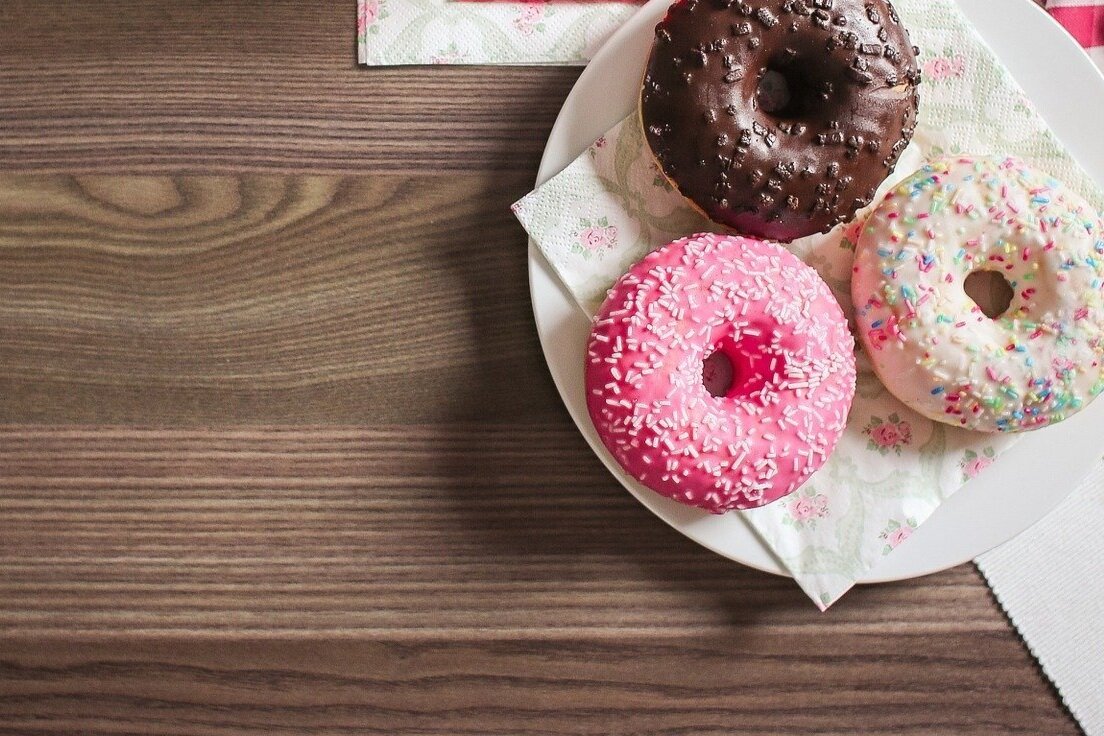
Is it just me of does one of the designs remind you of sprinkles on a doughnut? Mmmm, doughnut anyone?
Fancy having a go at using the kit. Sign up to Craft Box Club and receive simple, plastic free craft kits in the post every month.