
HoW to make string art stars
Introducing STRING ART STARS…
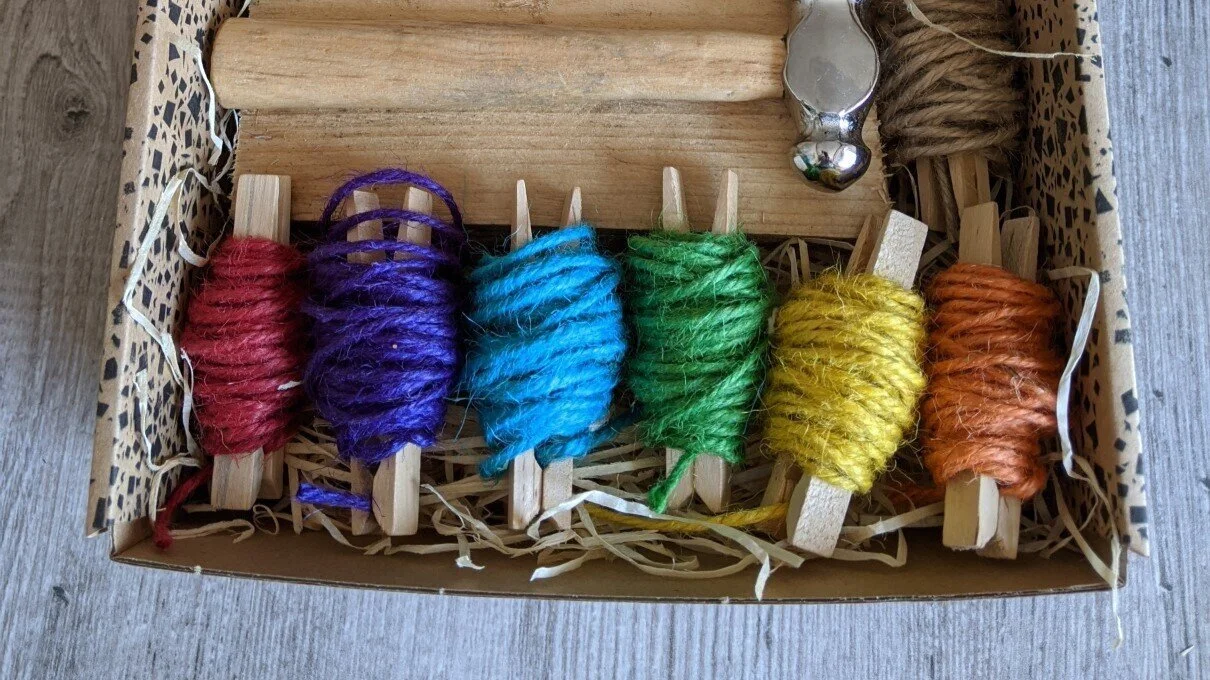
I’ve loved string art since I saw it a few months ago! I’m so proud of this kit and I think it’s going to be a favourite. I love the colours, the colour of the strings and, craft geek alert, I love the cute shiny hammers. The kits always come to you plastic free, but I’m proud to say that this kit is 99% wholesale plastic free. That means that most of the kit came to me originally with no plastic. The wood in this kit is up cycled wood from locally sourced pallets. I think that gives the wood a bit of personality as well as being in line with out eco-friendly mission. If you’d like to make more string art then I’d like to recommend the wonderful Craft Twinery where the string in this kit came from.
string art TOP TIPS
- Get your string tight - Tight strings mean a neater pattern!
- Start with a straight template - Take some time to make sure that your template is straight before you start.
- Be careful with the hammer - Even though it’s a cute small hammer, bashing your fingers still hurts! Be careful!
- Hammer on a solid surface - Hammer against something that will not move, dent or break.
Video Guide

How to Make String Art Stars
feedback
We’re a really new business and we want to keep making things better!
Please complete this 9 question survey to help us improve!
If you’d like to leave us a review to help other people find us, please leave it here.
If you’re not happy with something or have any questions, please drop me a line on adam@craftboxclub.co.uk