

Introducing The Spring tote bag kit!
This is needle punching with a twist! We’re going to use this awesome technique to embroider an eco pattern onto a jute bag. I always get feedback that people love to make items that are every day useful, not purely decorative items. This craft really ticks that box! These reusable bags are super strong shoppers made from carbon neutral jute! Unlike many similar bags, they are not lined with a layer of plastic. Good for the environment and great for us too because we can embroider them!
Punching into Jute is a little bit different to the more traditional cotton monks cloth. It’s definitely harder work and requires a bit more TLC, but the effect is great! Jute is also really long lasting and you find it everywhere, so once you’ve learned how this works you can apply it to loads of different items.
I’m using my favourite yarn again in this kit. It’s a blend of wool and silk from Yorkshire and I just love the natural colours they dye it.
I really hope you enjoy this craft. If you get stuck you can book a one to one 30 minute craft help session with me via the Members Hub.
TOP TIPS
Be careful! - It might not look it but the end of the needle is sharp and you’ll need to push pretty hard.
Get in the flow - Make sure that your yarn can flow easily through the needle.
Keep it close - Keep the needle tip close to the fabric. Don’t pull the needle away too much or the stitch will fall out.
Be gentle but firm - Apply gentle pressure to the needle when punching into the fabric.
Give a helping hand - You may need to give each stich a pinch from behind the fabric to hold it in place.
Plan your craft
Total make time -2-3 hours
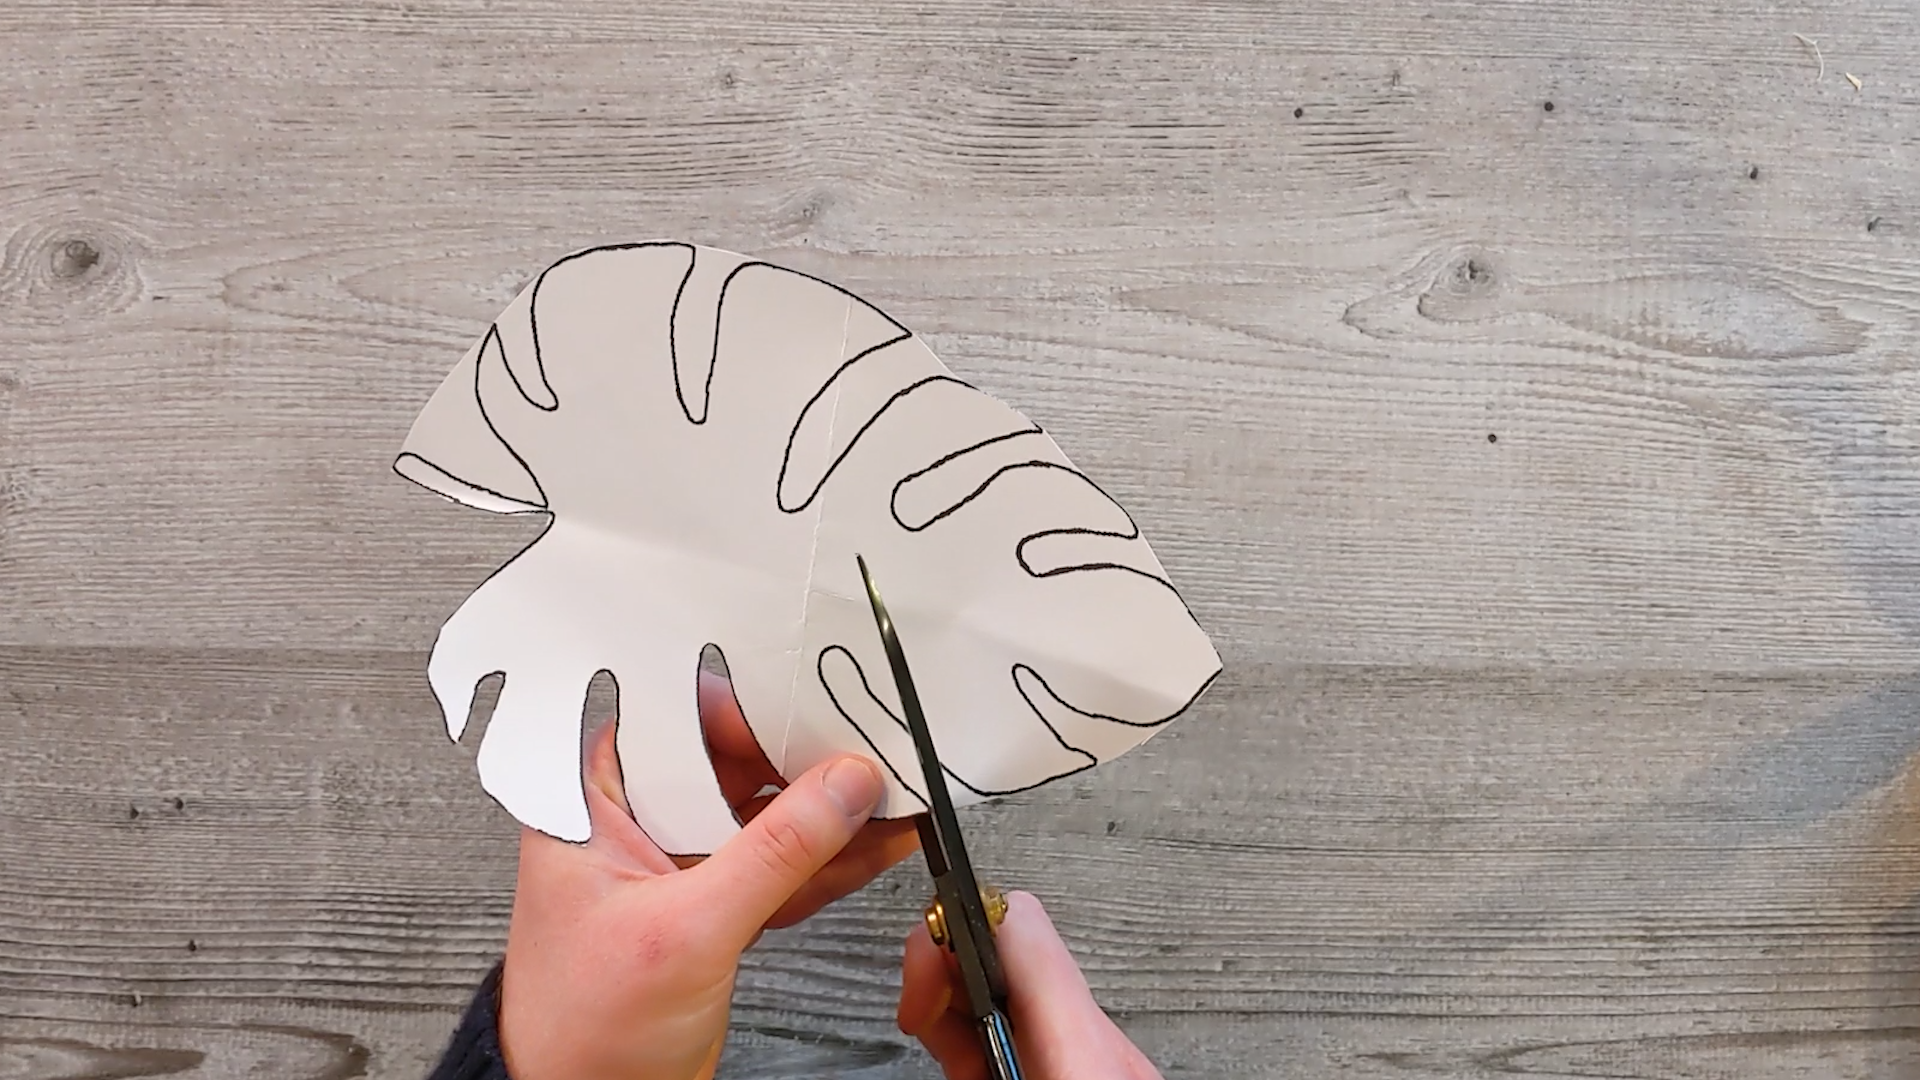
1. Cut out your leaf template

2. Trace around the template with the chalk

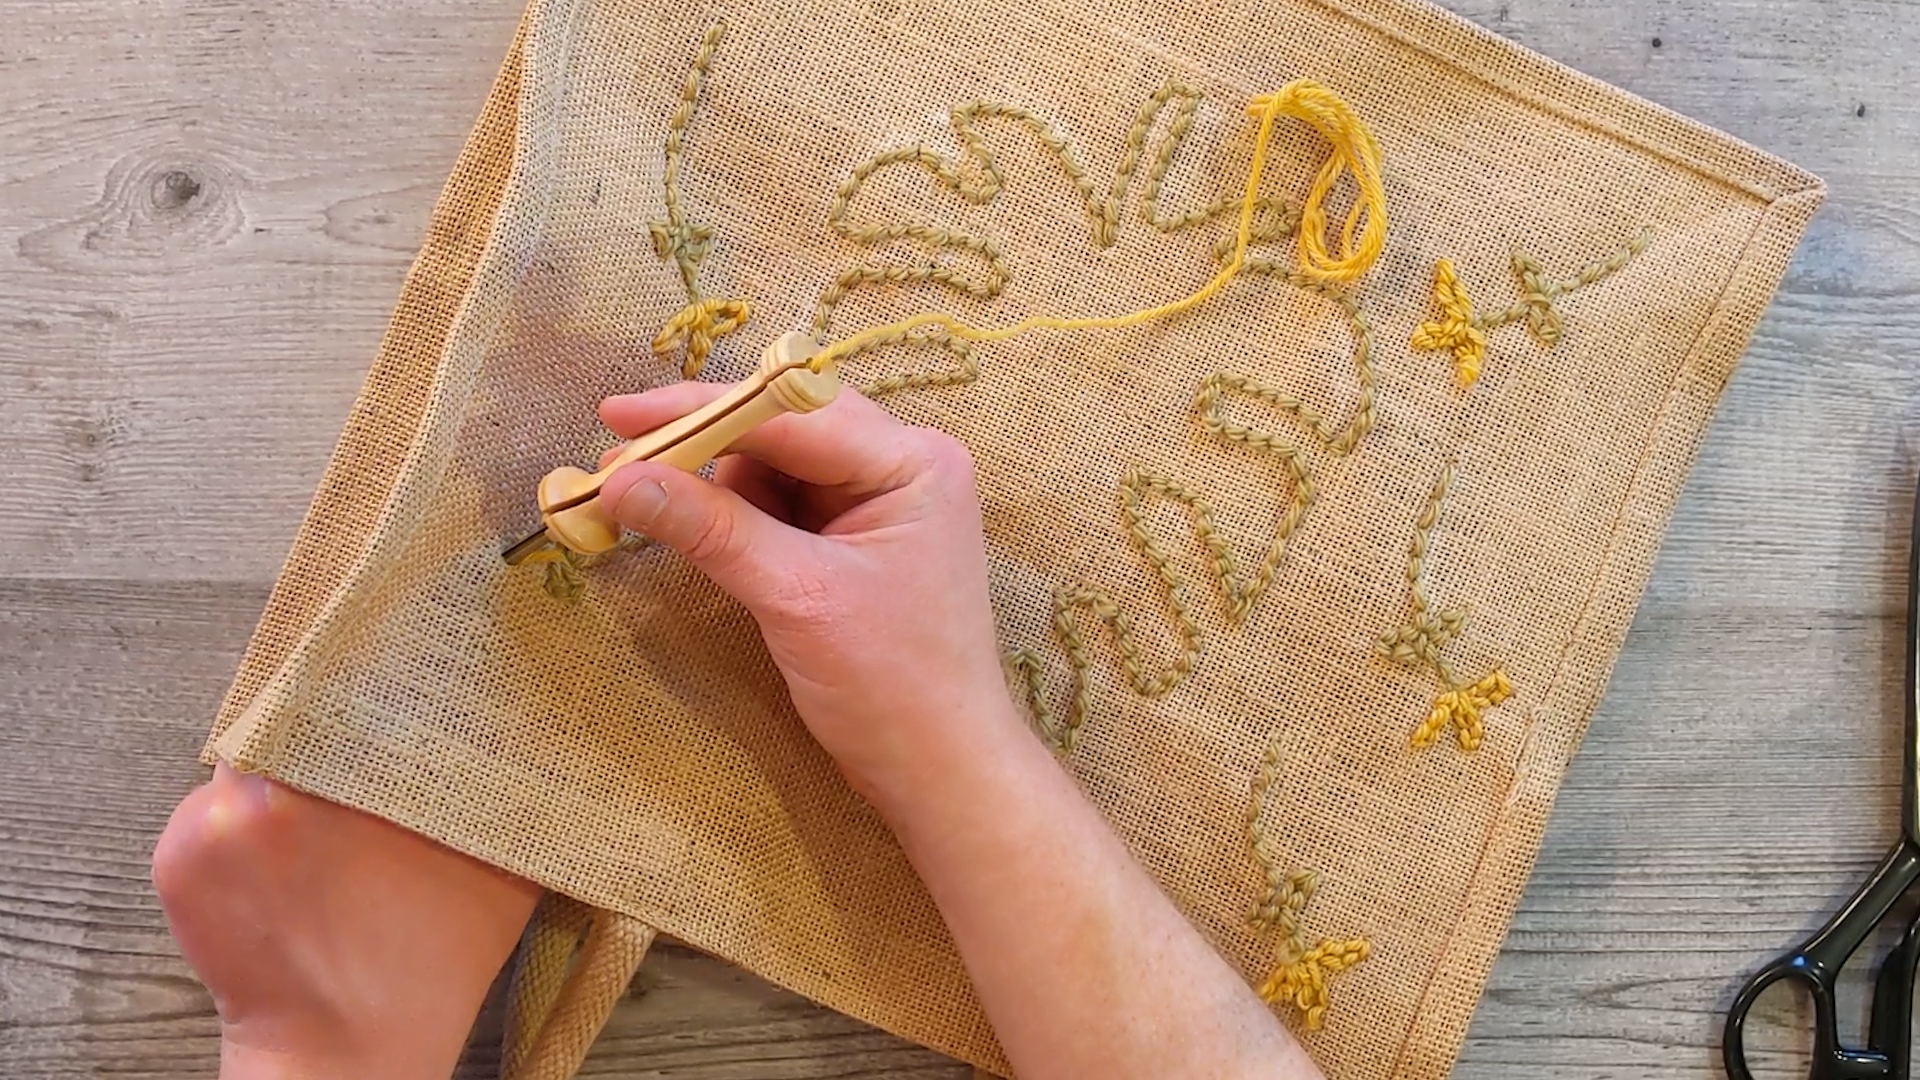
3. Thread the needle

4. Punch your yarn around your chalk outline

5. Pull the end of your yarn through the fabric

6. Punch stiches all around the chalk outline

7. Chalk on some Daffodil stems

8. Punch the stems over the outlines
9. Use the yellow yarn to punch some Daffodils

10. Trim the loose ends inside

11. Iron the back of the bag to relax the fibres together
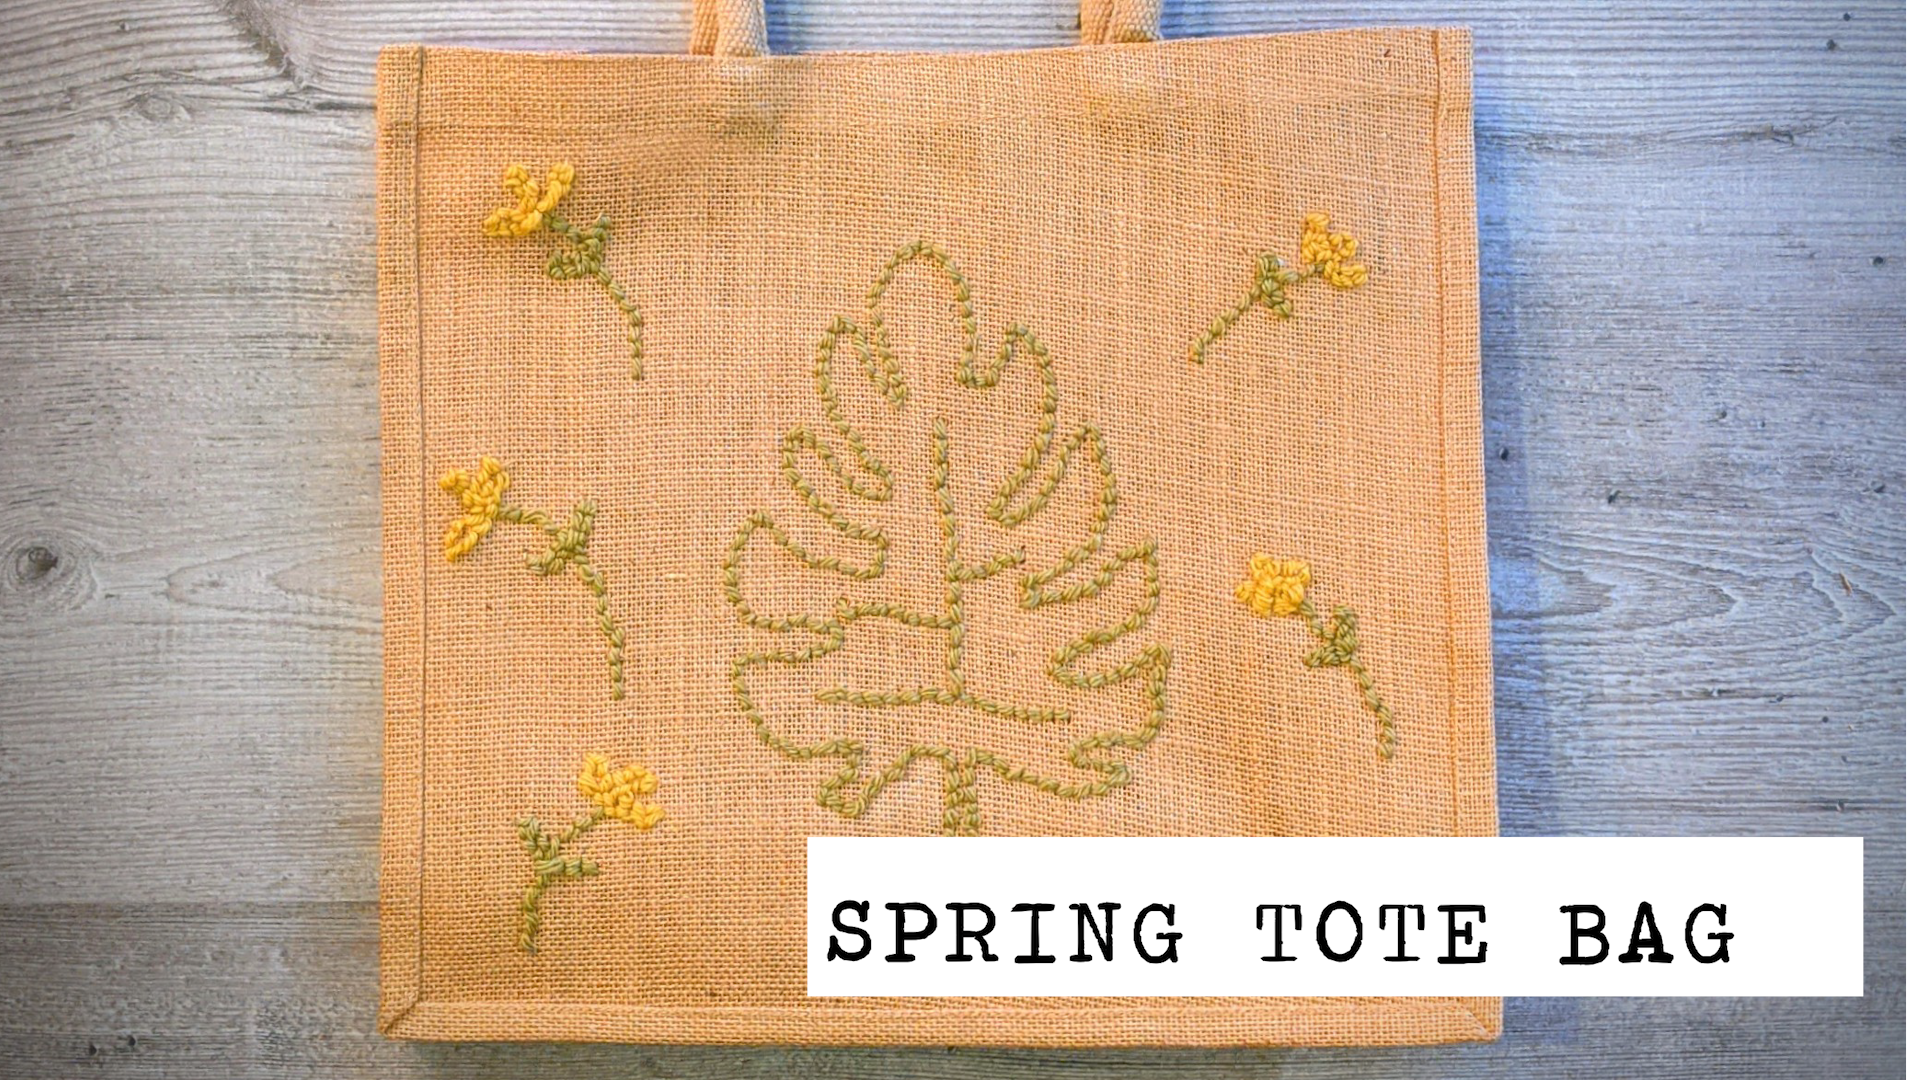
12. You’re done! Enjoy your bag and make sure you take it with you to reduce plastic waste!
Video Guide
This video guide is about 6 minutes.

Please leave feedback and share!
I’d really love to know how you get on with this kit. Please share your creations using @craftboxclubuk and if you enjoyed making them, please leave a Google review using the link below:
If you’re not happy with something or have any questions, please drop me a line on adam@craftboxclub.co.uk