

Introducing THE Natural Wood Dyeing
Could this be the ultimate eco craft? I just love the individual elements of this box and the alchemy of dyeing with natural materials. With this kit you’ll be exploring the world of natural dyes. We’ll use an avocado stone and eucalyptus leaves to dye wooden beads. I’ll also show you how to craft these beads into a beautiful bracelet and necklace pair. Three wooden coasters are also included in this kit which you can paint with your left over dye. They’re great for experimenting with colours and giving your creativity that extra spark.
If you get stuck you can book a one to one 30 minute craft help session with me via the Members Hub.
THE MATERIALS
Why are we using natural dyes rather than chemical dye? Well first of all, the effect is lovely. They produce subtle but beautiful colours which go so well with the wooden beads. Natural dyes are also way better for the environment. When you dye with chemicals there is an awful lot of toxic stuff going down the drain. They also almost exclusively come in plastic packaging. The avocado stones and eucalyptus leaves don’t really need packaging. So we’re cutting out needless waste there too.
But wait, what are those crystals in the plastic bag? That doesn’t look very eco-friendly! Don’t panic! The “plastic” is made from cellulose and is home compostable. We use these little bags lots and we love them. The crystals are made from iron sulphate which sounds chemically but you can made it by putting rusty nails in water. We’ve just sped up the process for you here and concentrated it for you.
Soy soaked beads? Yep. Every of these beads has been soaked in soya milk. This helps the dye soak into the wood better and helps the wood keep it’s colour.
TOP TIPS
Keep your dye bath below simmering point - Heating up our natural materials really helps release the best of the colours but if you turn up the heat too high, you’ll end up with a brown sludge. Keep the heat nice and low for the best colours.
Avoid tide marks - While the beads are dyeing, we want to make sure that they are evenly covered with the dye. Wooden beads have a tendency to float so we want to make sure they’re kept under the dye. We’ve provided jars to hold the beads. Topping them all the way up will help but give them a gentle shake every now and then.
Allow wood to dry completely before adding more dye - Once you’ve left the beads to dye overnight, leave them to dry entirely before deciding whether you like the colour. If you want them a little darker, just pop them in the jar again and let the dye do the work.
Chill out - Natural dyes require more patience than chemical dyes. This is a slow craft so relax into it, have a few cups of tea and you’ll see the magic happen.
Plan your craft
Total make time -1 hour to make the dye. 1 day to leave the beads to dye then dry. 1 hours to make the jewellery.
Dyeing the beads

1. Let’s start by making the pink avocado dye. Tie the bag and place it in a small saucepan

2. Cover with cold water. Heat to just below simmering point for 30 minutes.

3. Squeeze the dye bag with a potato masher.
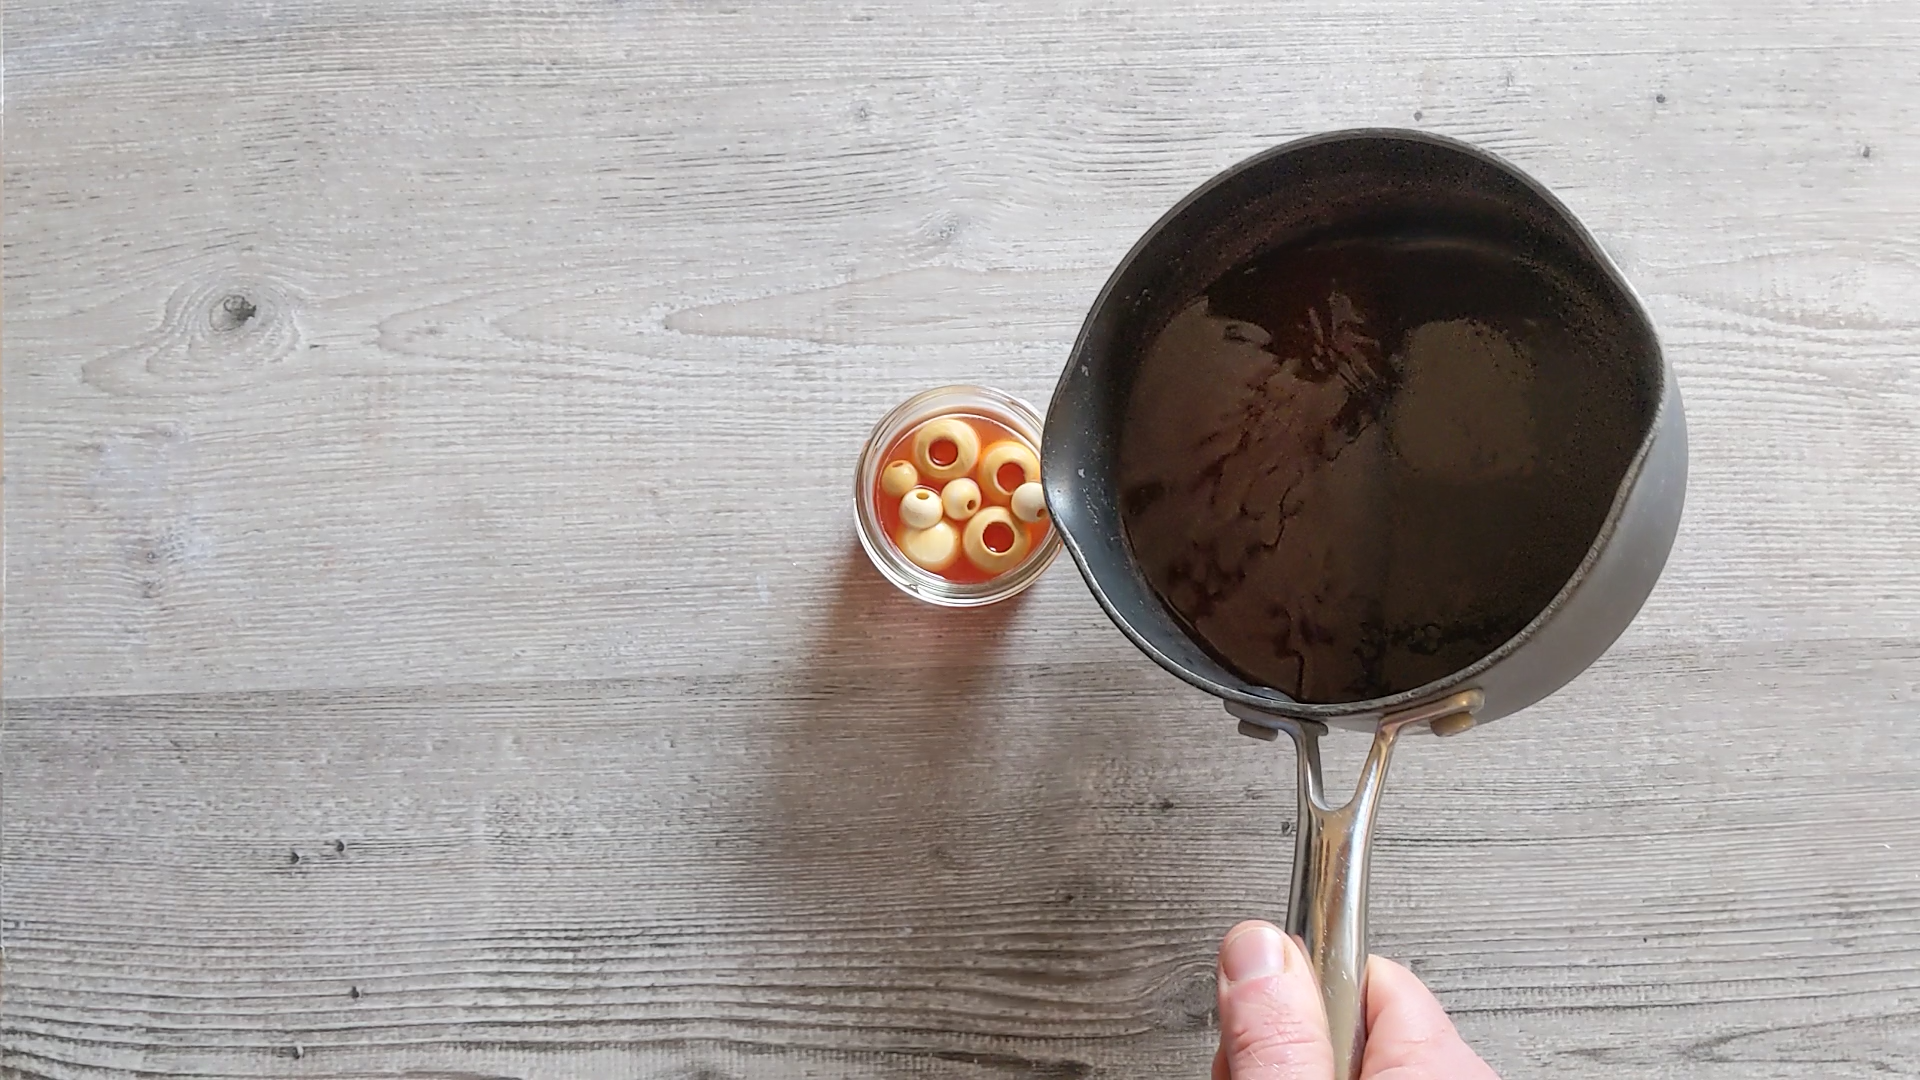
4. Pour the dye onto the beads you want to dye pink. Fill all the way to the top and put the lid on.

5. Repeat steps 1-4 with the eucalyptus dye bag then add the iron suplhate.

6. Stir until the dye turns black.

7. Pour the black dye into a jar with the beads you want to dye black and fill to the top.

8. Leave the beads overnight. In the morning, remove the beads from the dye and leave to dry for at least a day. They should look like the beads above. If you want a darker colour, pop the beads in the dye jar again and repeat the process.
Making the neclace
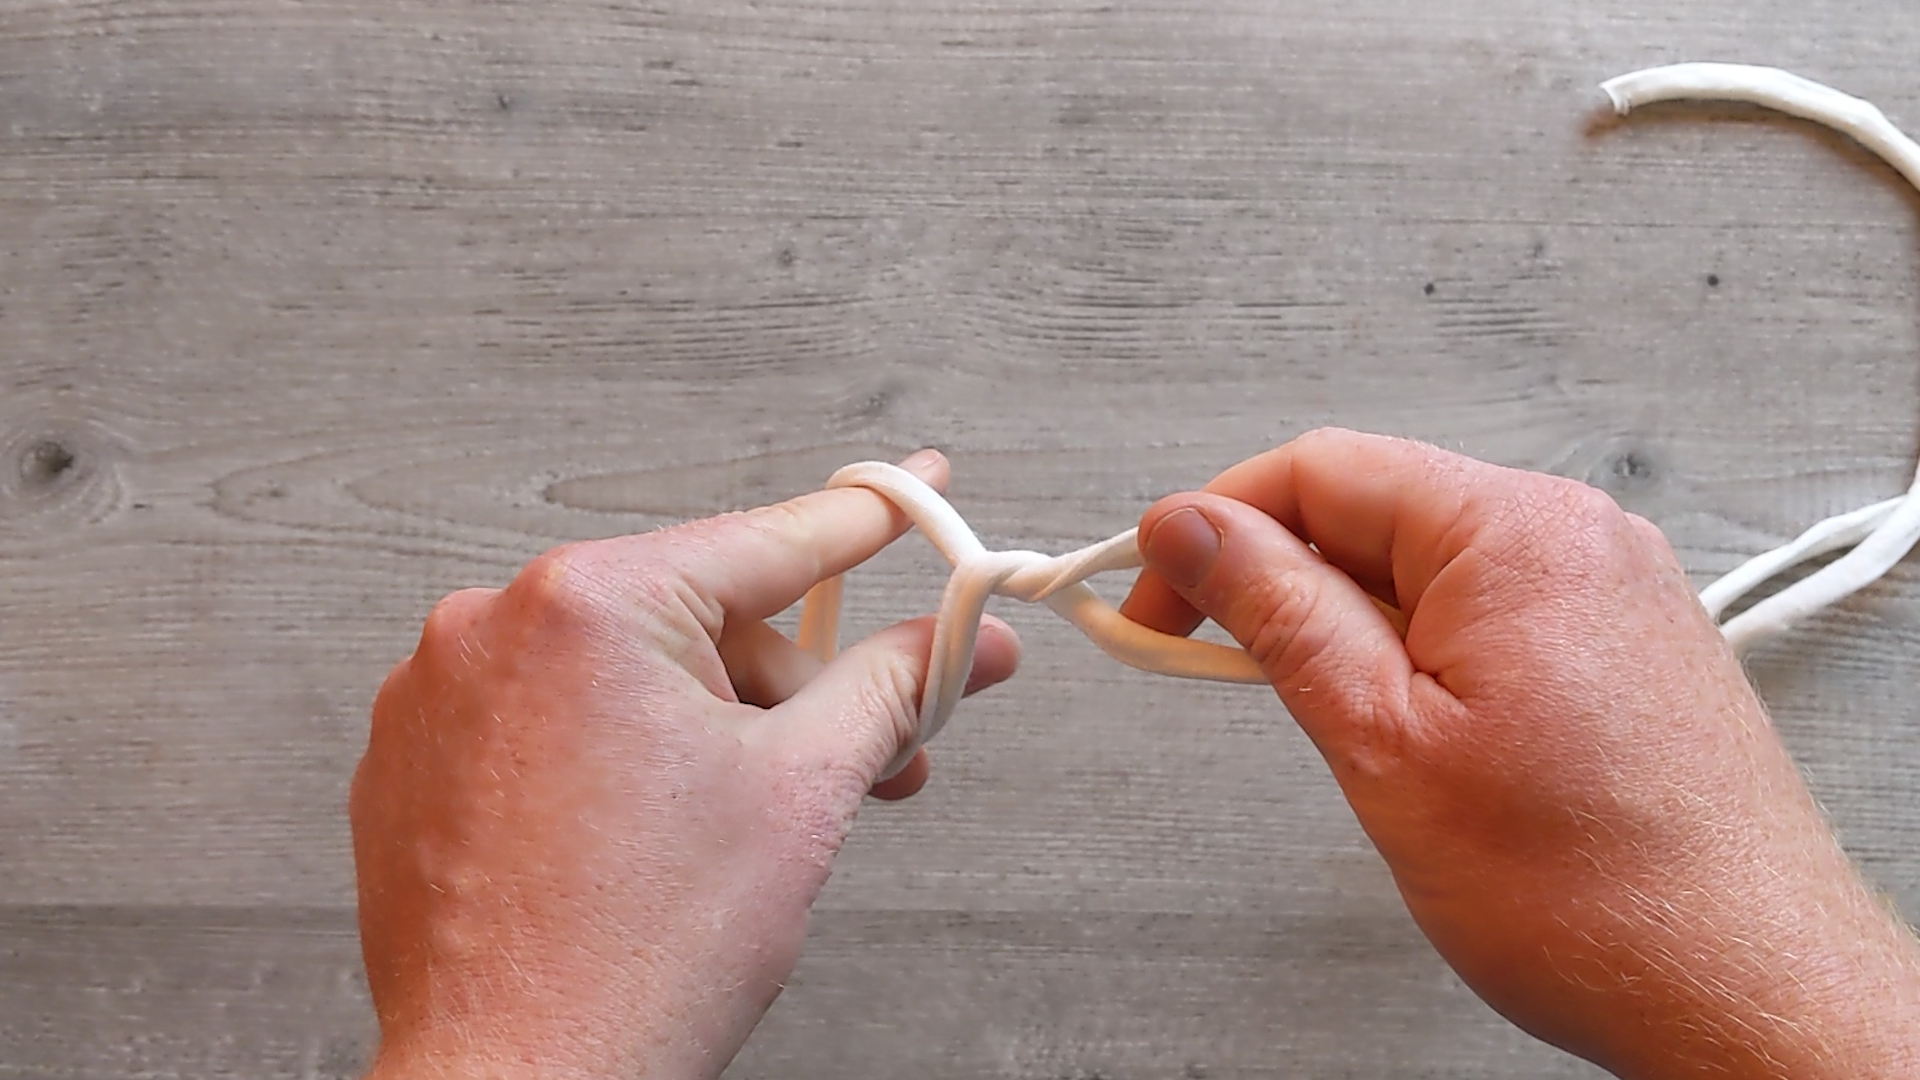
1. At the mid point of your t-shirt yarn, twist twice to form a loop. Pull an end through to make a knot.

2. Thread a bead then tie a knot until 4 beads are attached. Then do the same in the opposite direction with 3 more beads.

3. Tie a gathering knot (shown in the video) to each end.

4. Adjust for size and tie the ends together.
Making the bracelet

1. Line up 4 strands of waxed string next to one another. Weight it down just above the middle to keep everything in place.

2. Tie a square knot (shown in video)

3. Thread a bead onto the middle 2 strands.

4. Knot then thread a bead until you have 4 beads threaded. Then tie 4 more square knots, one after the other.

5. Turn the design upside down and repeat

6. Tie square knots around the bracelet ends (shown in video).

7. After 4-5 square knots, trim the loose ends. Add a dot of glue to keep the ends in place.

8. Adjust the loose ends of the bracelet to size and trim to finish off.

You can use the left over dye to paint the coasters. Use layers of dye to make the colour darker

The finished designs look great together!
Video Guide
This video guide is about 15 minutes in total.

Please leave feedback and share!
I’d really love to know how you get on with this kit. Please share your creations using @craftboxclubuk and if you enjoyed making them, please leave a Google review using the link below:
If you’re not happy with something or have any questions, please drop me a line on adam@craftboxclub.co.uk