

MACRAME SEMILUNAR GUIDE
Introducing The macrame semilunaR
Rainbows were the symbol of hope during lockdown so I thought I would bring you this natural coloured rainbow to help bring us a little closer to normality. Once again, I have loved designing this kit! Macrame is a perfect Craft Box Club craft as the materials are so easy to source locally, sustainably and plastic free. I’ve been a bit unsure about introducing a macrame box because it has a reputation for being a bit fiddly and complex, but this design is actually super easy and I think you’ll love the process of creating it!
You’ll be learning four different macrame knots which you can use for loads of different projects! There is lots of detail in this guide to help you. Make sure you don’t miss the video guide at the bottom of the page.
I really hope you enjoy this craft. If you get stuck you can book a one to one 30 minute craft help session with me via the Members Hub.
TOP TIPS
Be firm but gentle! - ∙ These knots are decorative so they don’t need to be too tight, just the right shape.
Secure your dowel - to your work surface before you start. Loop your string around something heavy look a food tin. It really helps to keep your work in one place.
Small adjustments - Keep comparing your work with the photos in the guide and make little adjustments as you go along.
Go at your own pace - I have left the video guide long so that you can see each step really clearly. If you’ve got the idea, fast forward and get making.
It’s repetitive - The great thing about this design is that most of the knots are the same. Once you’ve got it you can relax into it.
Plan your craft
Total make time -2-3 hours
Pattern
Lark’s head knot at each end
Row 1 - White x2
Row 2 - White x4
Row 3 - White x6
Row 4 - White x4, add green with reverse lark’s head knot, white x4
Row 5 - White x 5, include 2 green, white x 5
Row 6 - White x 6, add green with reverse lark’s head knot, white x 6
Row 7 - White x 7, include 6 green, white x 7
Don’t worry if you don’t know what this means. Watch the video guide at the bottom of the page.
Photo guide

1. Secure your dowel with a tin

2. Use a lark’s head knot to attach a length of white twine

3. Then add another

4. The filler cord is always the second length from the left. We’re going to tie loops around it. Like this!

5. Attach the other end of the filler cord to the dowel with another lark’s head knot

6. Do the same for rows 2 and 3
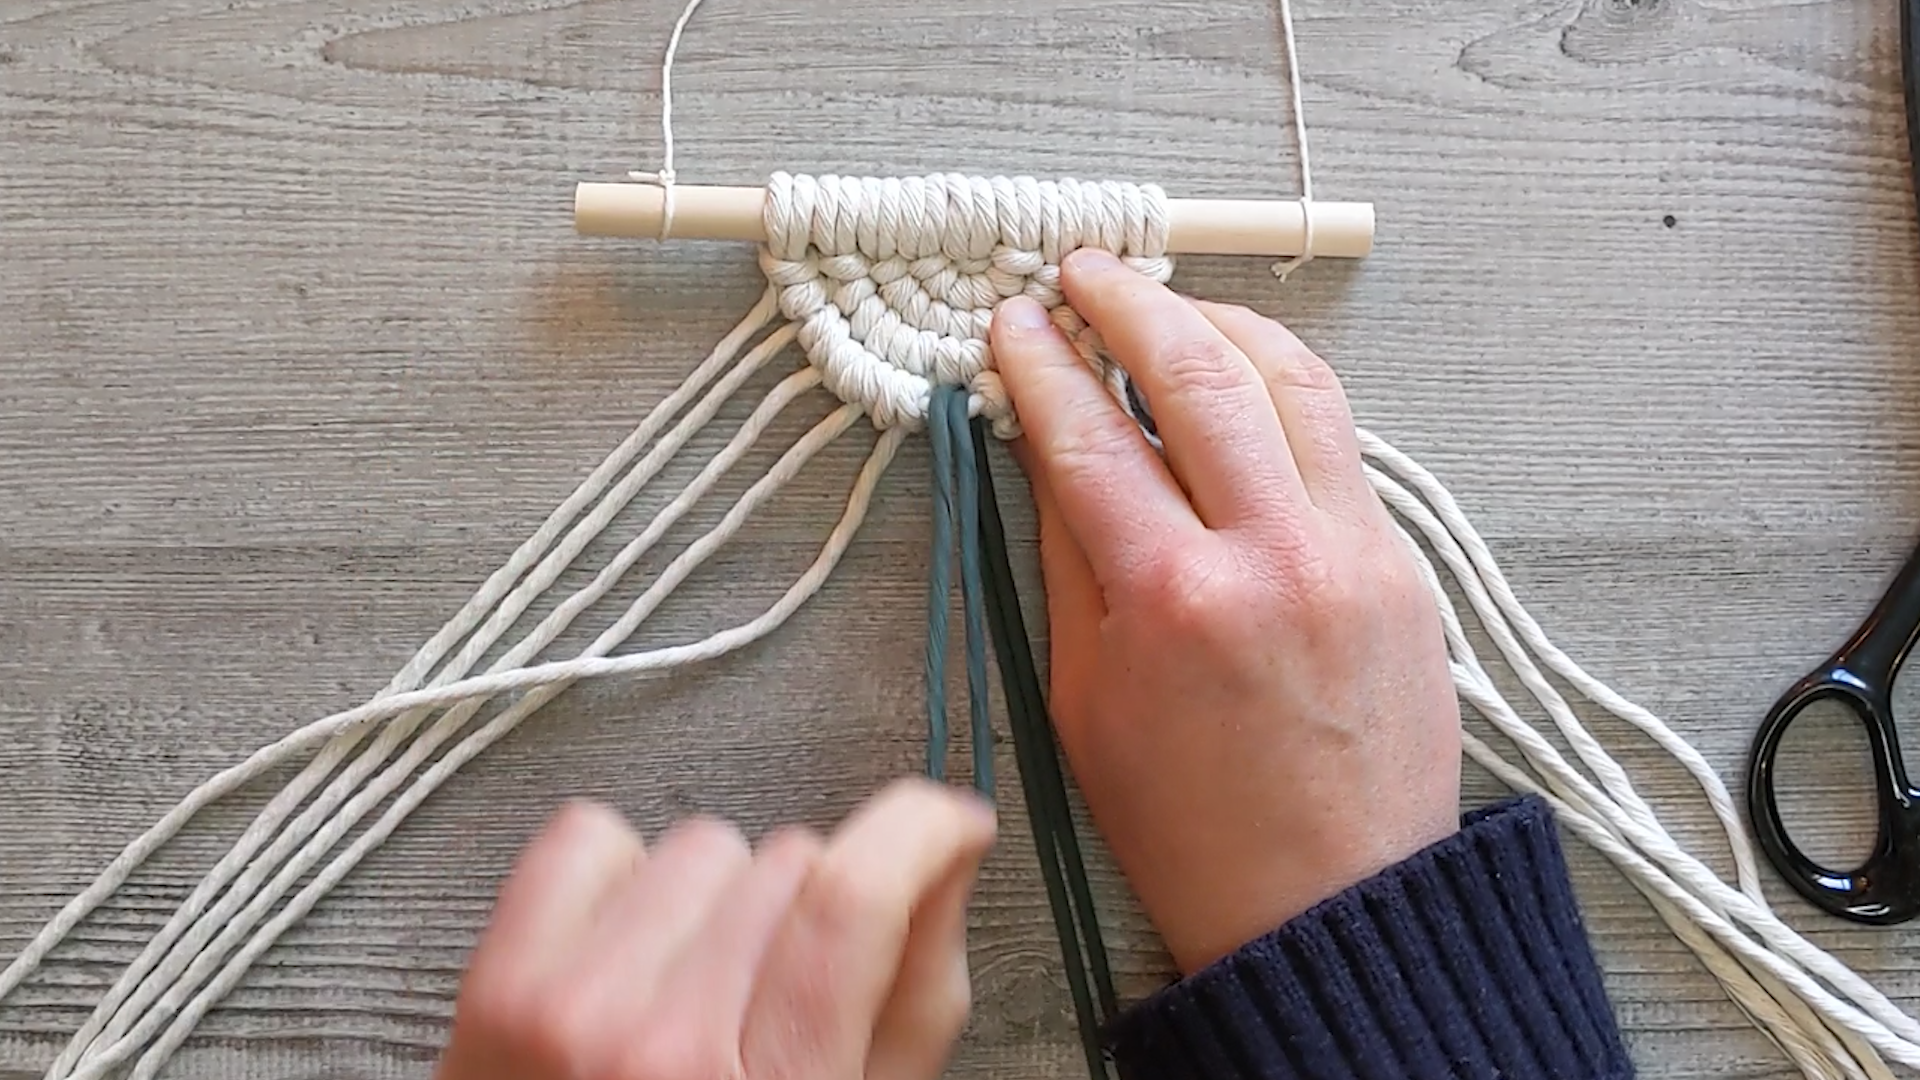
7. Complete a 4th row then add a green cord in the middle of the row with a reverse lark’s head knot
8. When you’re doing the next row, include the green cords in your loops

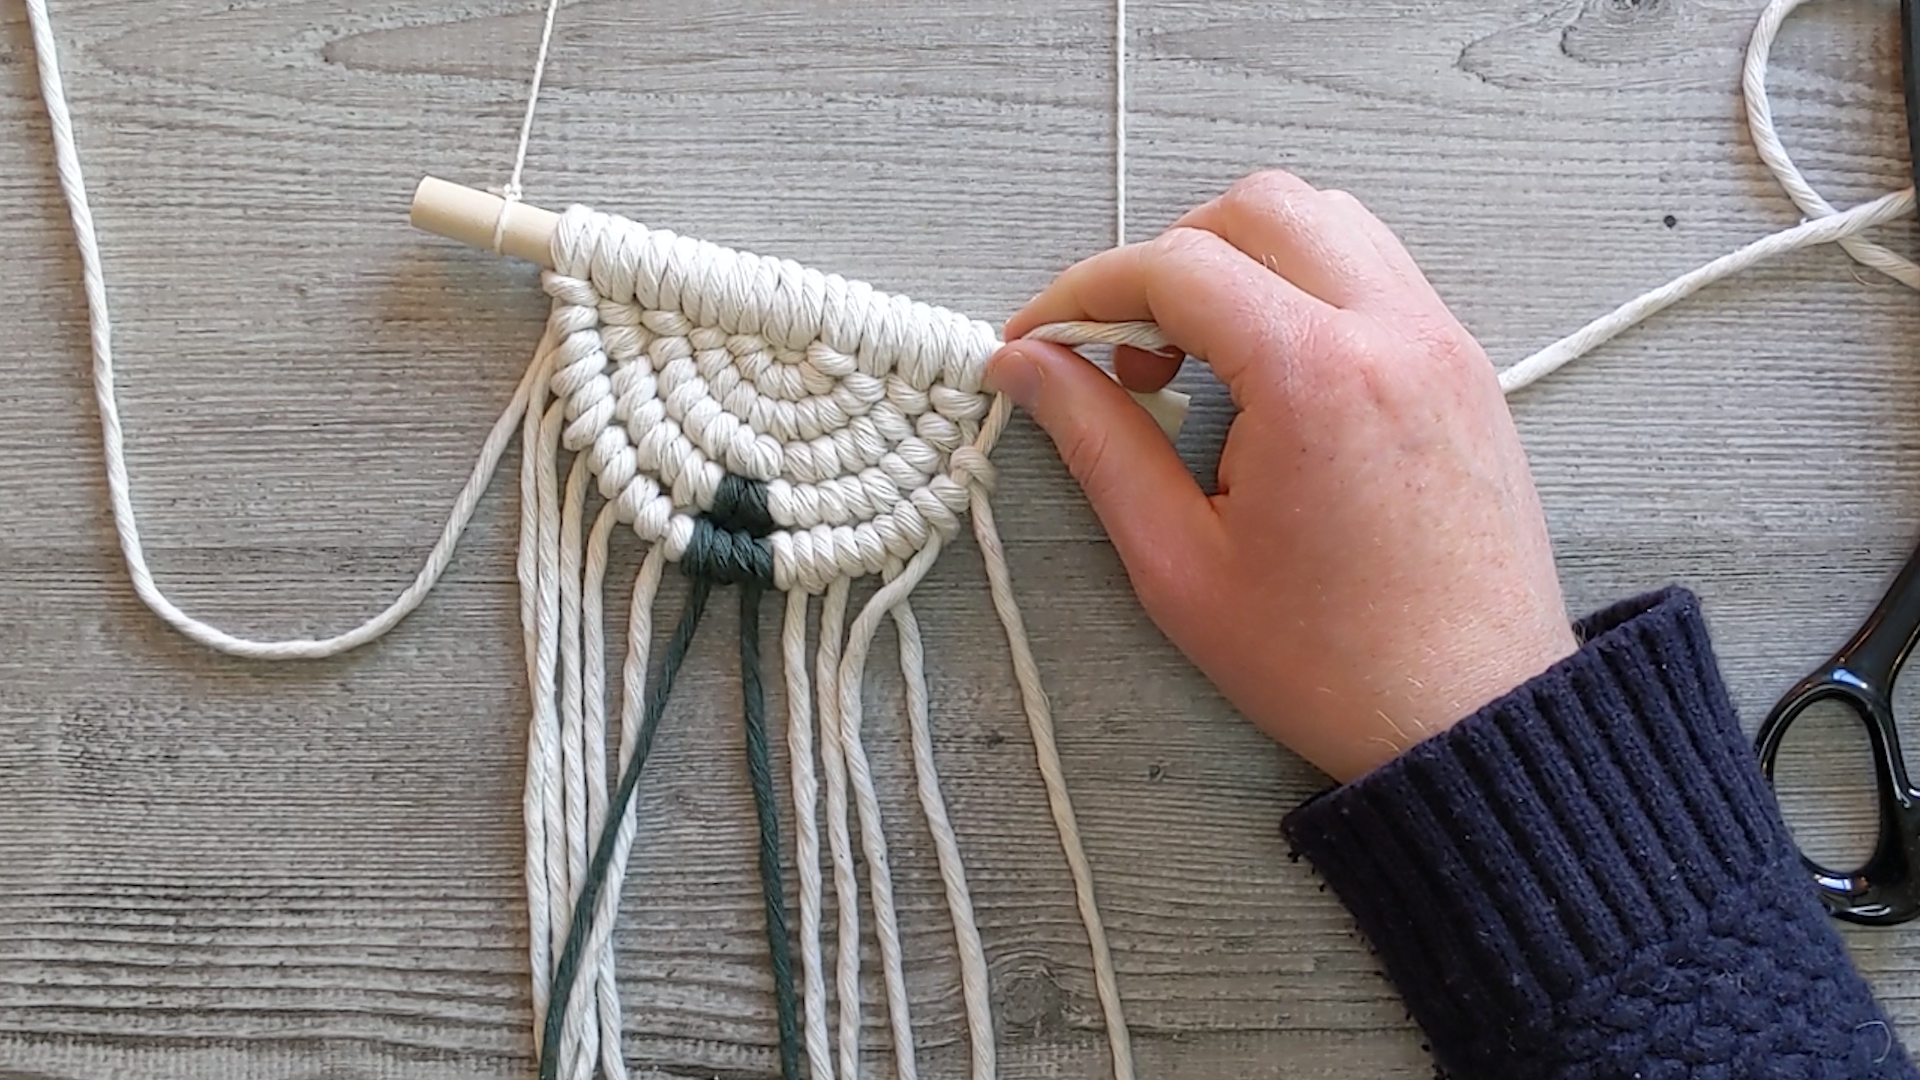
9. Before you include the green cords in the next row, add another green cord, include the 2 existing green cords…

10. …add another green cord, then carry on

11. Add a final row as normal
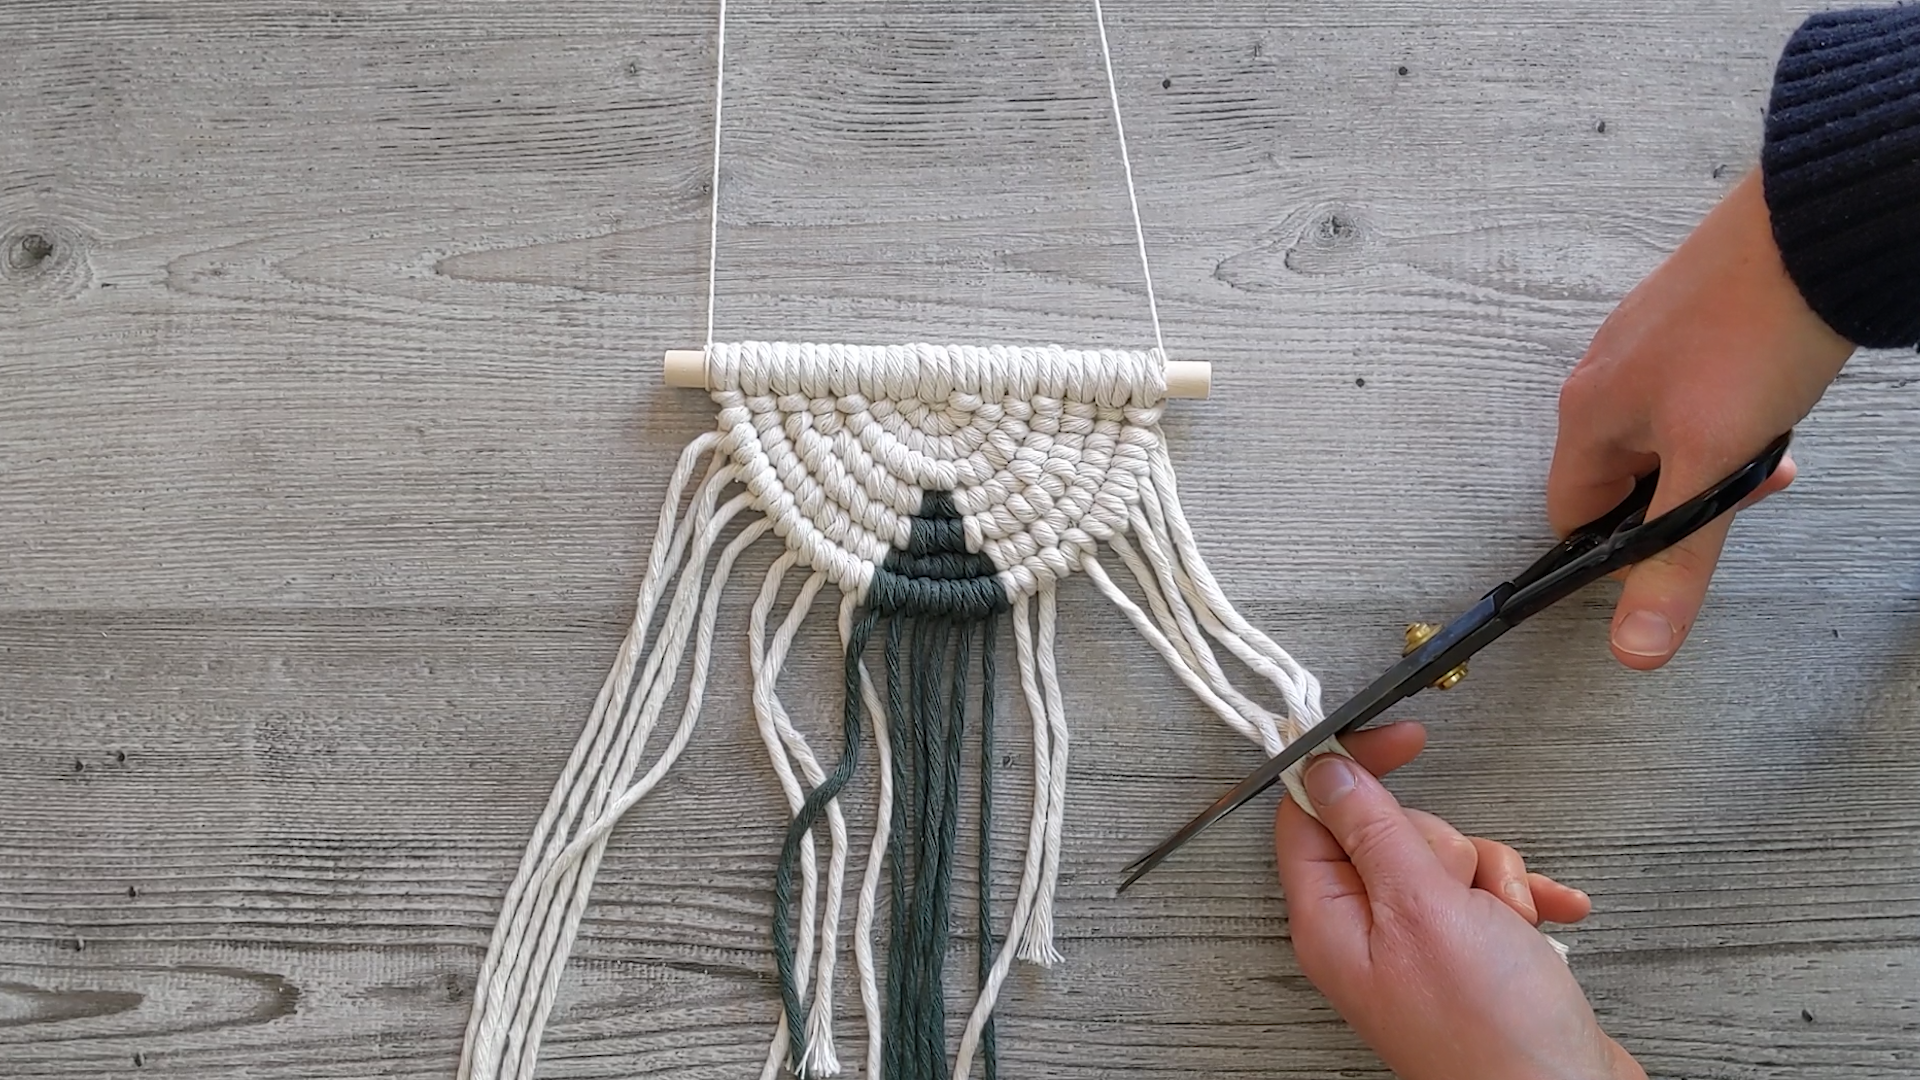
12. Roughly trim the loose ends to the to about the same length

13. Comb out the individual strands then trim again
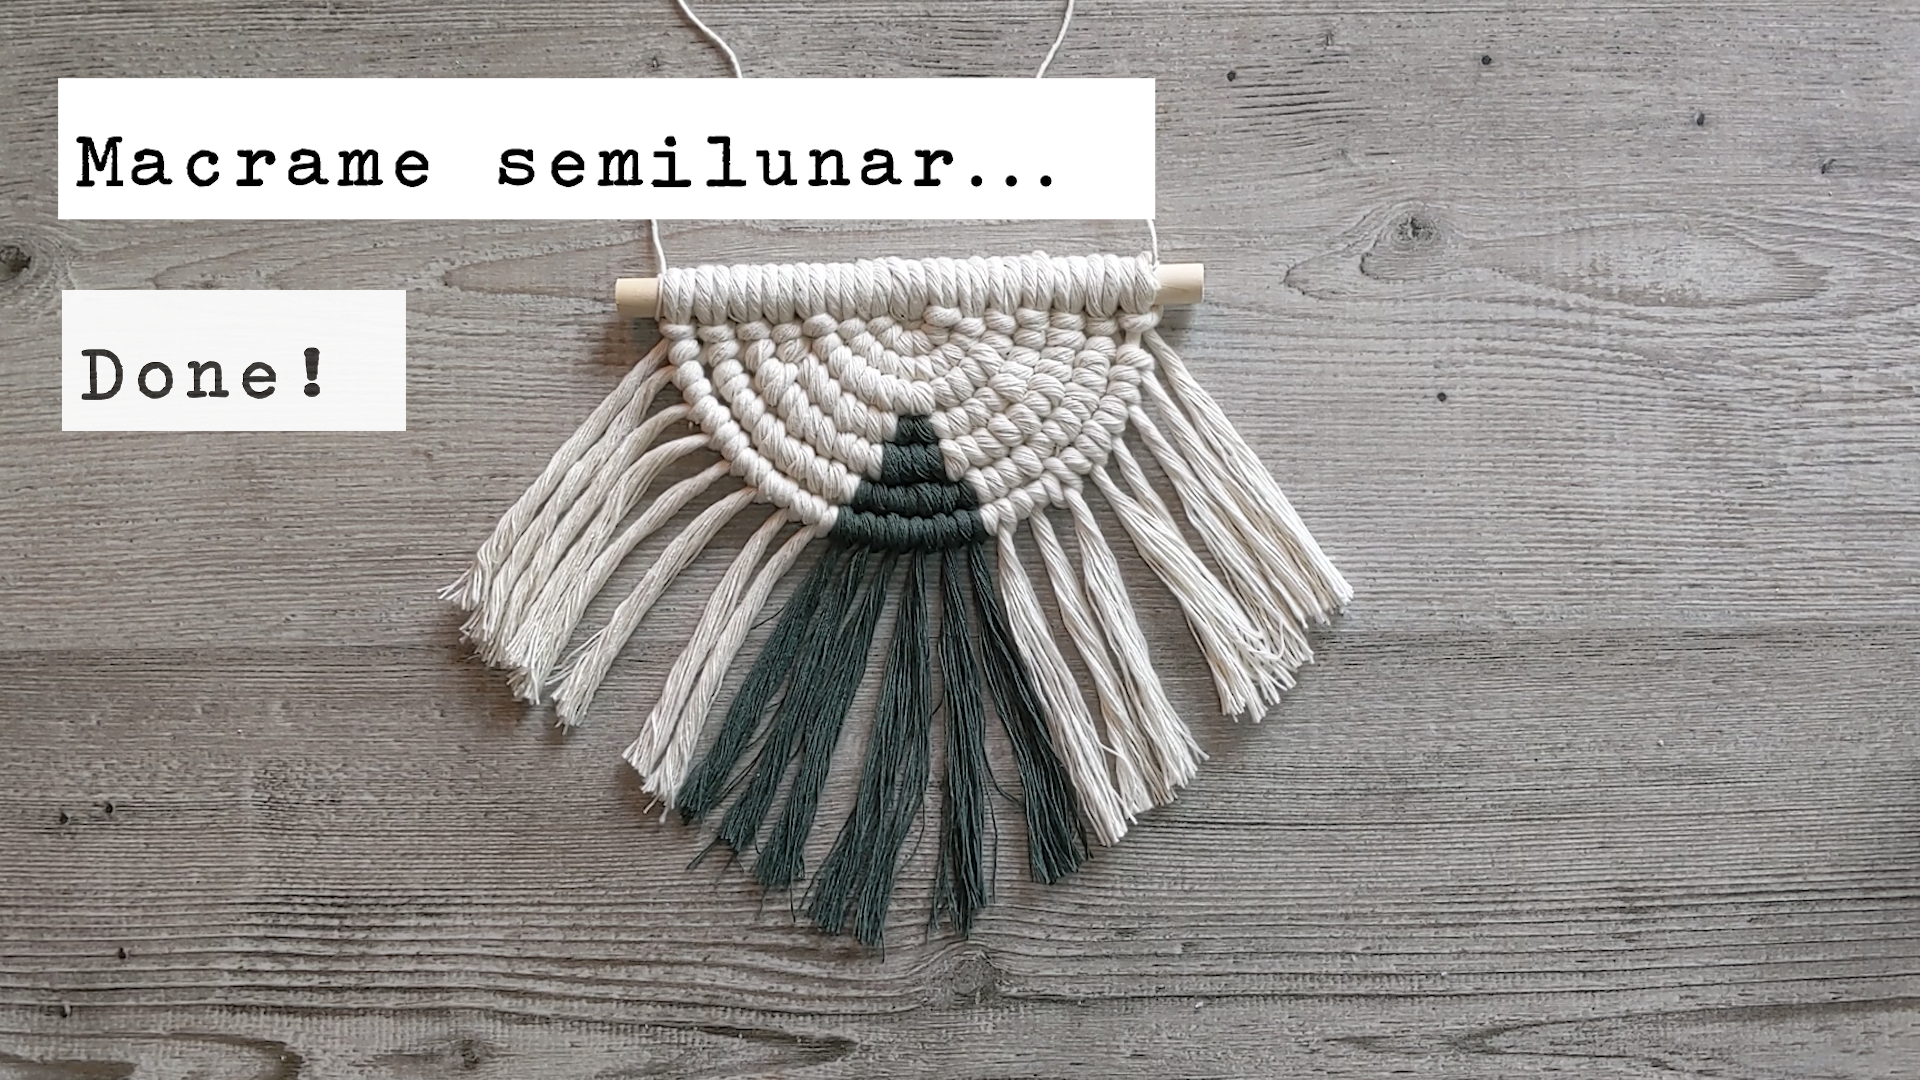
14. You’re done! Enjoy your boho wall hanging!
Video Guides
The semilunar video is about 13 minutes while the keychain is about 5.

Semi lunar

Keychain
Please leave feedback and share!
I’d really love to know how you get on with this kit. Please share your creations using @craftboxclubuk and if you enjoyed making them, please leave a Google review using the link below:
If you’re not happy with something or have any questions, please drop me a line on adam@craftboxclub.co.uk