Lino Cut Cards guide
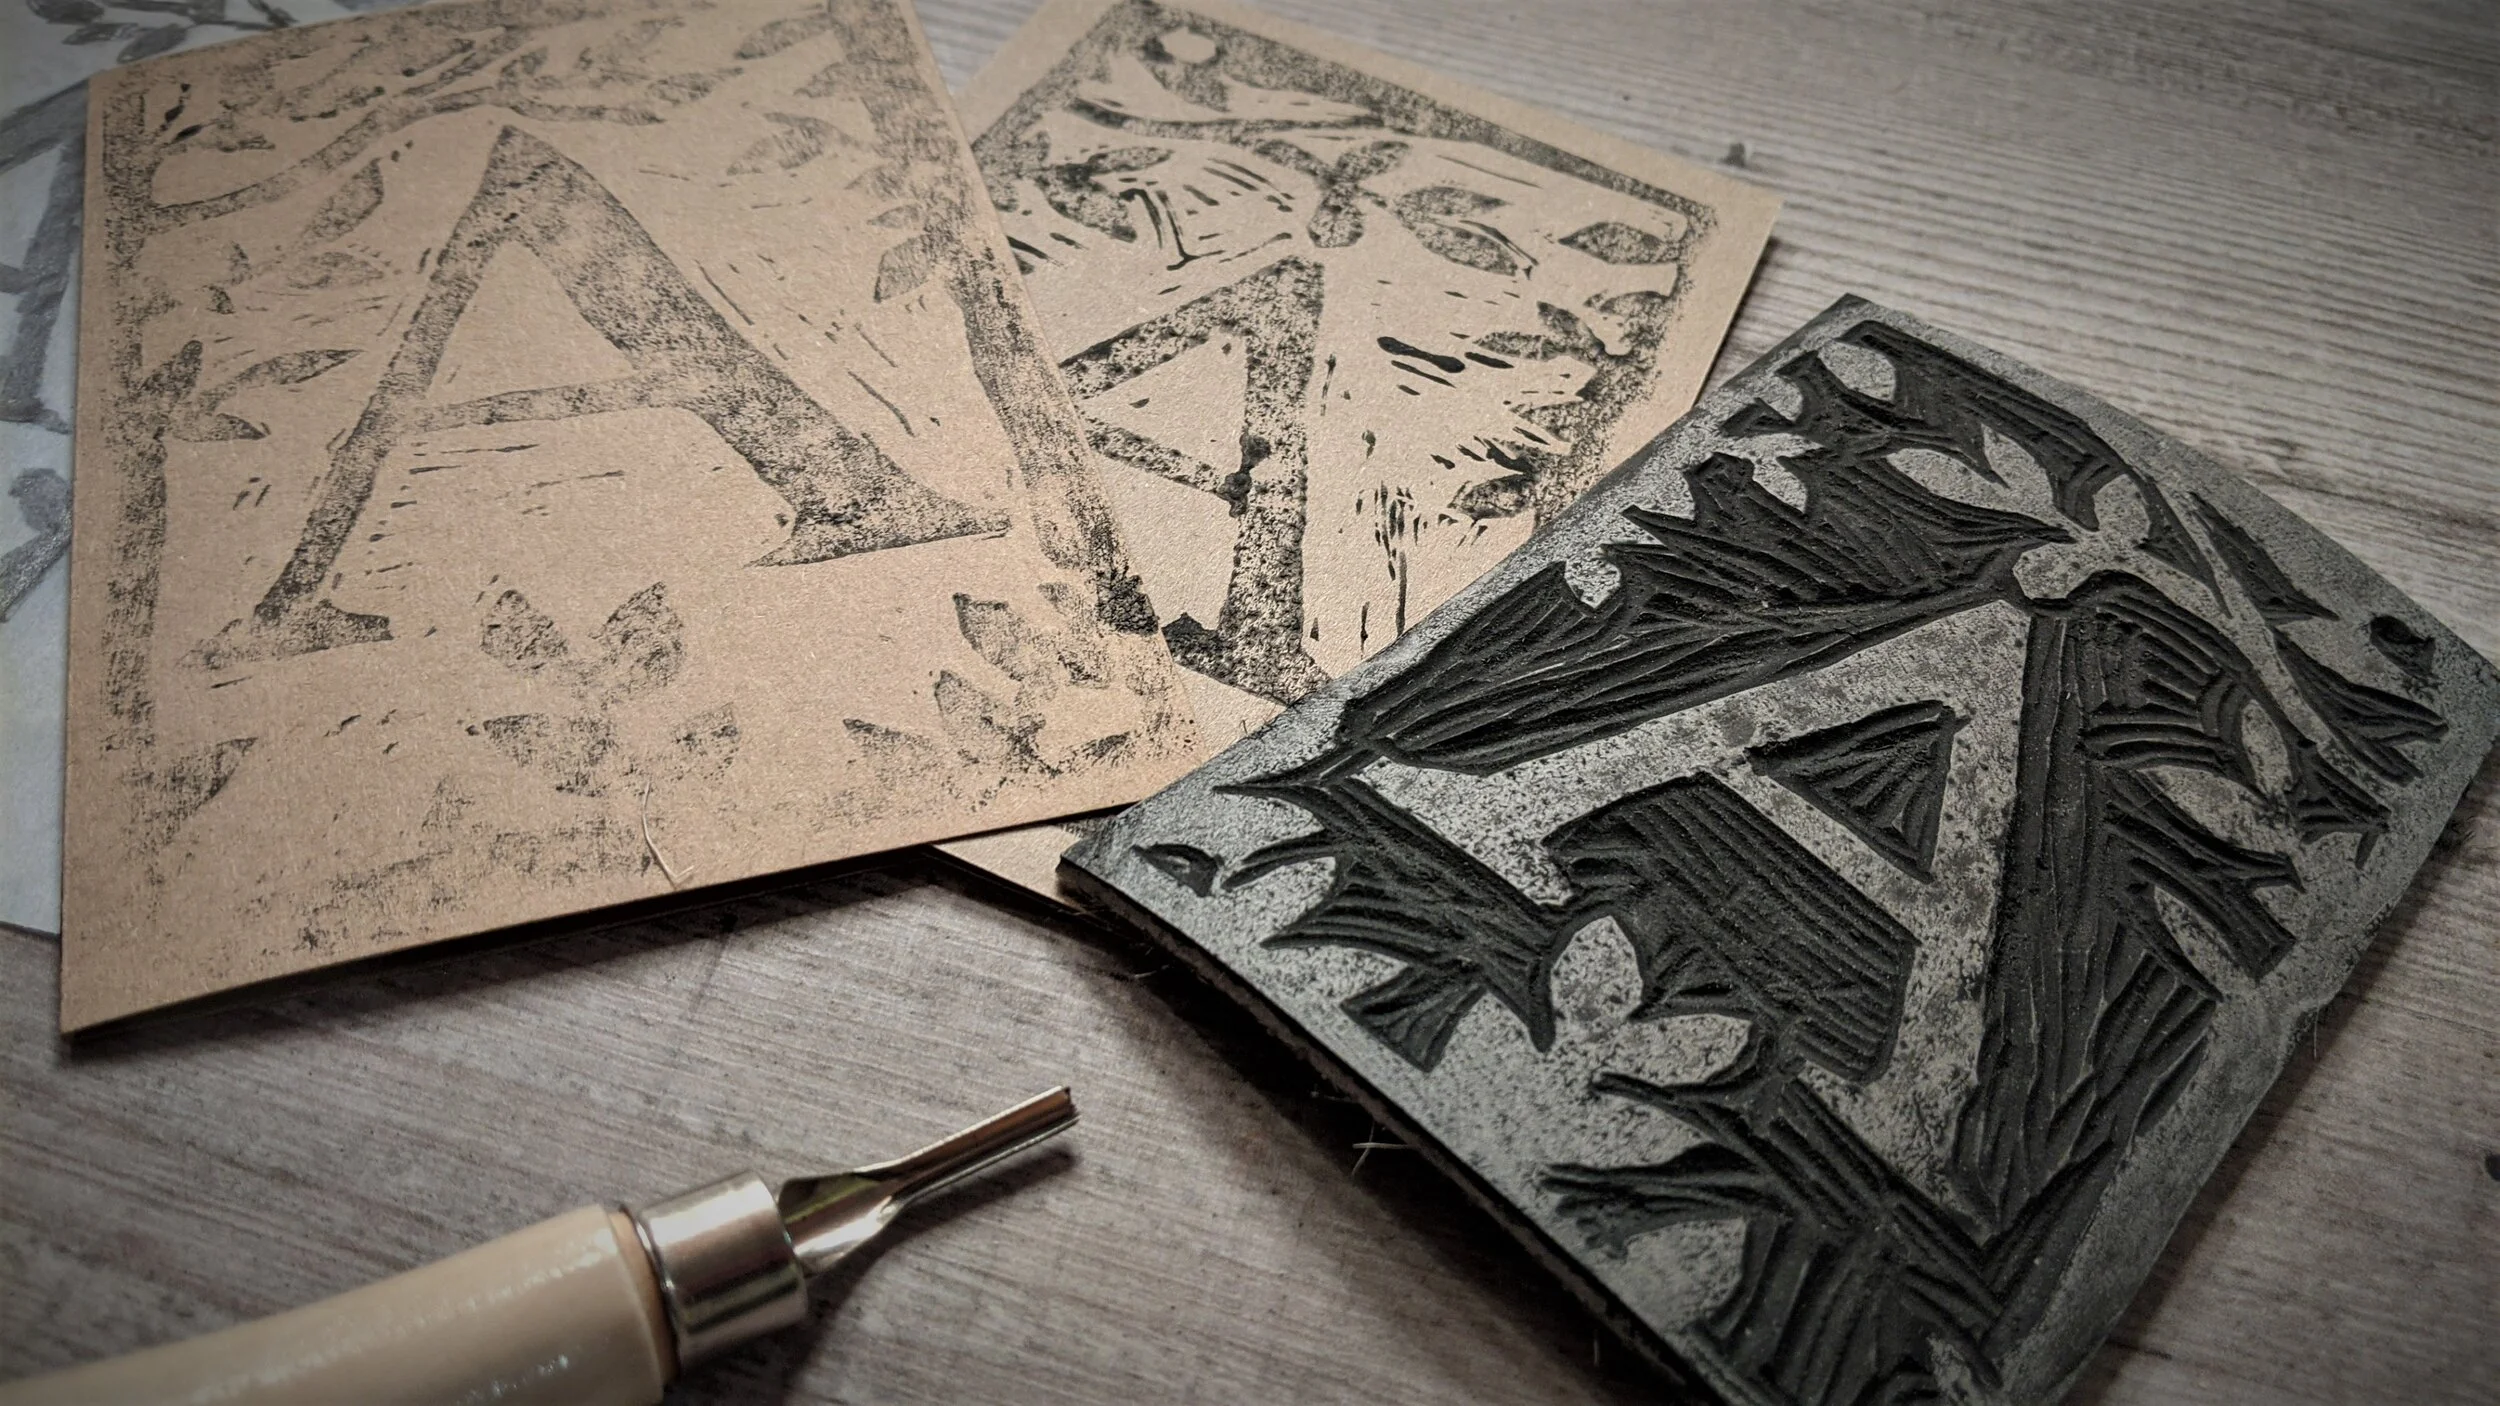
Introducing The Lino Cut letters craft kit
I love lino cutting! This kit has been a long time coming. I’ve put lots of time into researching this one, to make sure that it’s as environmentally friendly as possible. The kit includes lovely wooden lino cutting tools, genuine lino (surprisingly plastic free) and wood fibre sponges to apply the “ink”. I say “ink” because we’re going to make our own printing “ink” using natural iron oxide powder paint. Non-toxic and an extra bit of creativity and experimentation to make your own printing ink! Some kits now have the powder paint sent out in what looks like plastic. Don’t worry! When you’re done with it just throw it away or put it in your home compost. It will fully biodegrade to leave no trace!.
I really hope you enjoy this craft. If you get stuck you can book a one to one 30 minute craft help session with me via the Members Hub.
BLOG
Click here to read the story behind the kit.
TOP TIPS
Be careful cutting the lino. The blades are sharp! Make sure your fingers aren’t going to be in the way if the blade slips!
The lino is a little bit easier to cut if it’s warm. Leave it on a radiator for 30 mins before you start cutting.
Mix the paint thick so it sticks to the lino. Don’t add too much water! A teaspoon should do it.
Don’t worry if your print isn’t perfect or if you miss cutting a little bit of lino. This is a craft where imperfections really enhance the final look.
Have a couple of printing experiments on scrap paper before you start printing onto cards.
You’re going to make a bit of a mess! When you cut the lino, little bits will get everywhere and the black paint will get all over your fingers. It’s worth getting some newspaper ready.
Plan your craft
Download your letter template here.
Total make time - 2 - 3 hours
Transfer your tree and letter designs onto the tracing paper.
Transfer your design onto the lino a section at a time.
Cut out your lino sections
Trim the lino border.
Mix your “ink” and apply it to the lino.
Do some printing experiments
Print onto your cards.
Video Guide
This video guide is about 4 minutes.

Please leave feedback and share!
I’d really love to know how you get on with this kit. Please share your creations using @craftboxclubuk and if you enjoyed making them, please leave a Google review using the link below:
If you’re not happy with something or have any questions, please drop me a line on adam@craftboxclub.co.uk