
Introducing Painted pink beach huts!
It’s the summer! Well, as I write this in a stormy UK it doesn’t feel quite like it. But warmer times are ahead and I’m dreaming of heading to the seaside with the sun on my face and sand between my toes!
The kit is all about painting these pretty pink beach houses! They’re jointly inspired by a trip to Lyme Regis last summer and my time growing up in Bermuda surrounded by houses painted exactly this pink colour! The powder paint used in this kit contains nothing more than earth minerals. They come packed in cellulose bags so you can compost them after use!
I found the process of transferring the design from the back of the tip sheet and painting on the small details like the windows made me really focus and relax. I really hope you enjoy this craft.
A massive thanks to Love HeartWood who cut the houses for me from FSC wood. Do have a look at their beautiful sustainable toys and eco products!
If you get stuck you can book a one to one 30 minute craft help session with me via the Members Hub.
COMPETITION!
I’ve included loads more glue than you need in this kit so you can get creative with added extras for your houses. Maybe have a walk on the beach or the countryside and pick up a few natural goodies to adorn your houses. When you’re done, share your seaside village on social media using @craftboxclubuk. Each month for the whole summer, the most creative collection of houses will win a FREE craft box!
TOP TIPS
Take it slow - ∙ Wait for each coat to dry before painting over it.
Don’t dry out - Cover paint when you leave it so it doesn’t dry out.
Relax - Relax into the painting and enjoy it. Remember, it’s a rustic beach house, it’s not about precision!
Paint mixing - Add the water to the paint slowly. It’s easy to add more. Much harder to take it out! If you do put too much in though, just leave it to dry out a bit in the air.
Plan your craft
Total make time -1-2 hours

1. Sand your wooden houses
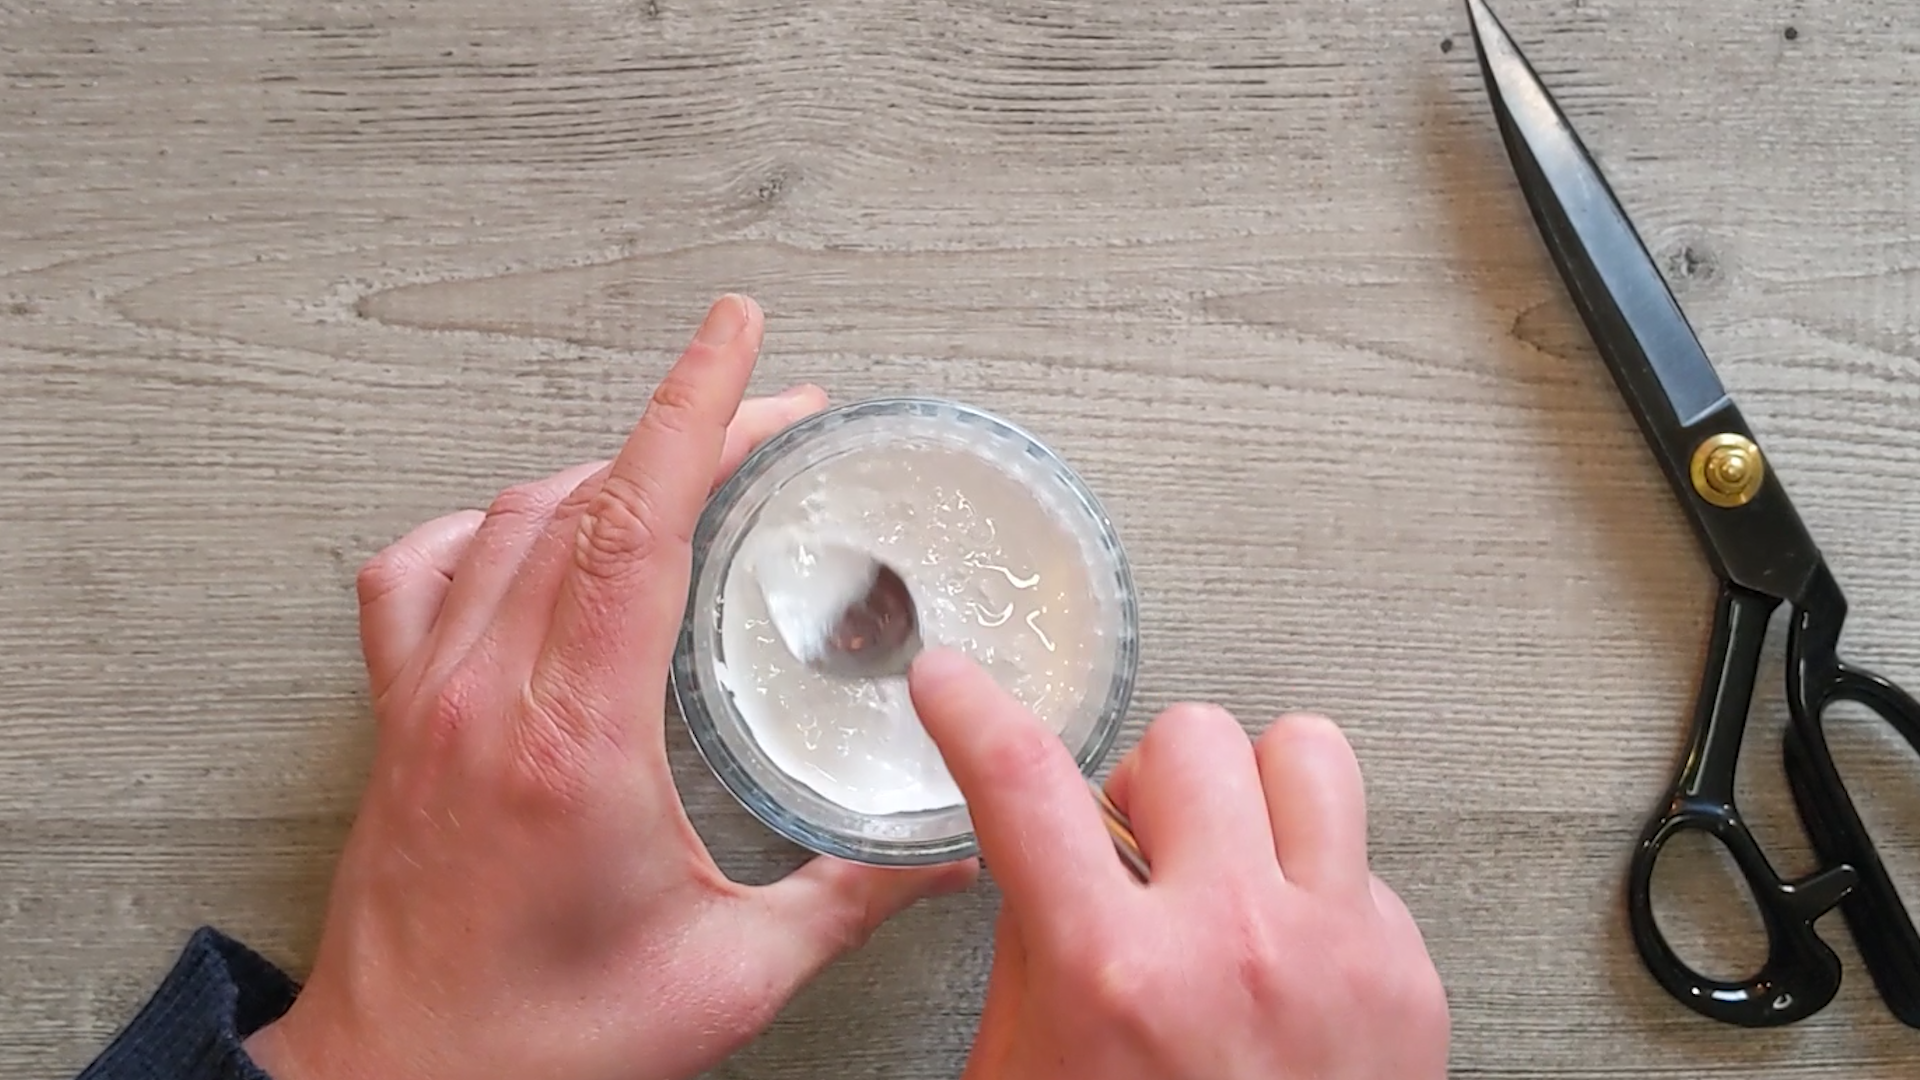
2. Use a third of the white paint powder and a little water to make a smooth white paint

3. Use the sponge to paint a thin white base layer onto one house

4.. Use the rest of the white paint powder, a tiny bit of red and a little water to make a smooth pink paint

5. Use the sponge to paint a thin pink base layer onto the other two houses
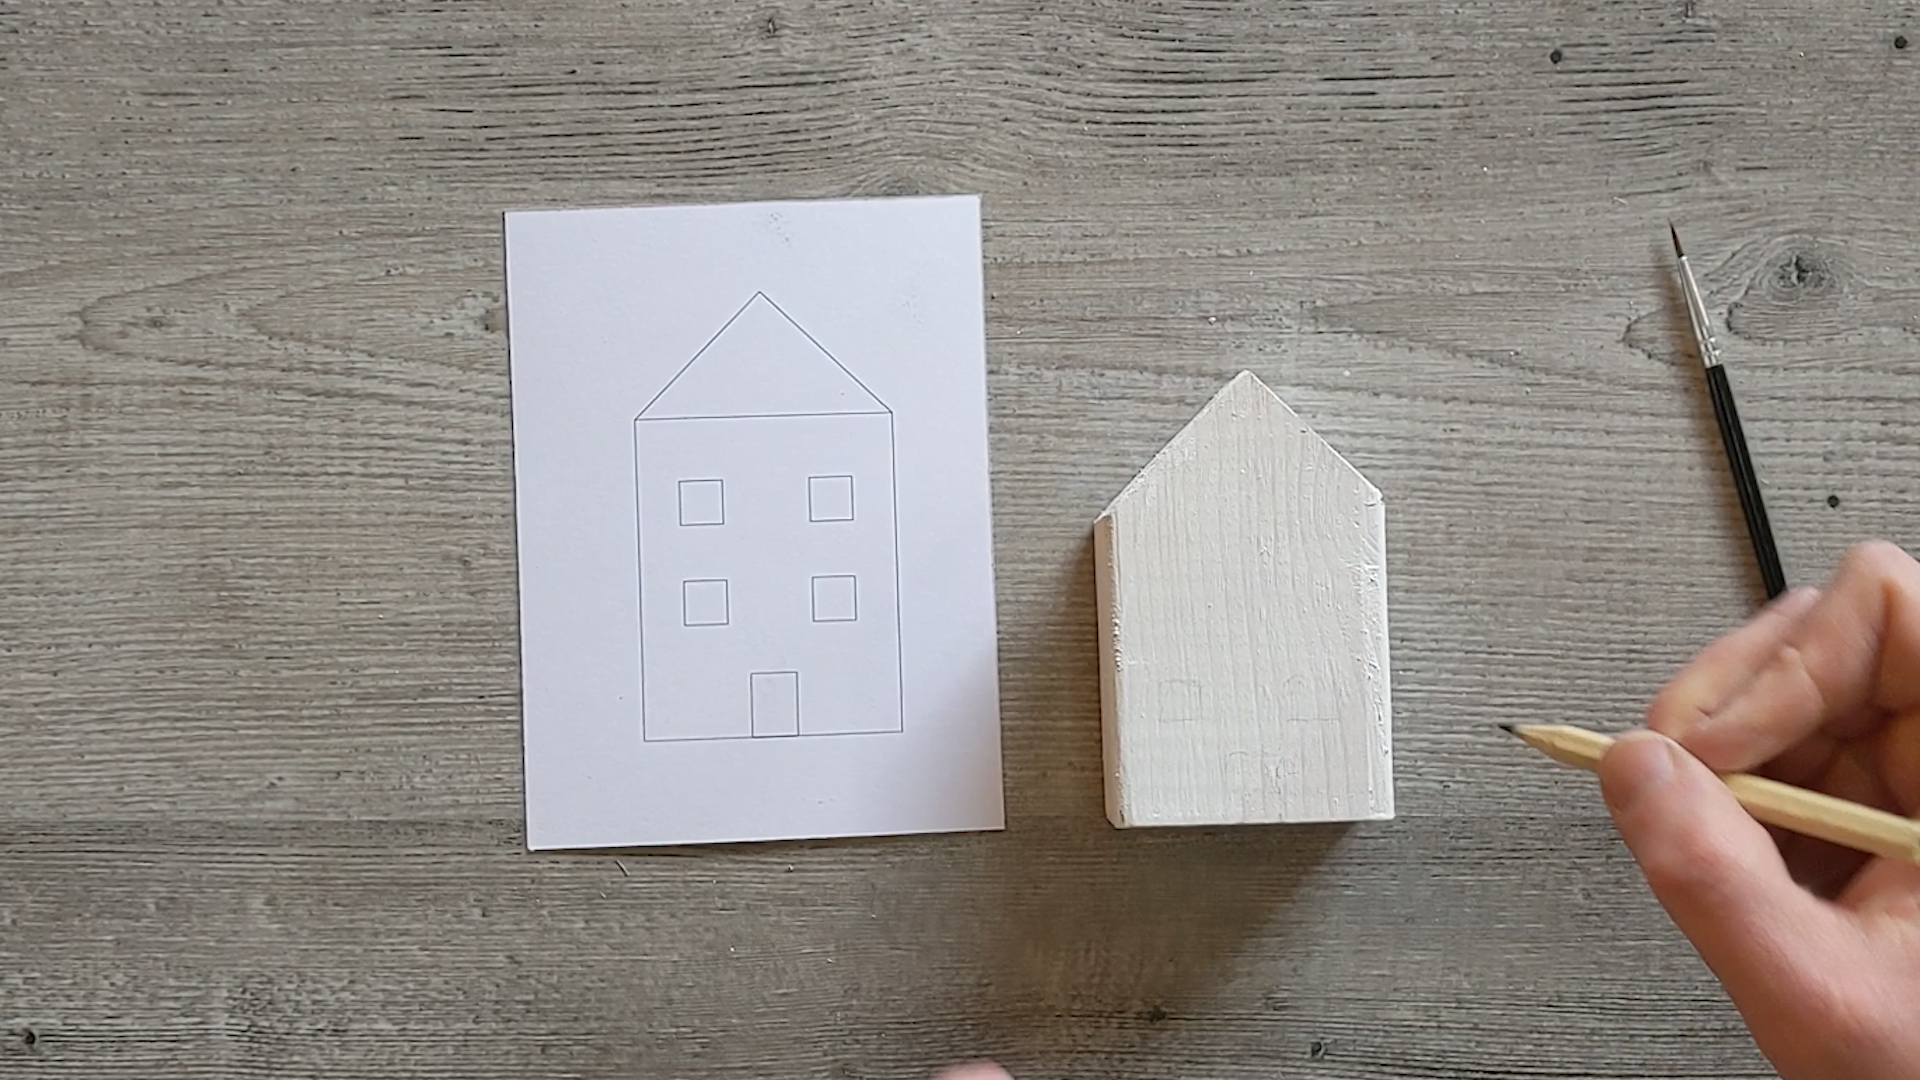
6. Using light pencil marks, transfer your design onto each house

7. Use white or pink paint to paint on your base windows and doors
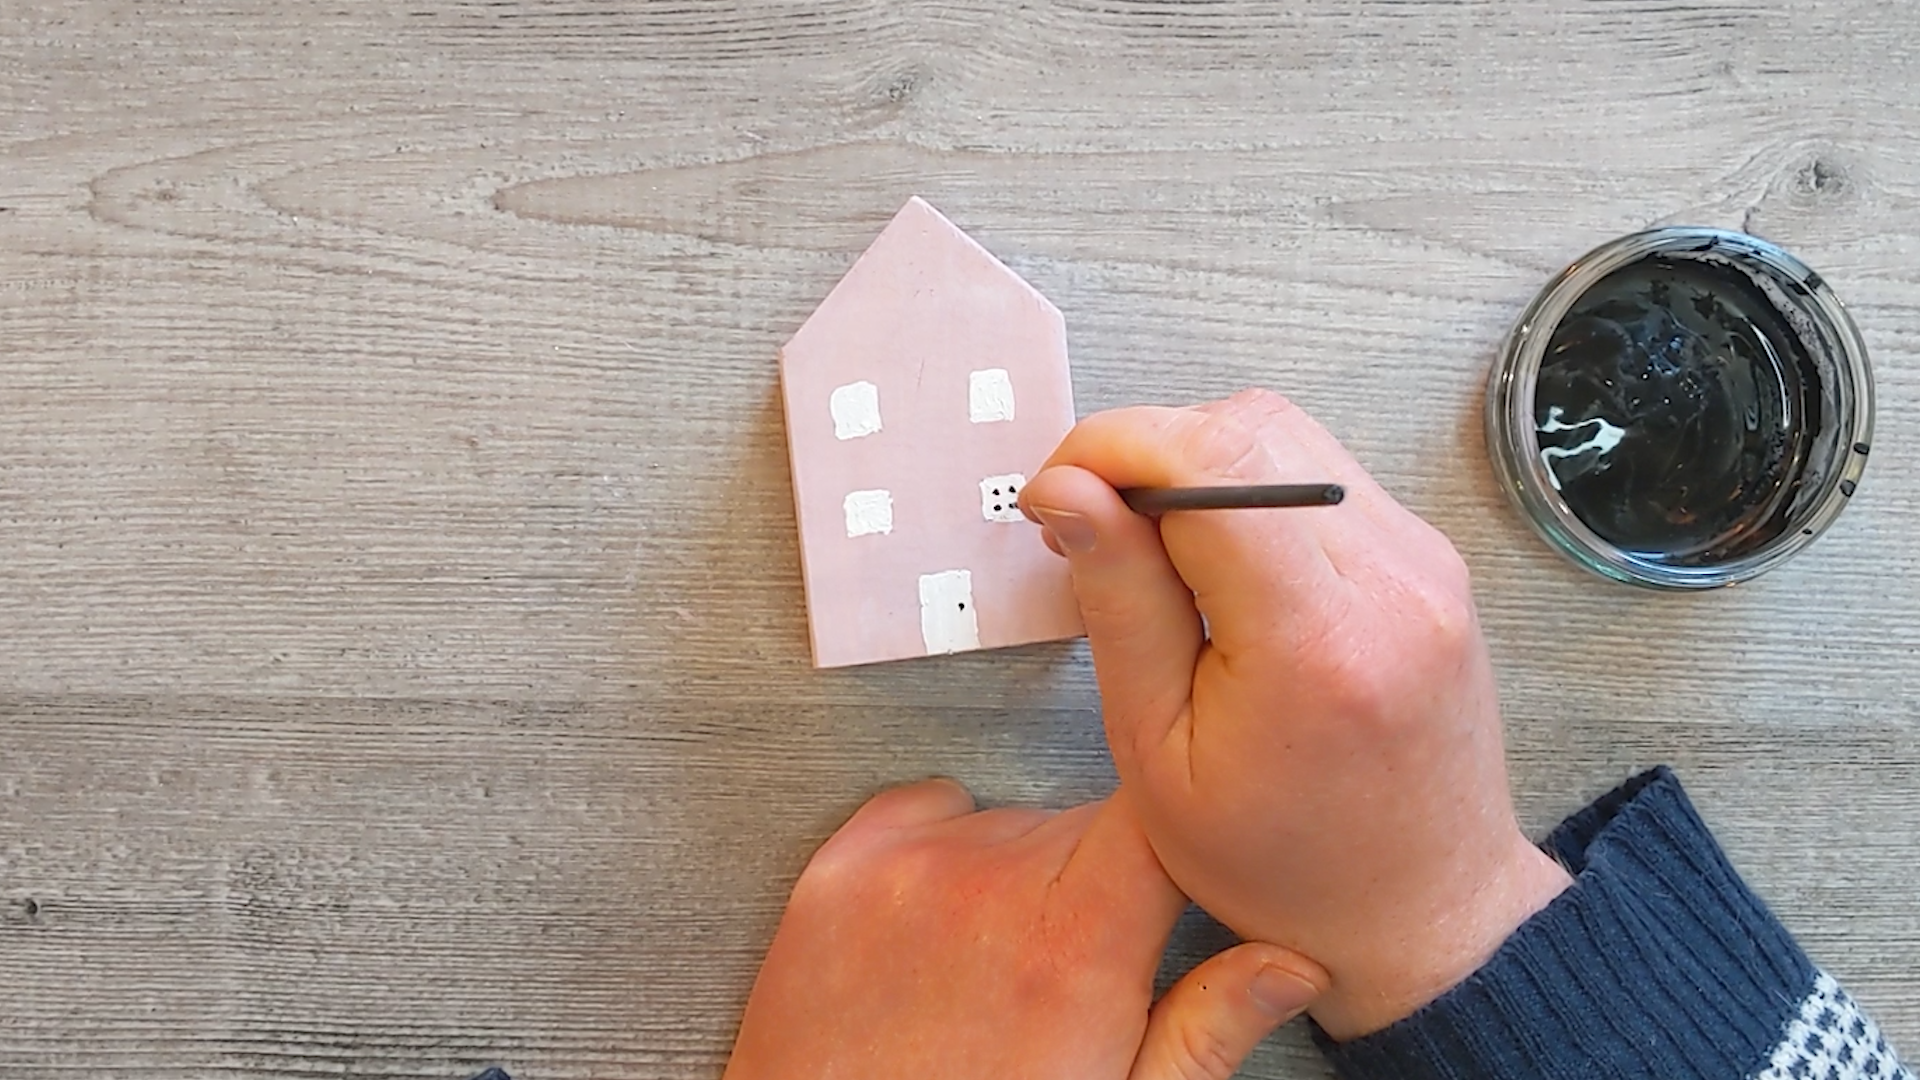
8. Mix black paint a little thicker than the others and dot it on for detail
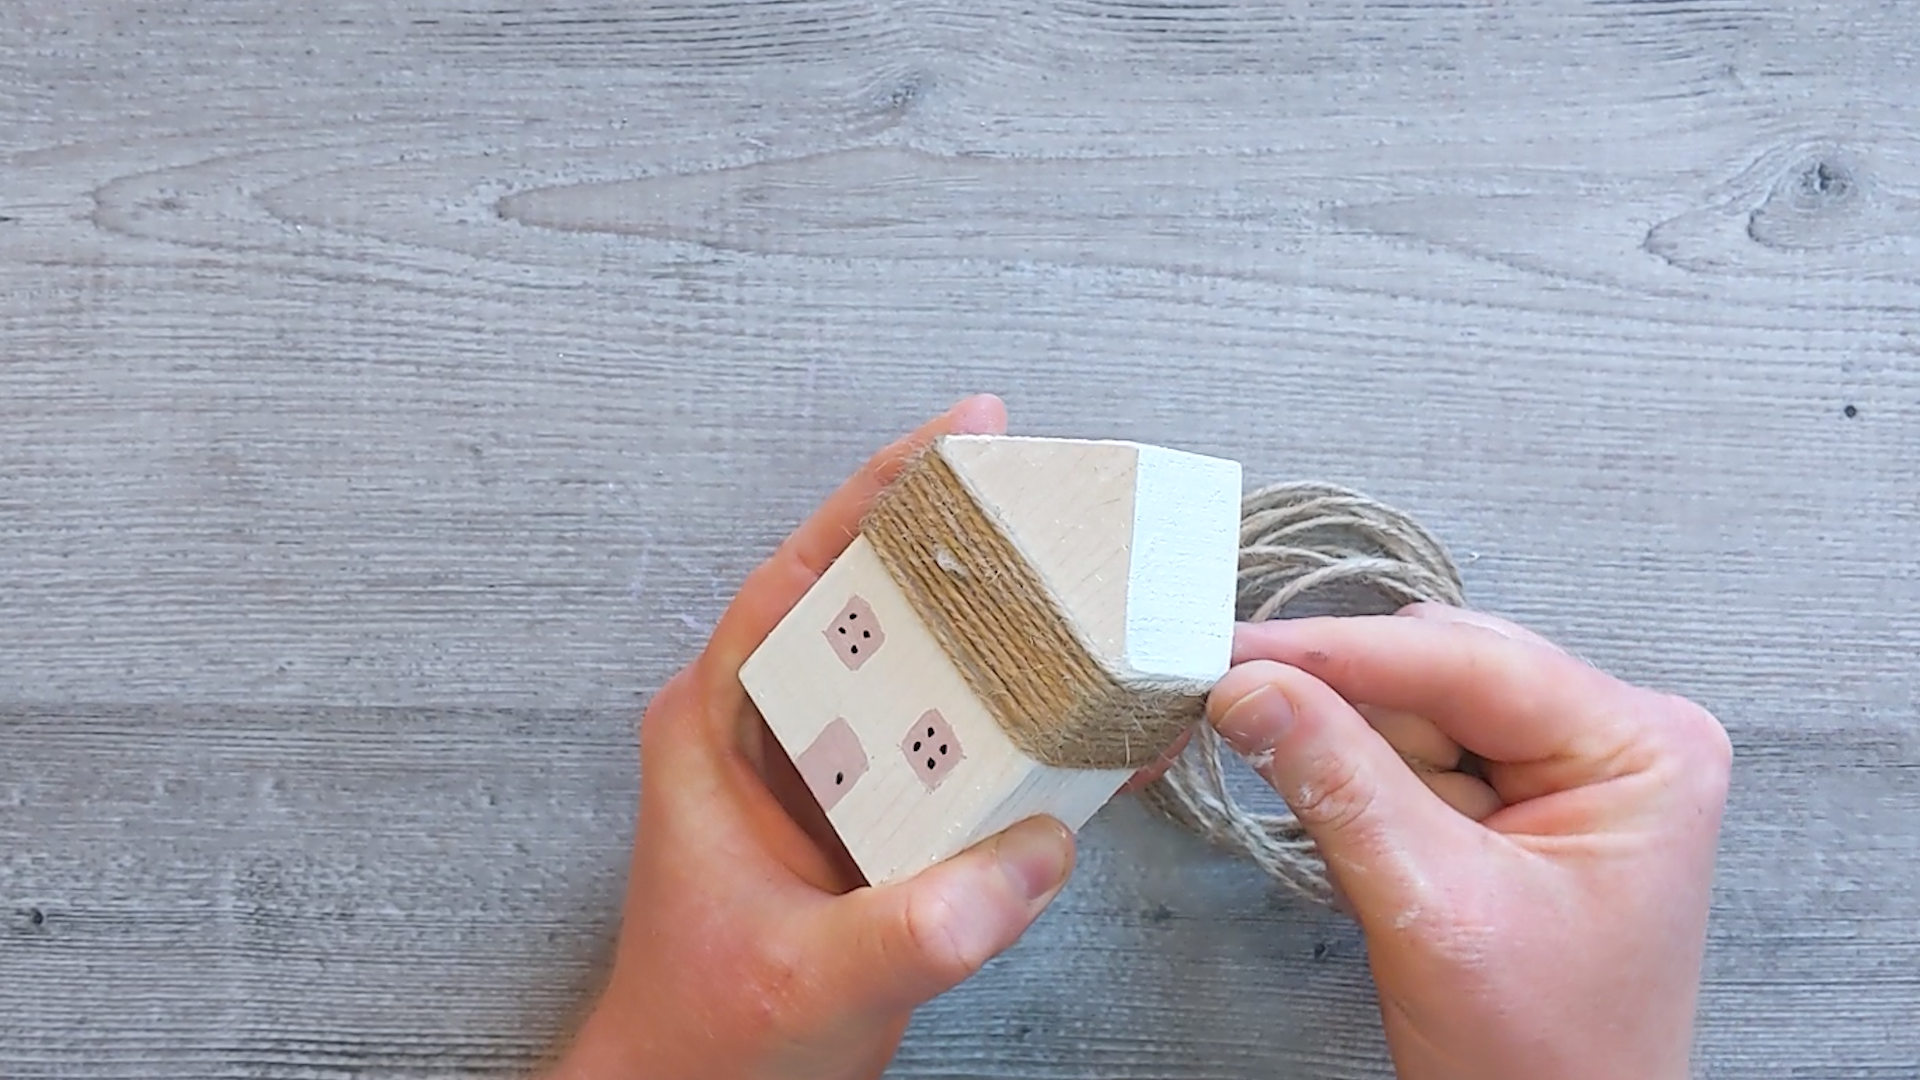
9. Once dry, decorate your houses with string and extras
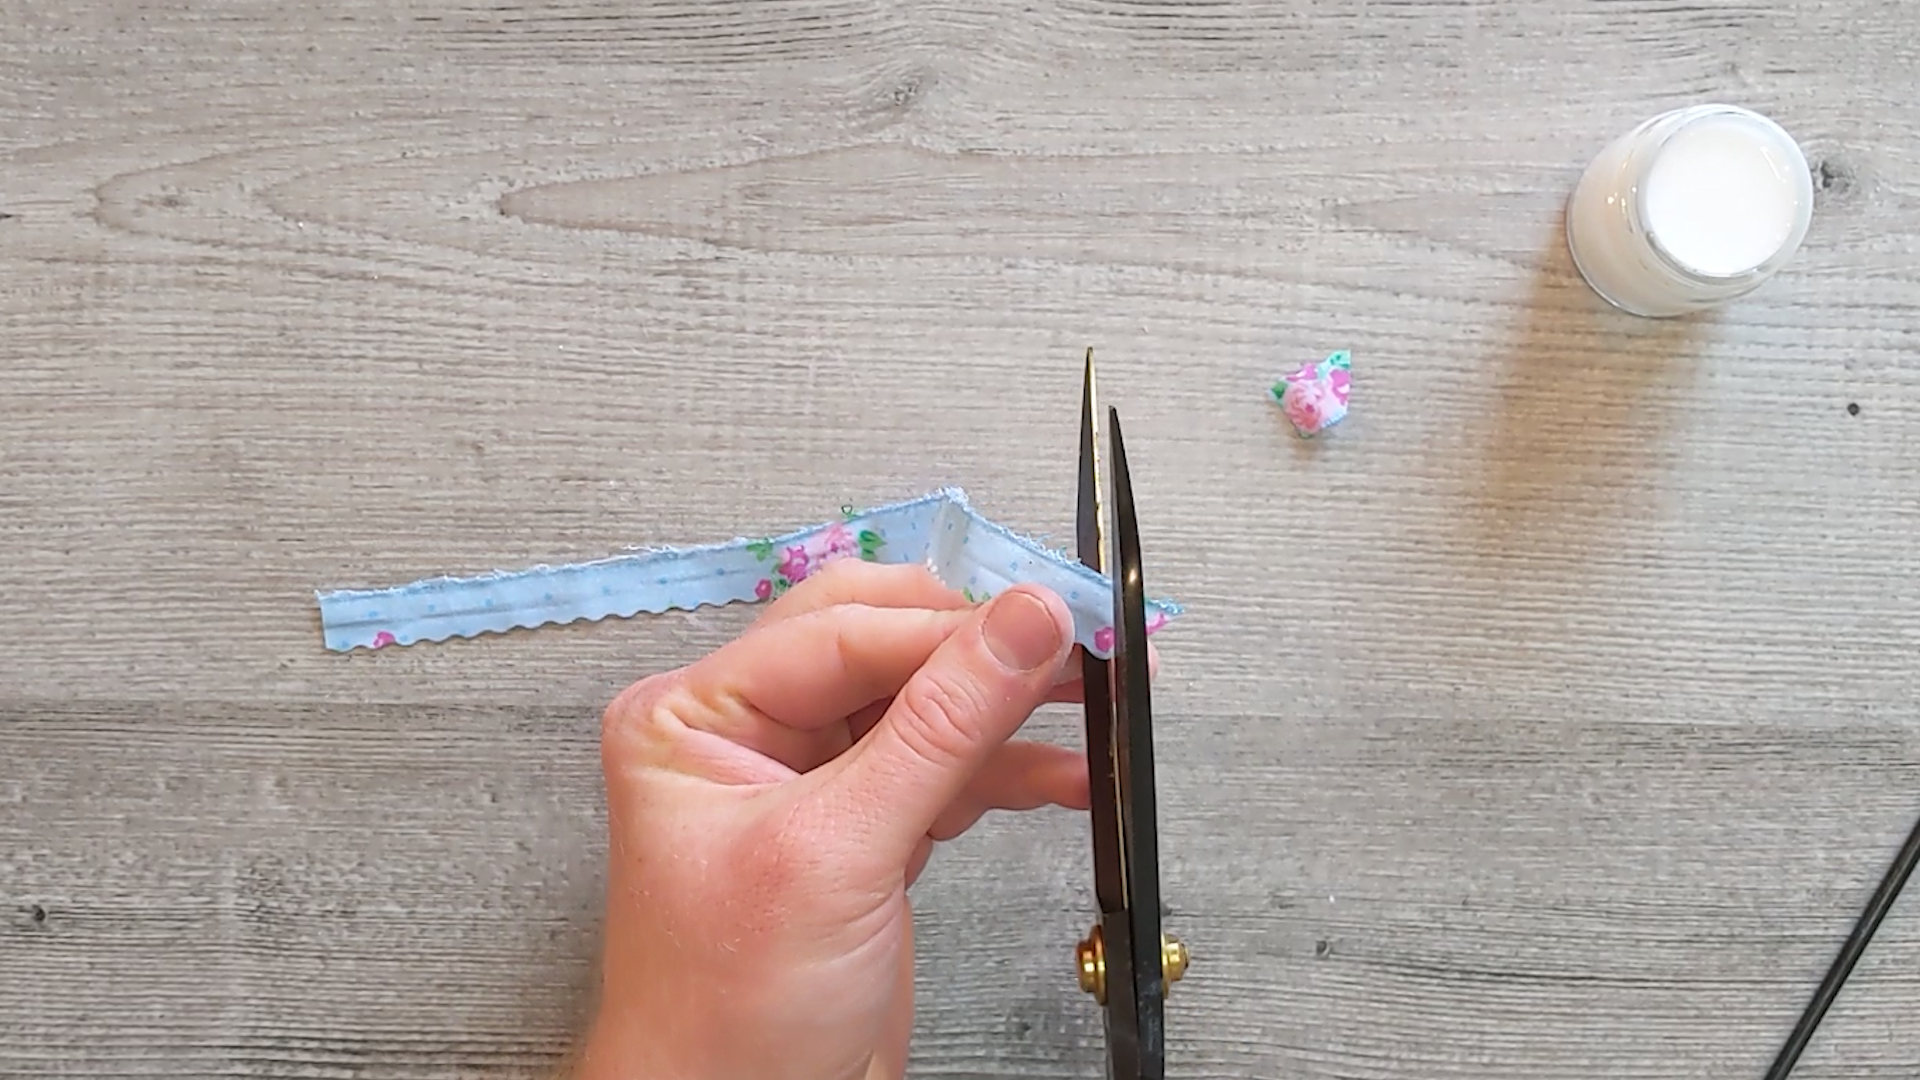
10. Cut the fabric to make mini bunting
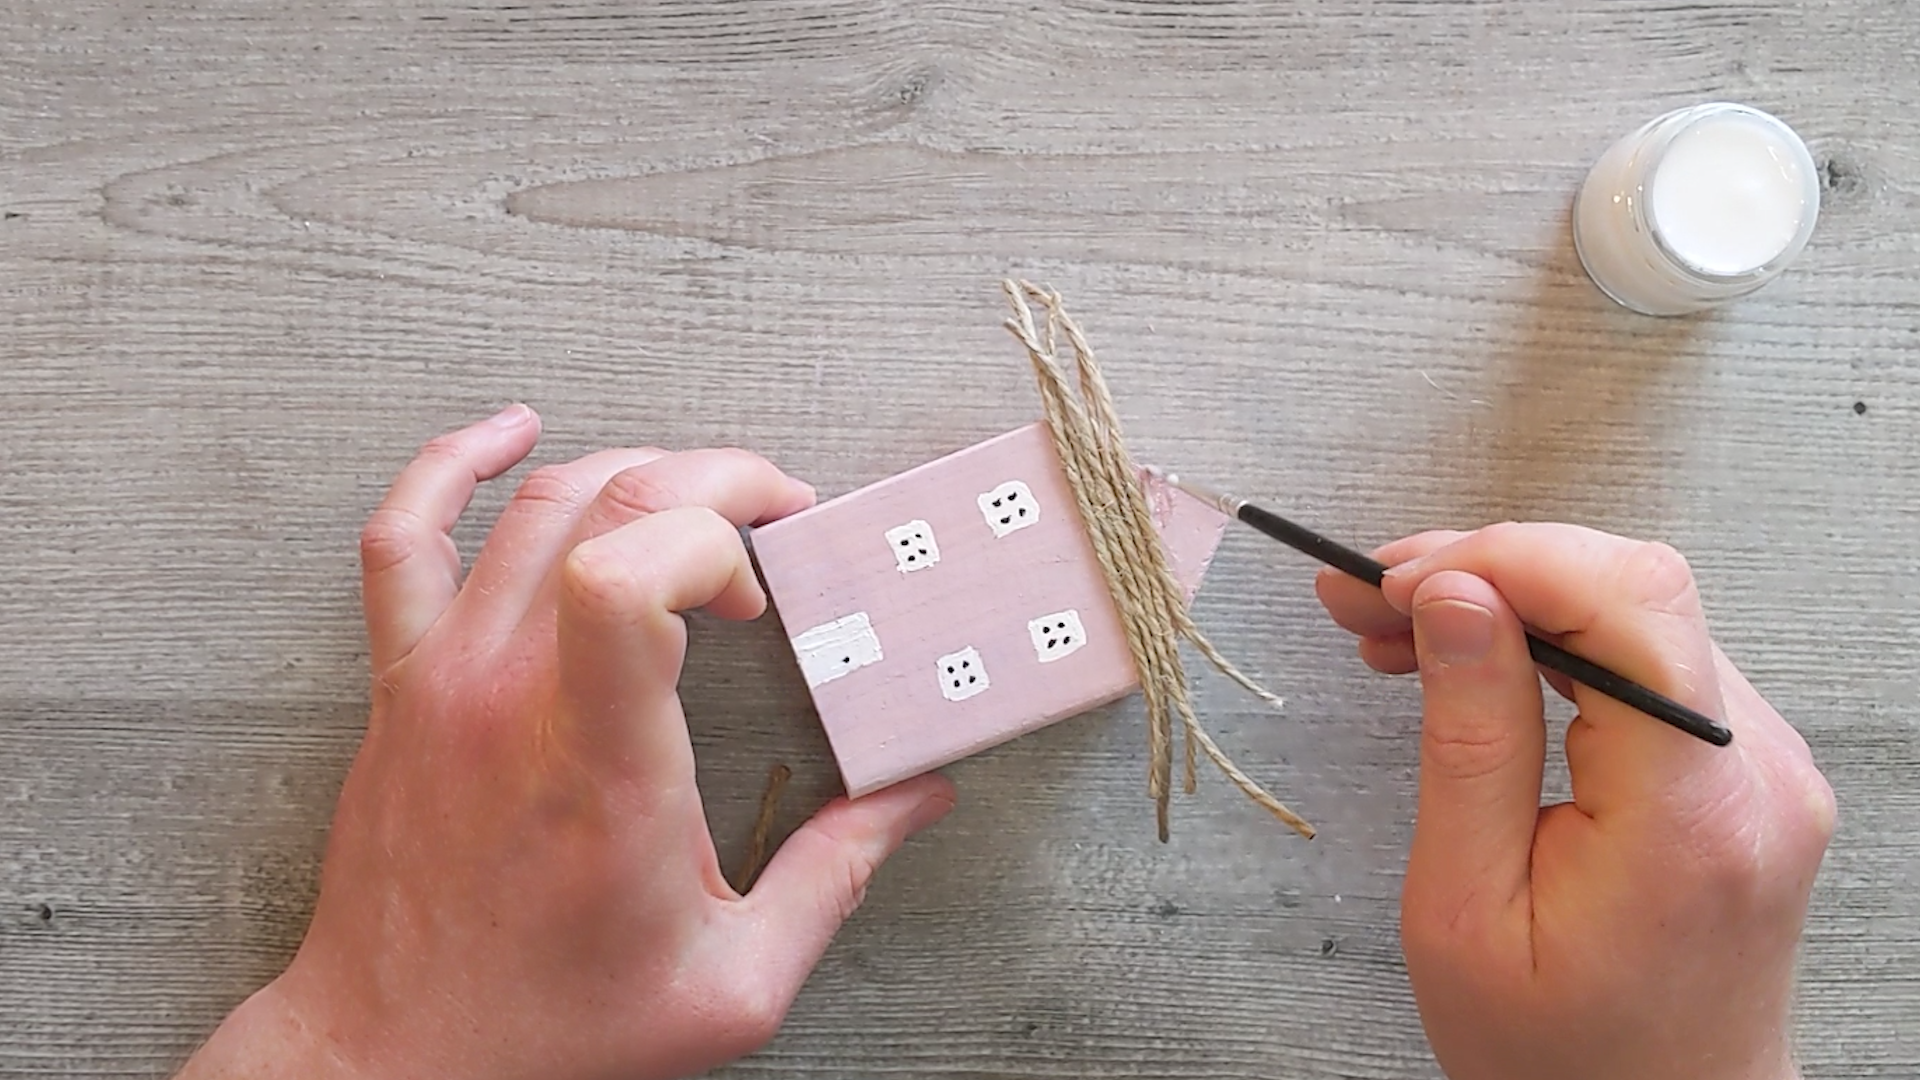
11. Glue on lengths of string to make a roof

12. Follow my design or choose your own!
Video Guide
This video guide is about 10 minutes.

Please leave feedback and share!
I’d really love to know how you get on with this kit. Please share your creations using @craftboxclubuk and if you enjoyed making them, please leave a Google review using the link below:
If you’re not happy with something or have any questions, please drop me a line on adam@craftboxclub.co.uk