
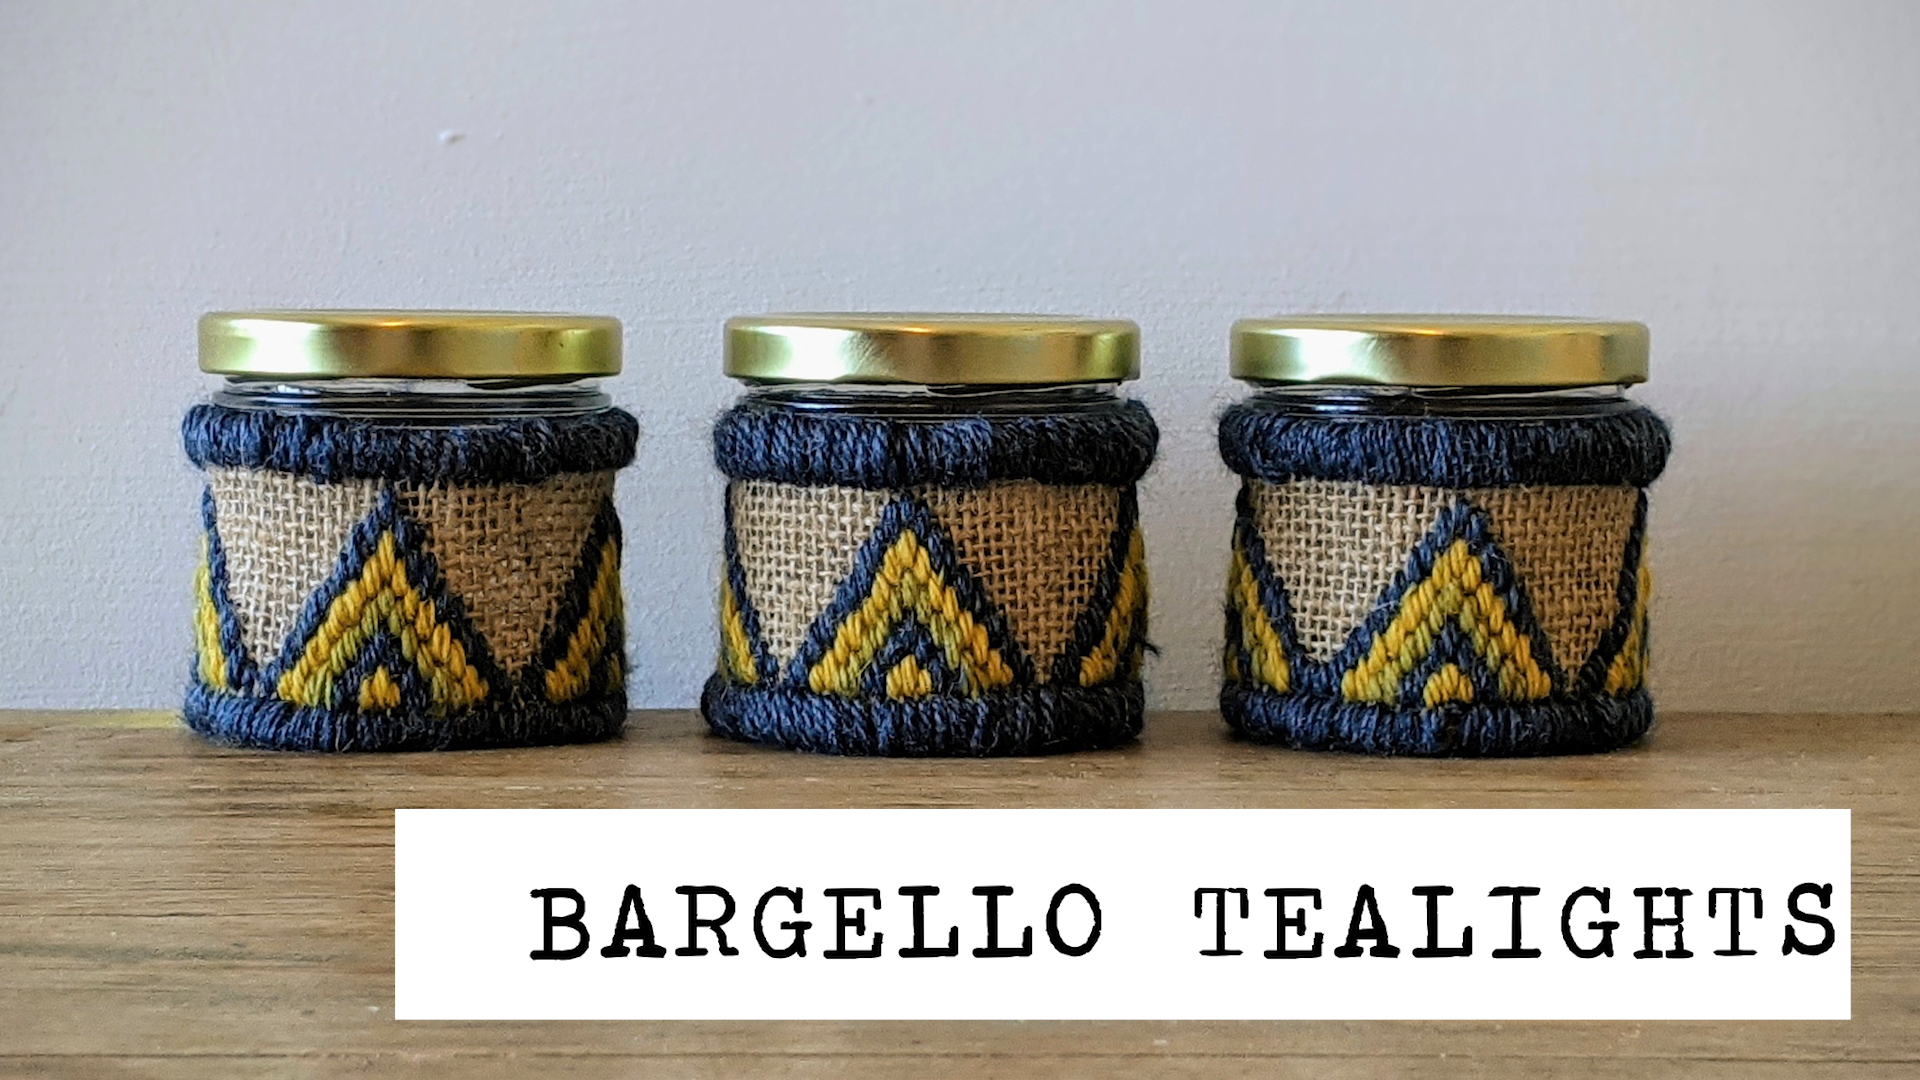
Introducing THE BARGELLO TEALIGHT CRAFT KIT
Bargello! It’s just a fantastic word isn’t it? How could you not want to give this a try? Bargello is a type of needlepoint embroidery consisting of upright flat stitches laid in a geometric pattern. If that all sounds a bit complex, don’t worry! The regular shapes of Bargello patterns actually makes this really easy to do.
This craft uses two of my favourite materials, Marino wool and Jute. Both super sustainable, high quality and lovely to work with. This project makes 3 tealight jar wrappers. Part of the jute is left exposed which I think makes the colours really pop and also lets the candle light shine through.
If you get stuck you can book a one to one 30 minute craft help session with me via the Members Hub.
THE PATTERN
I’ve not included a full pattern for this design as it will just slow you down. Hold your jute ribbon positioned landscape. You’ll see a grid with lots of little square holes. Columns going up and down and rows, left to right.
The main part of the design is a triangle shape. For each line that you stich to form the triangle skip the number of rows shown below then move a column to the right. As you move from left to right (as shown in the video) start working from the top hole of the last time so the colours are right up against each other.
Yellow: 1,2,1 | Blue: 1, 2, 2, 2, 2, 2, 1 | Green: 1, 2 (x9), 1 | Yellow: 1, 2 (x13), 1 | Blue 1, 2 (x17), 1
So you can see, you start and finish each line by just skipping 1 hole. All the others you skip 2. Skipping 2 means, needle up through 1, count up 3 rows and put the needle through. This leaves a gap of 2 holes.
TOP TIPS
Secure loose yarn - Loop loose tails under yarn loops on the back of your work. As you stitch, think about the loose end at the back of your work and incorporate them into the loops on the back. This keeps things tidy and strong.
Taught not tight - As you stitch, don’t pull too tight, try to keep an even tension throughout.
Keep the scraps - It’s easier to work with arm lengths of yarn but you often won’t need the full length. Keep cuttings and use them later in the design to keep waste to a minimum.
Work a section at a time - Doing all three tealights in one session might be pretty tiring. Split the project into triangles, taking a break between each one to have a stretch and a cup of tea!
Plan your craft
Total make time -1-2 hours per tealight
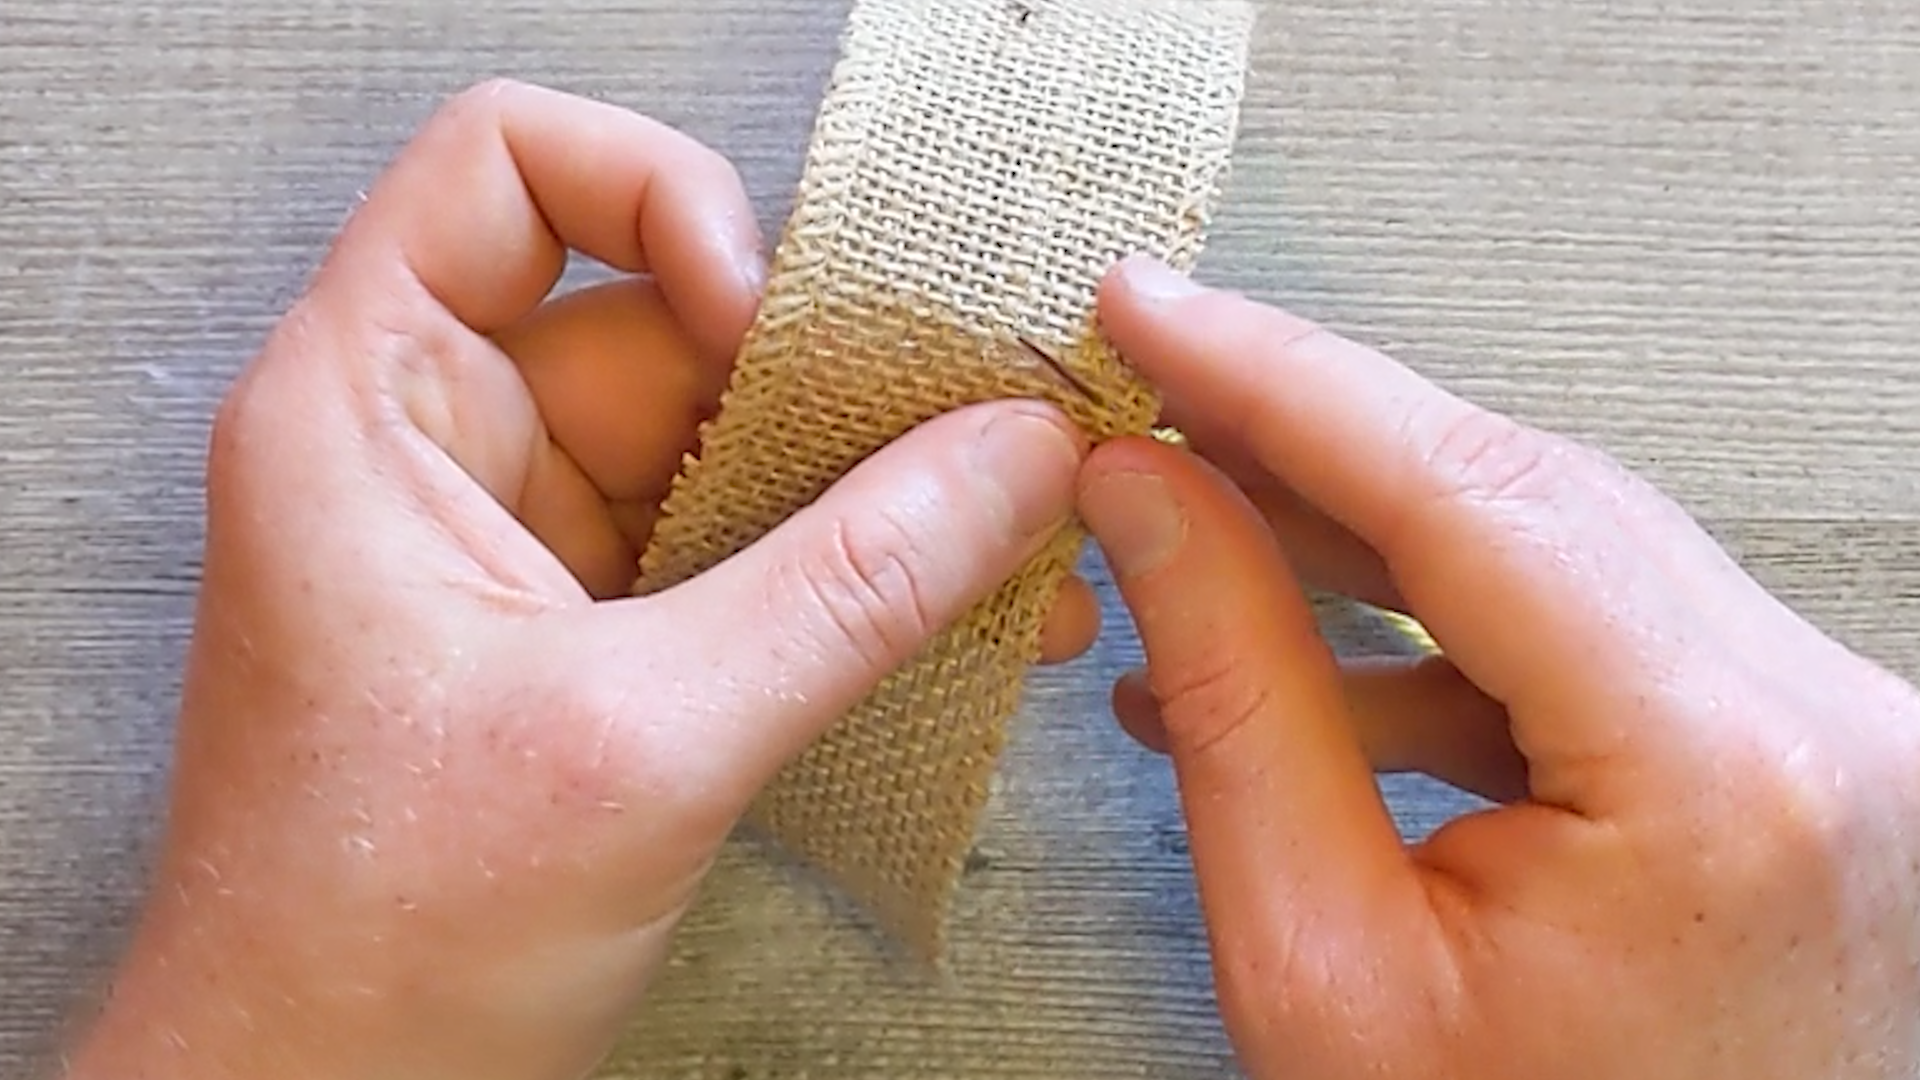
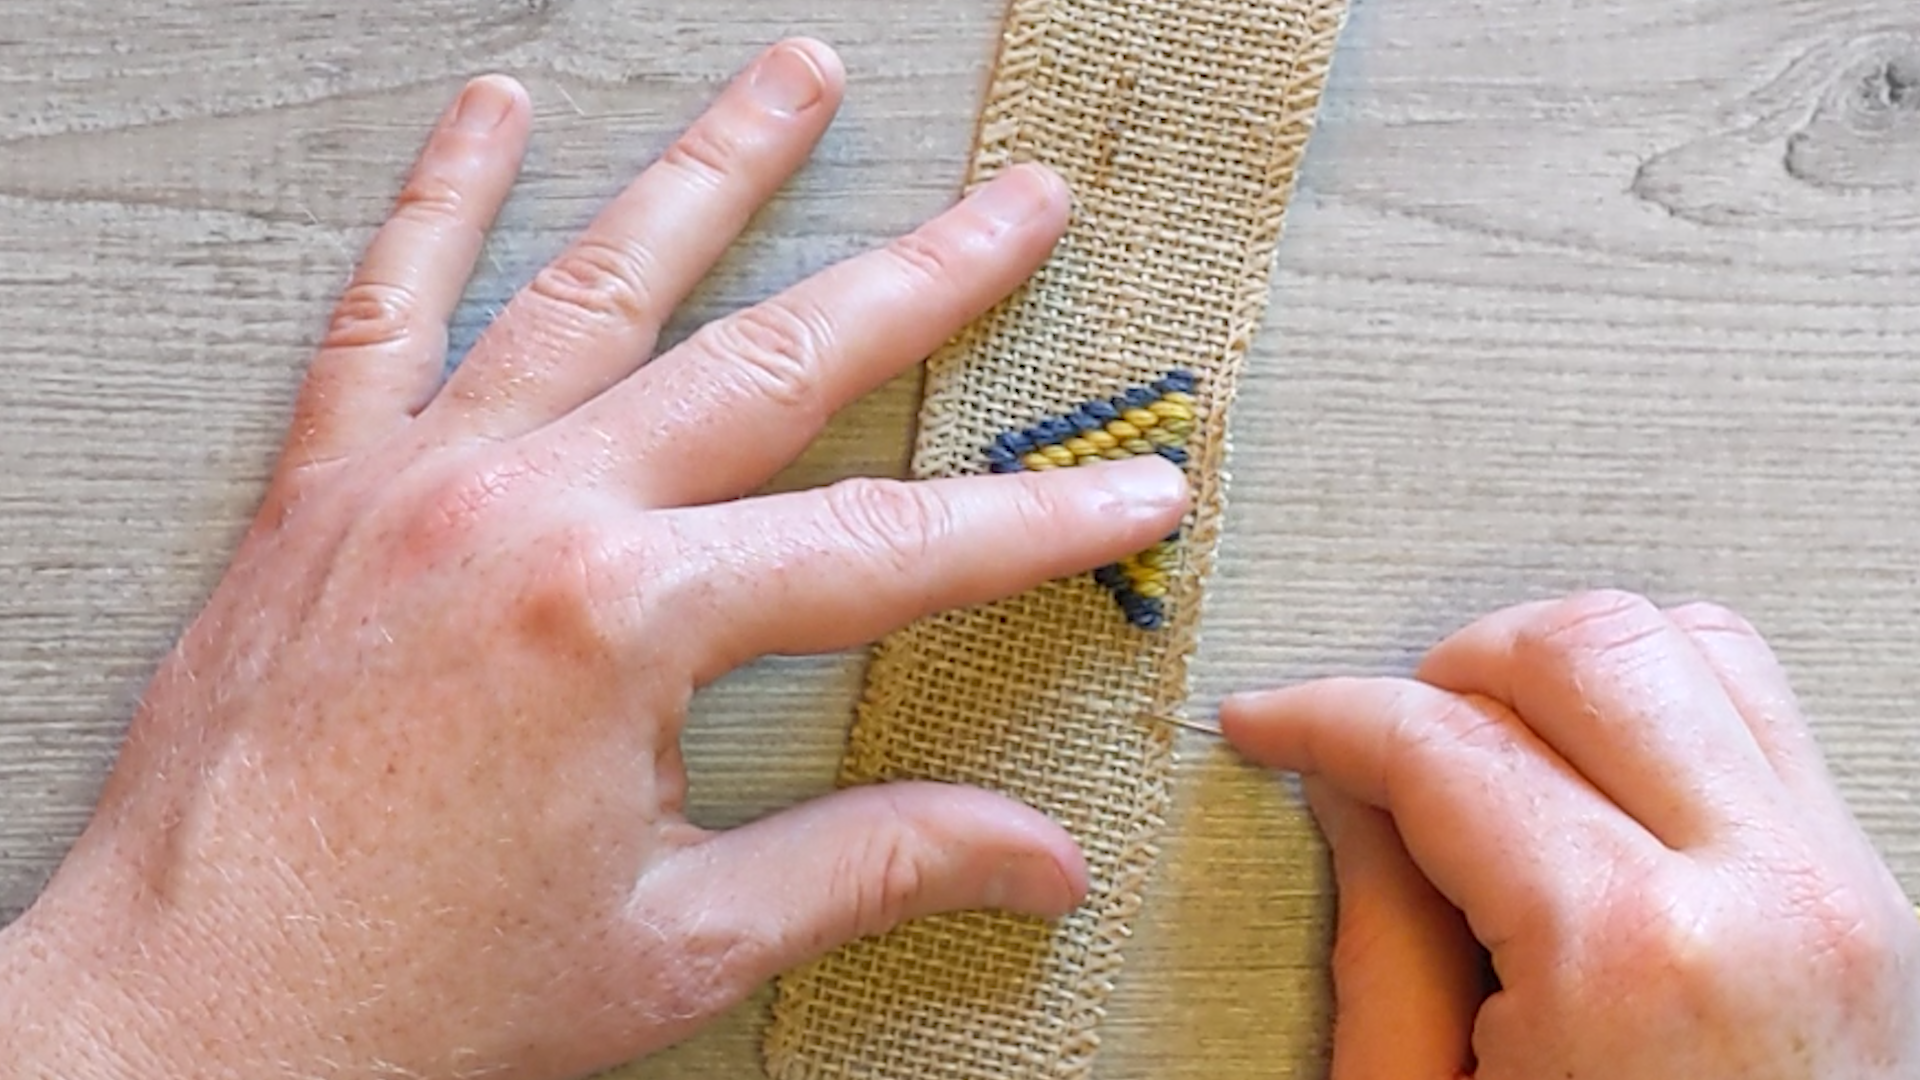
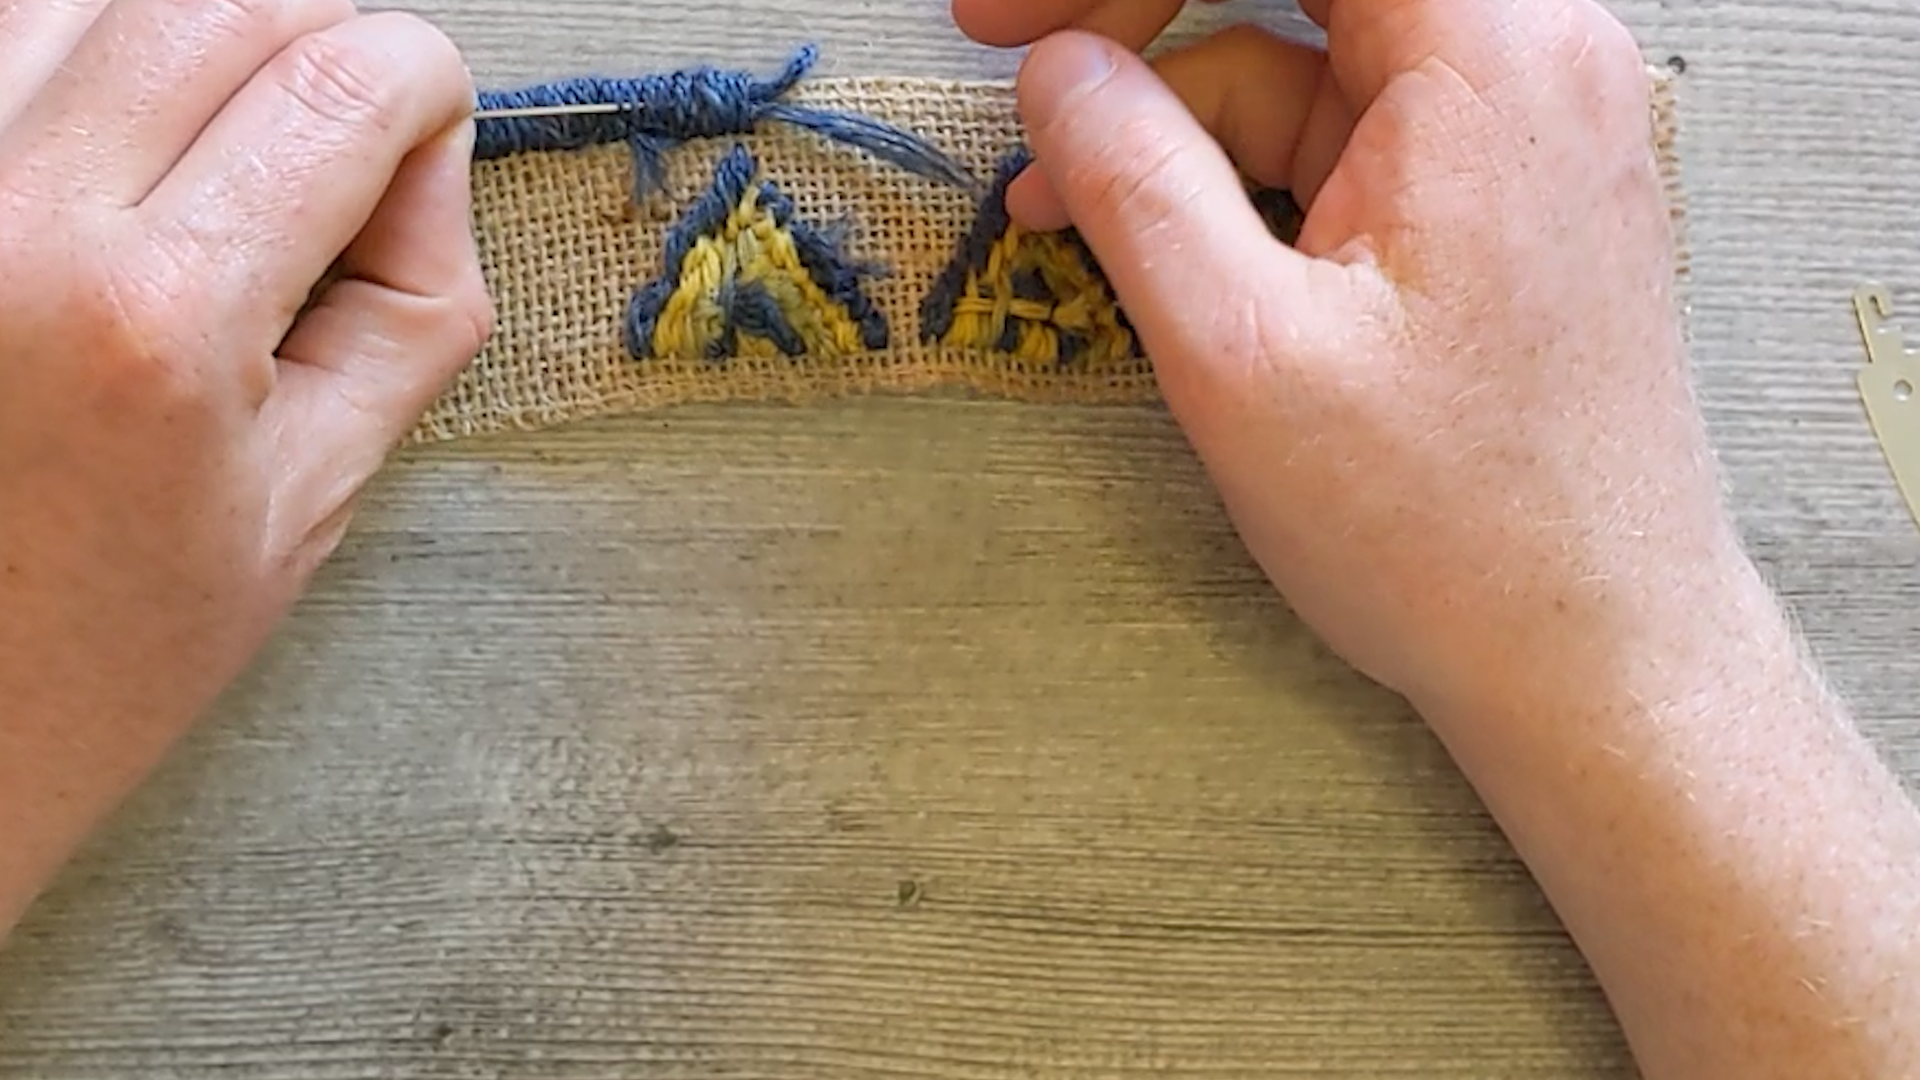
1. Start 2 holes in from the bottom of the ribbon. The needle goes up through the jute

2. Once you’ve pulled nearly all the yarn through, hold the loose end against the back of the ribbon.
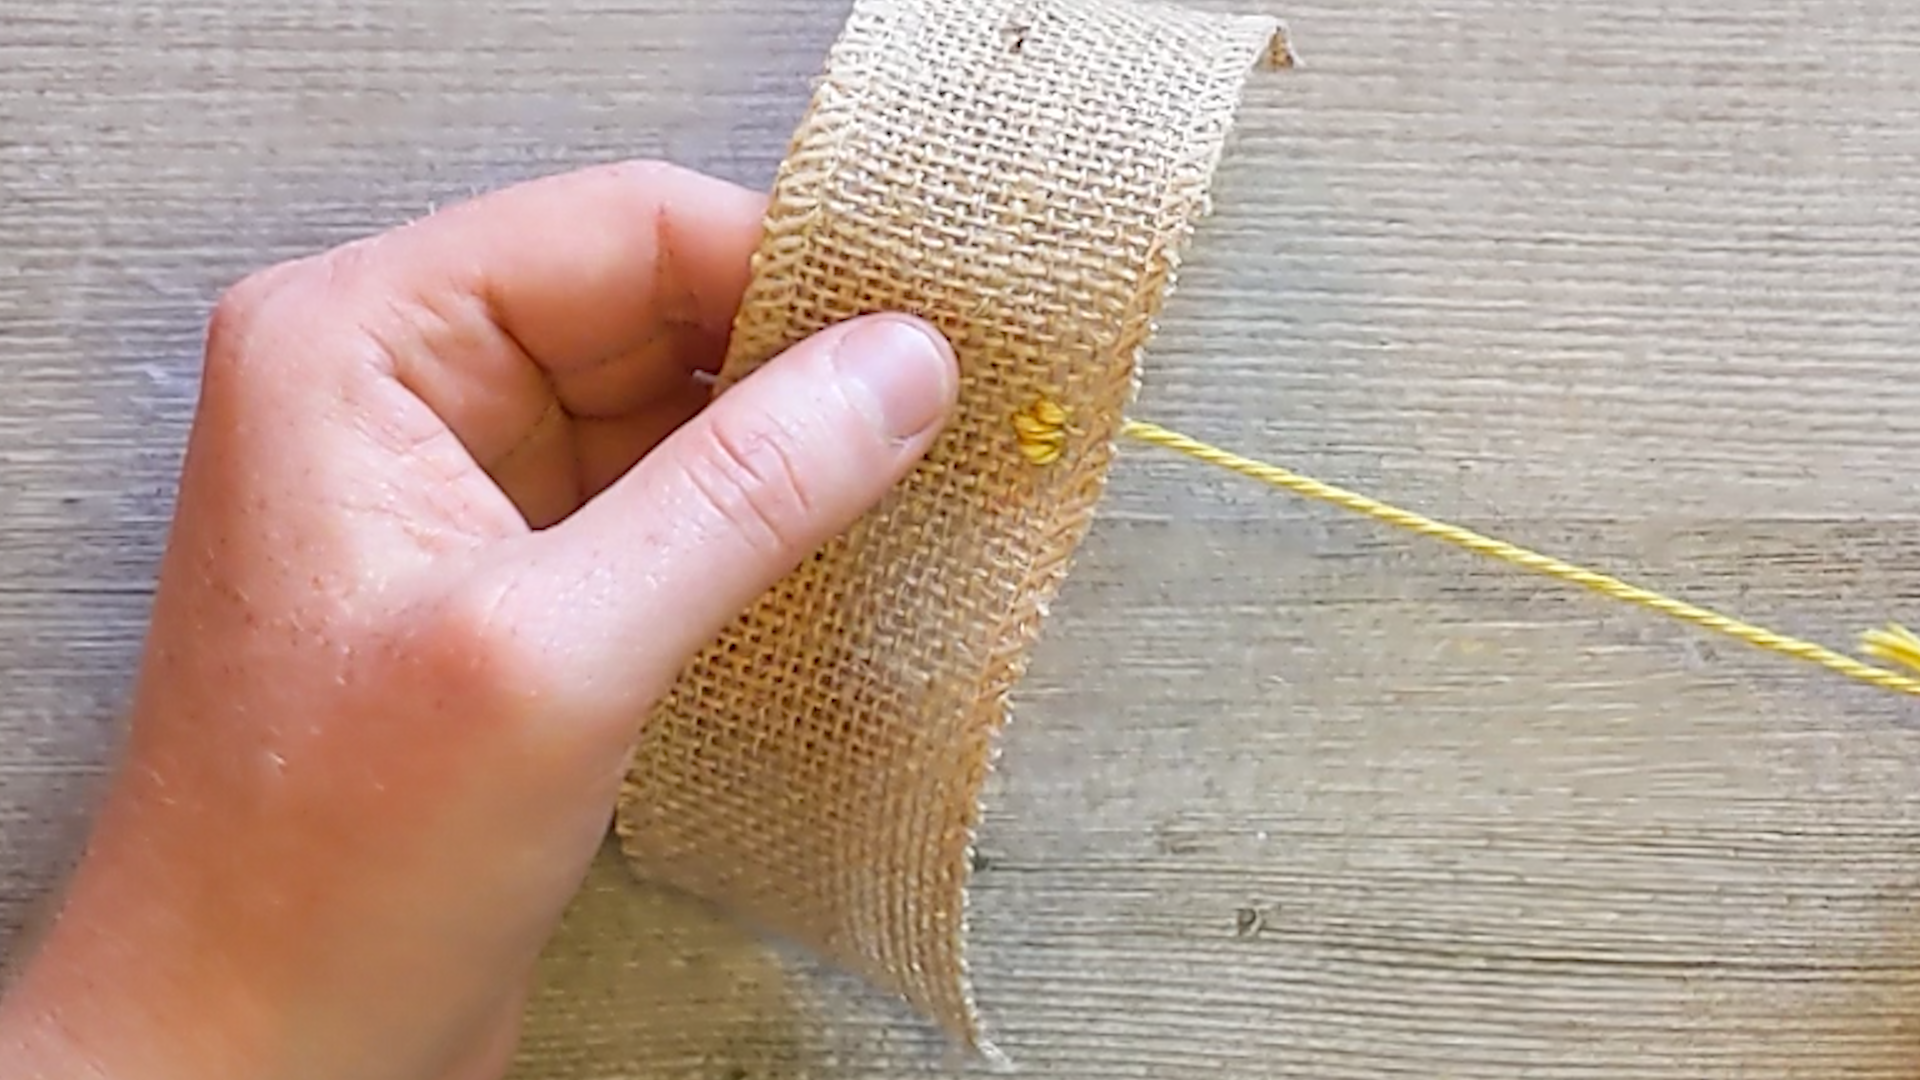
3. This is your first line of stitches. Skip 1 row, move a column right, skip 2 rows, 1 column then 1 row

4.. Push the needle through the yarn on the back of your work and trim to finish a line
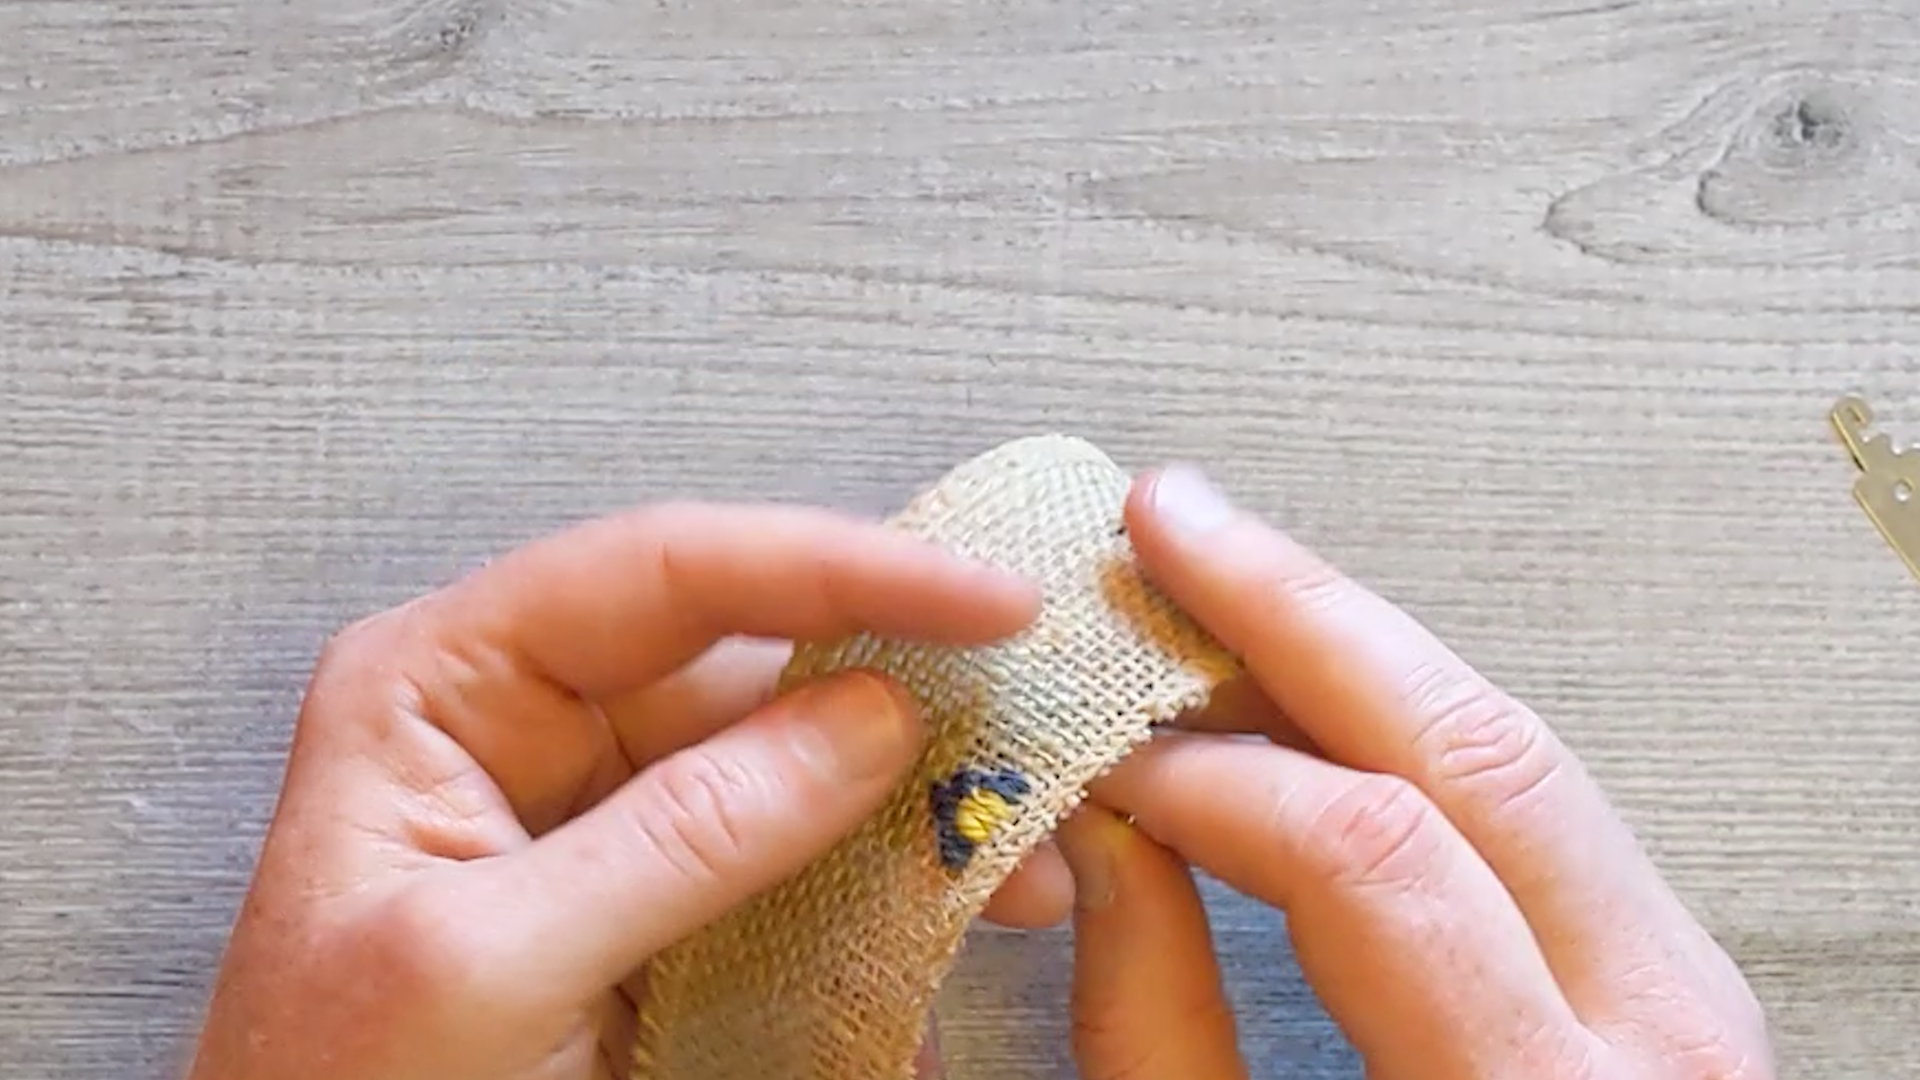
5. A line of blue yarn comes next. Continue your line right up against the yellow

6. This is a complete triangle. There are 3 on each tealight
7. Count 12 columns to the left of the left most corner of your middle triangle and start the middle of another
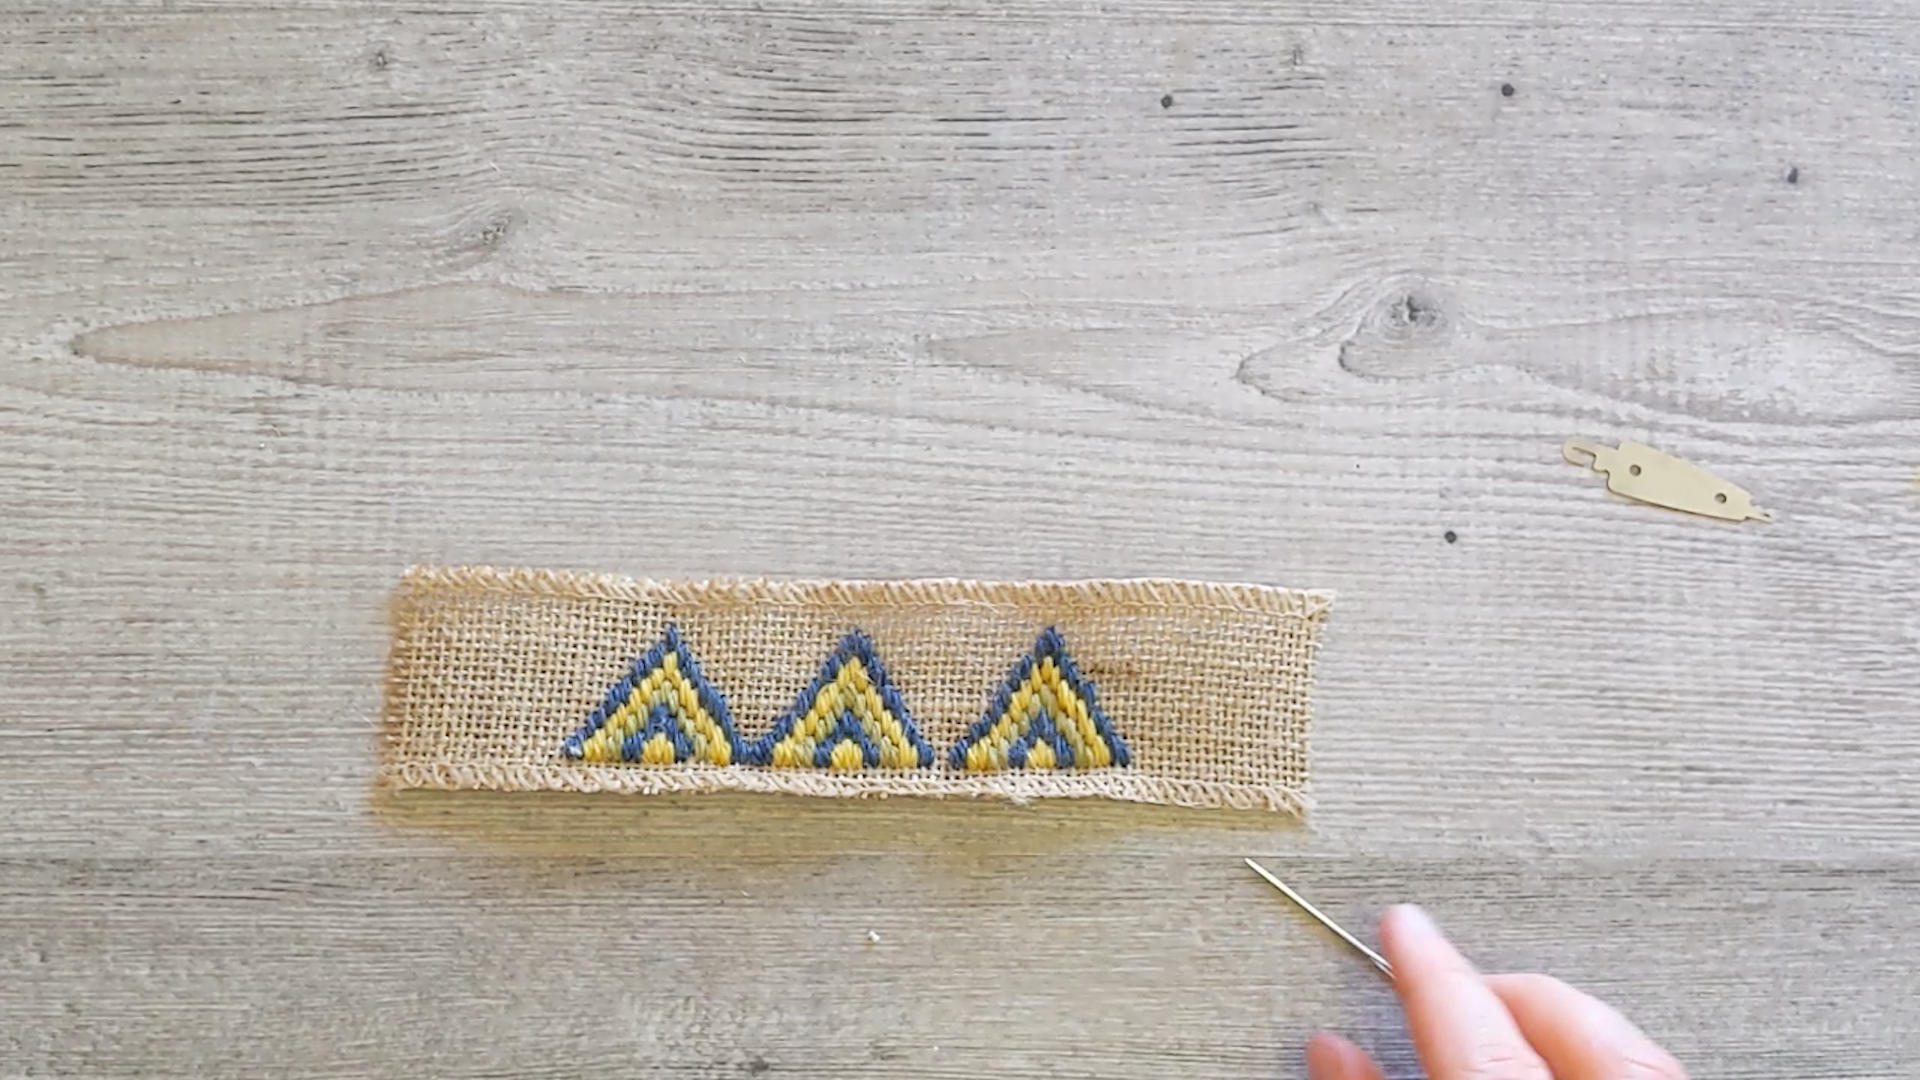
8. Do the same on the right
9. To create a border, count 2 rows in from the edge and loop the yarn around the edge, moving 1 column over at a time
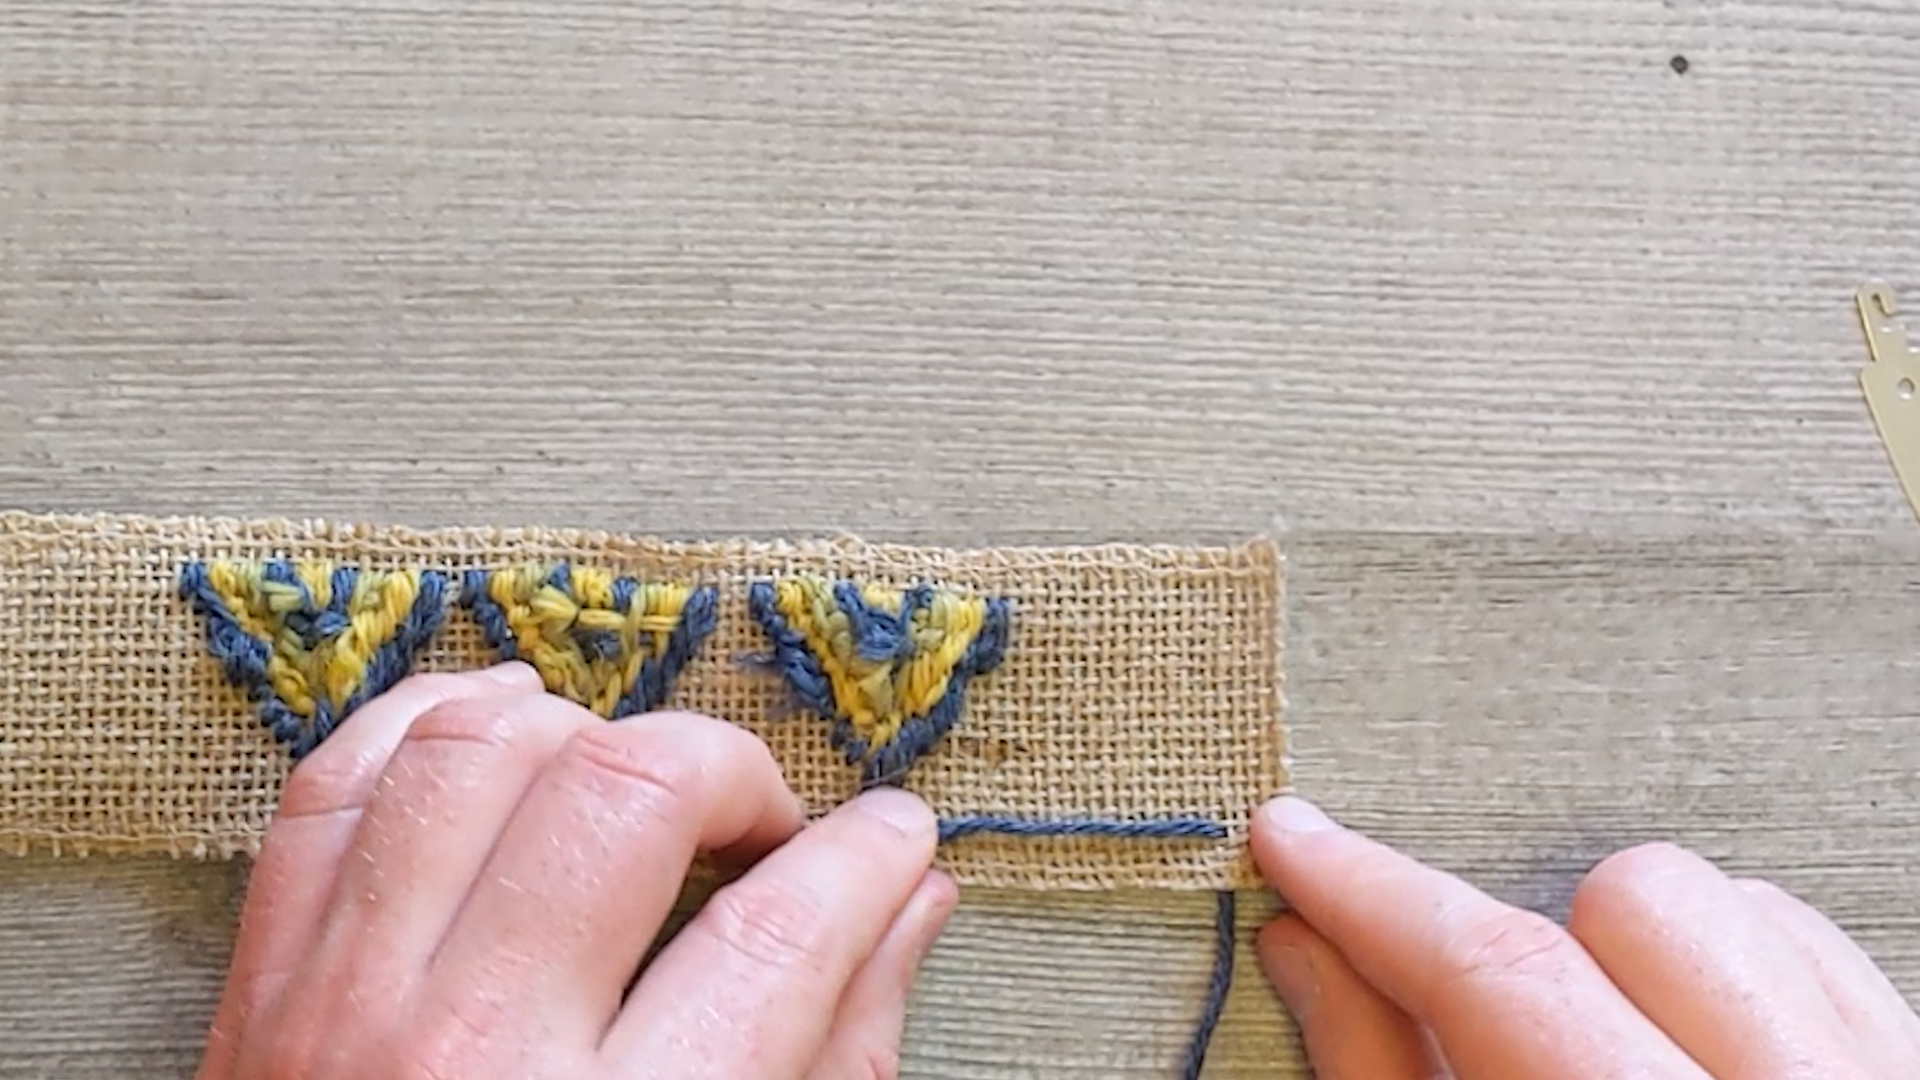
10. Hold the loose end against the back and loop around it as you go to secure it
11. To finish a length of yarn, put the loose end under the back of your work
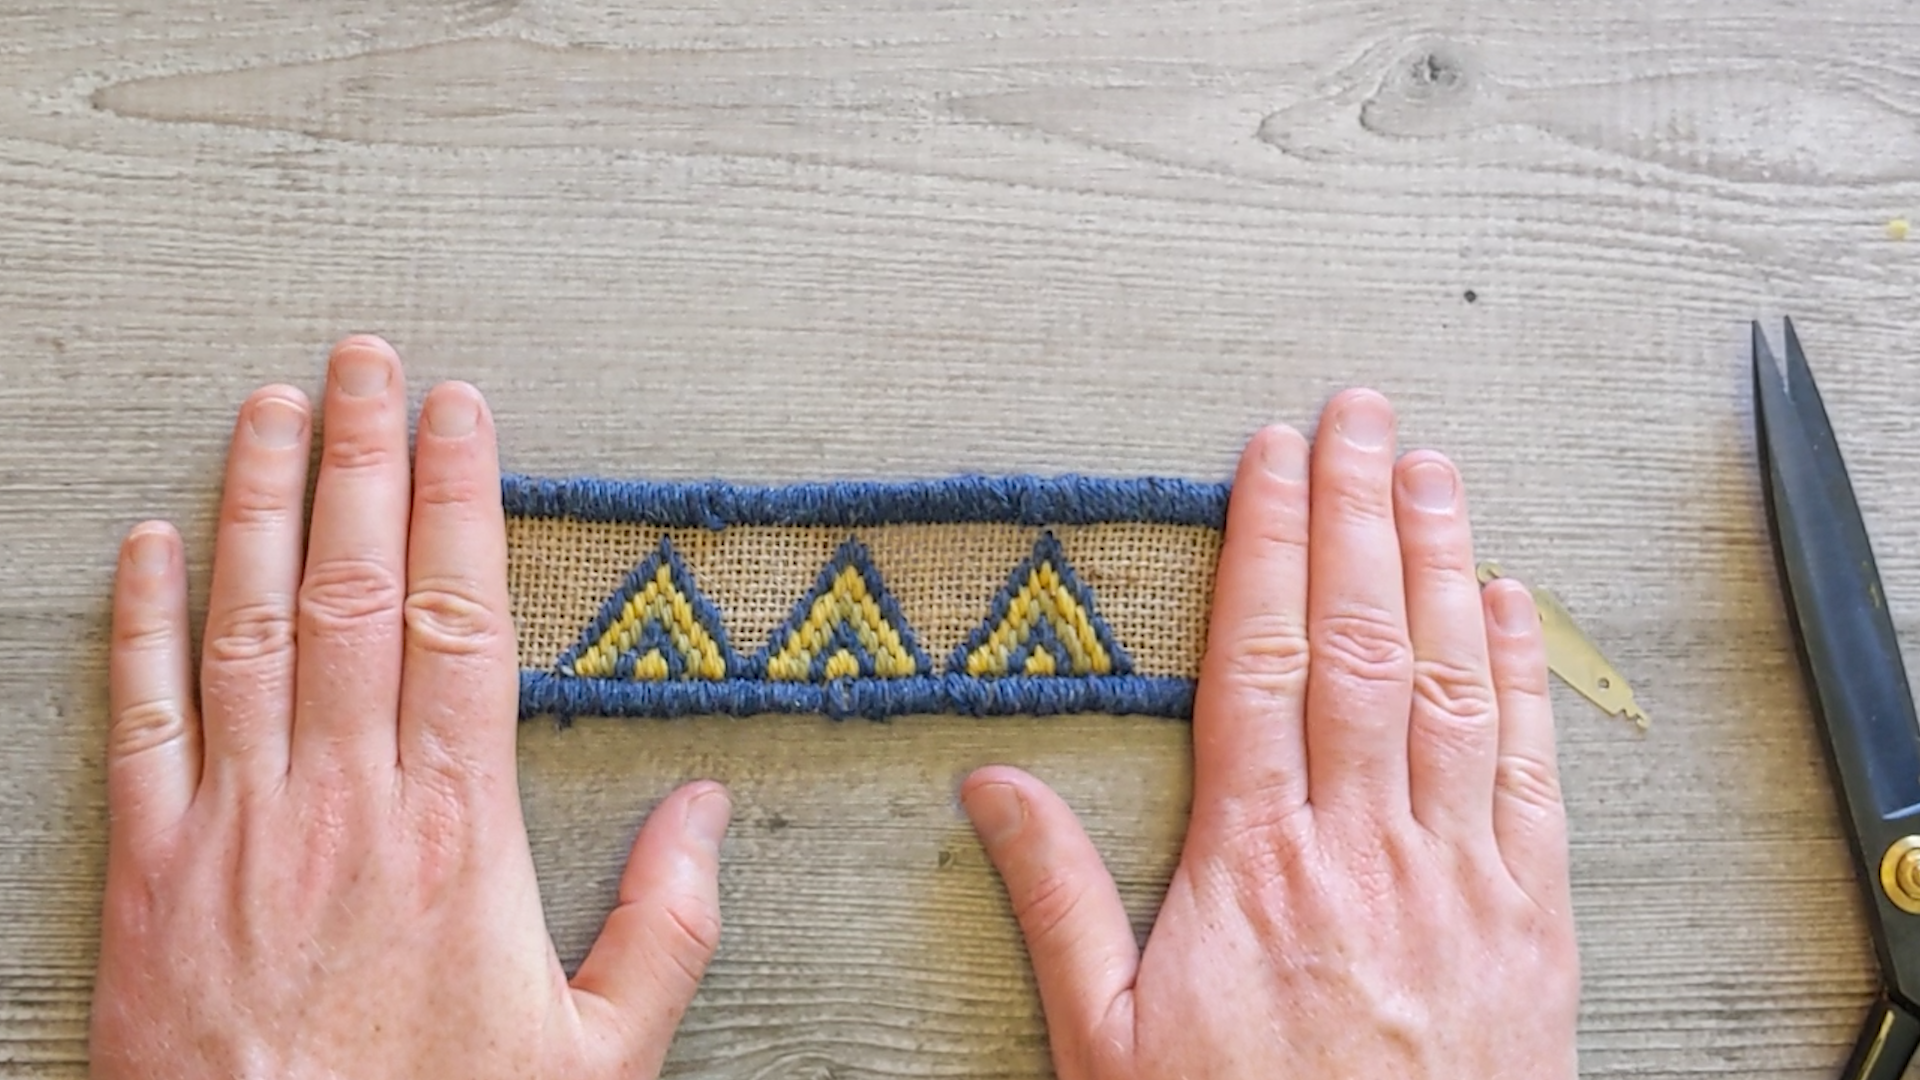
12. Create a border in the same way on the top and bottom. Both 2 rows in from the edge
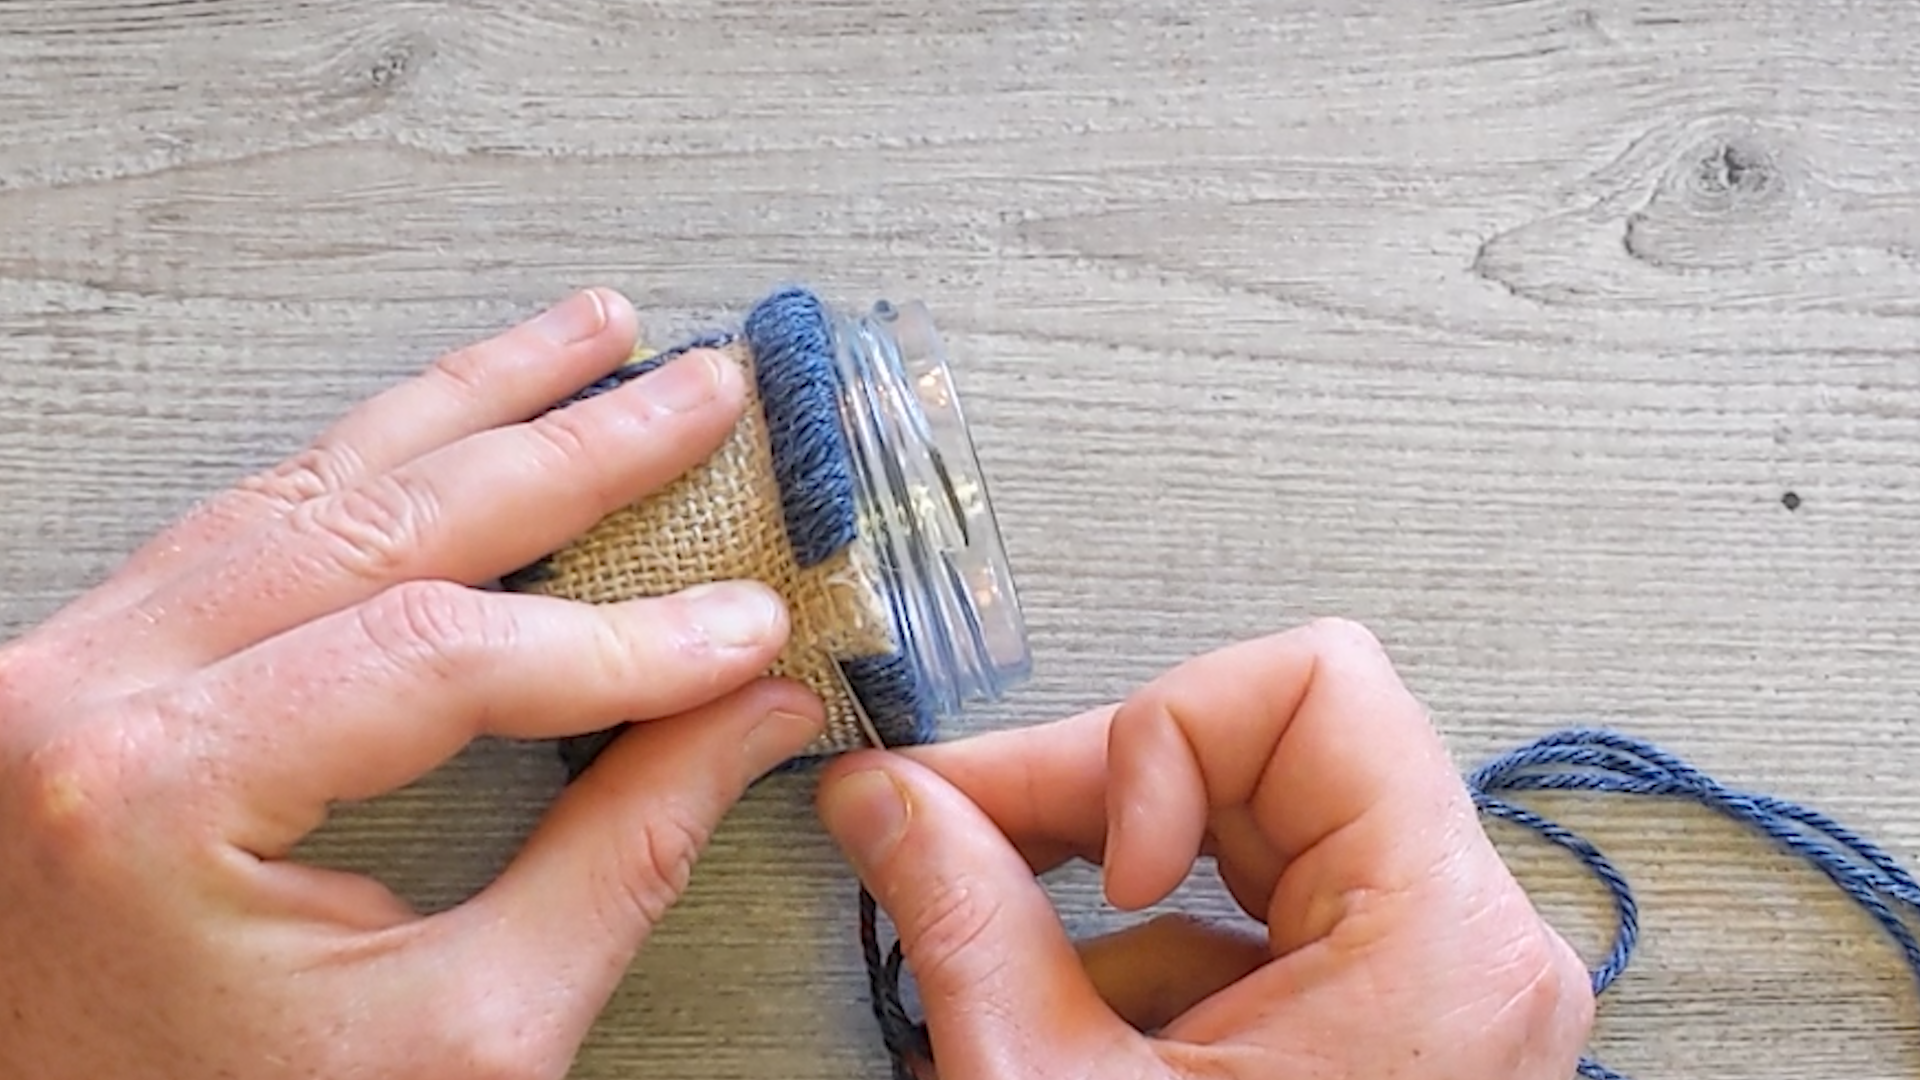
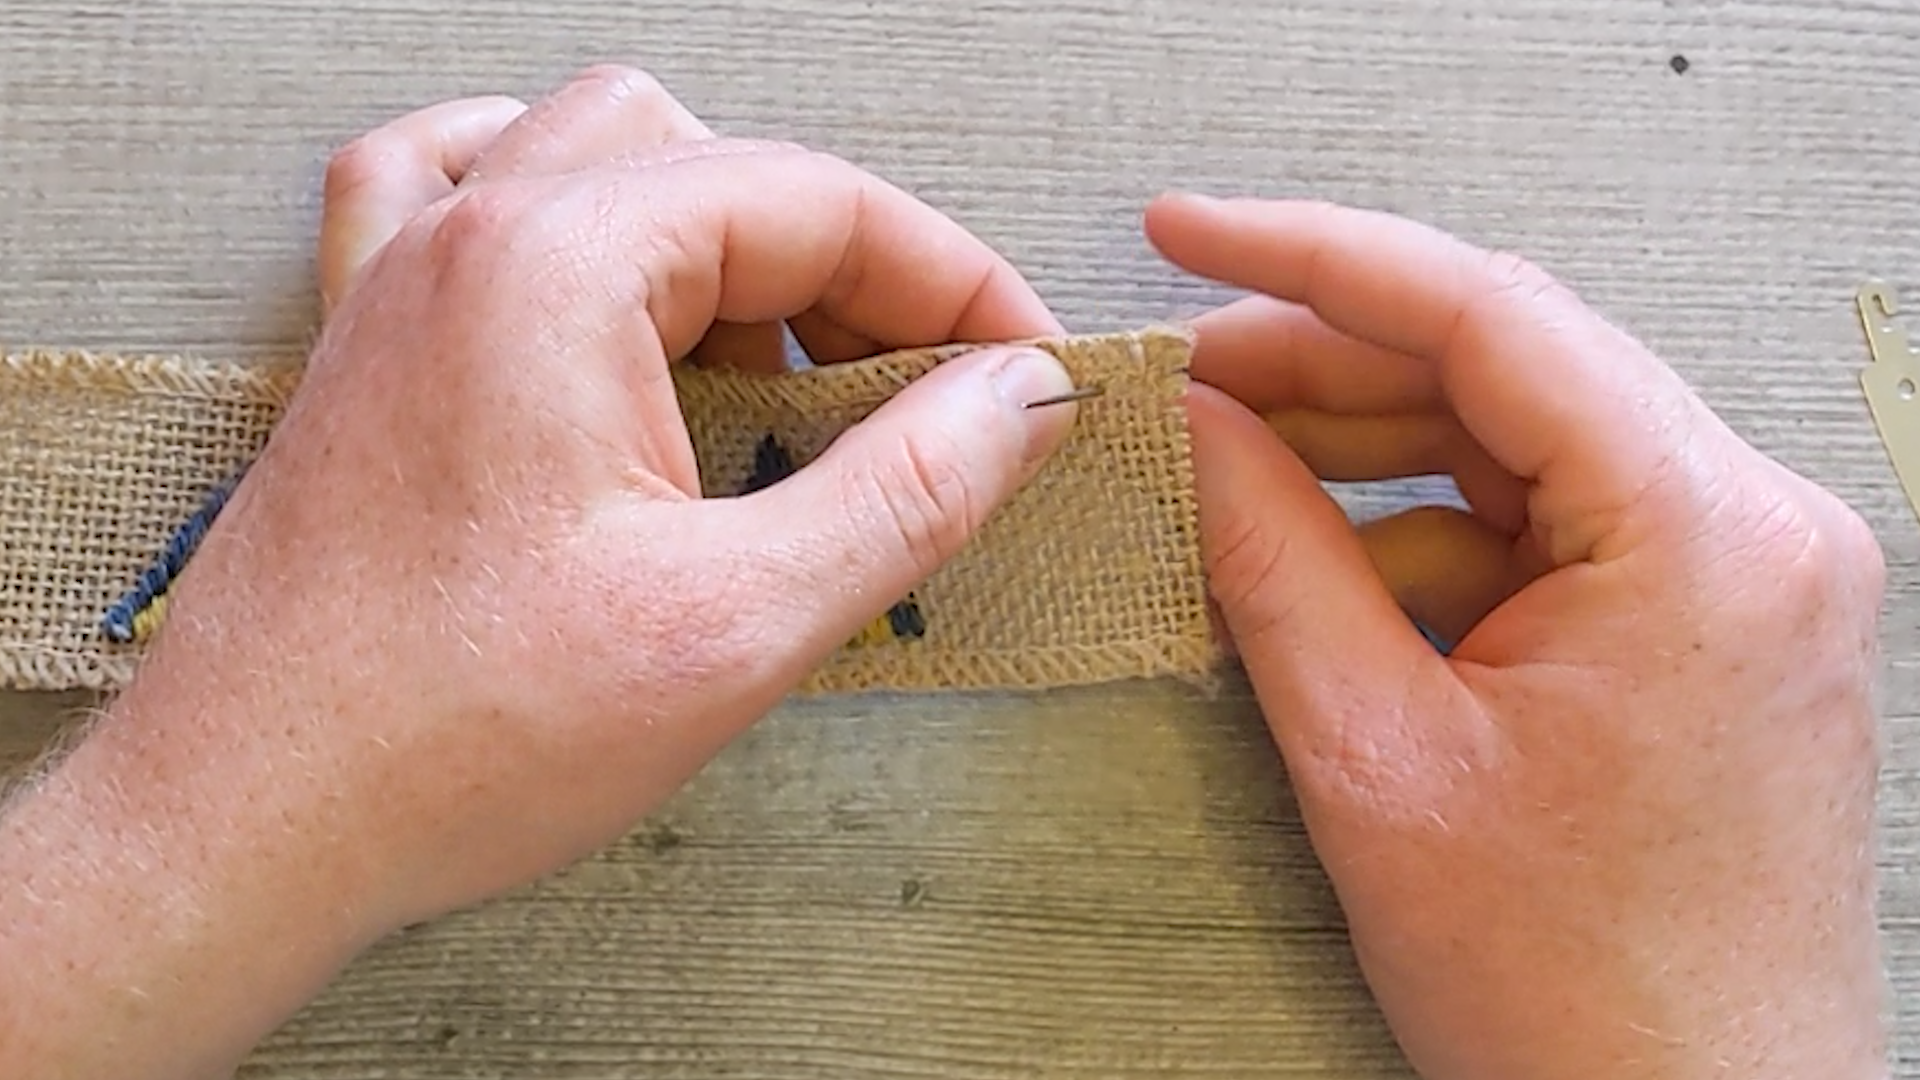
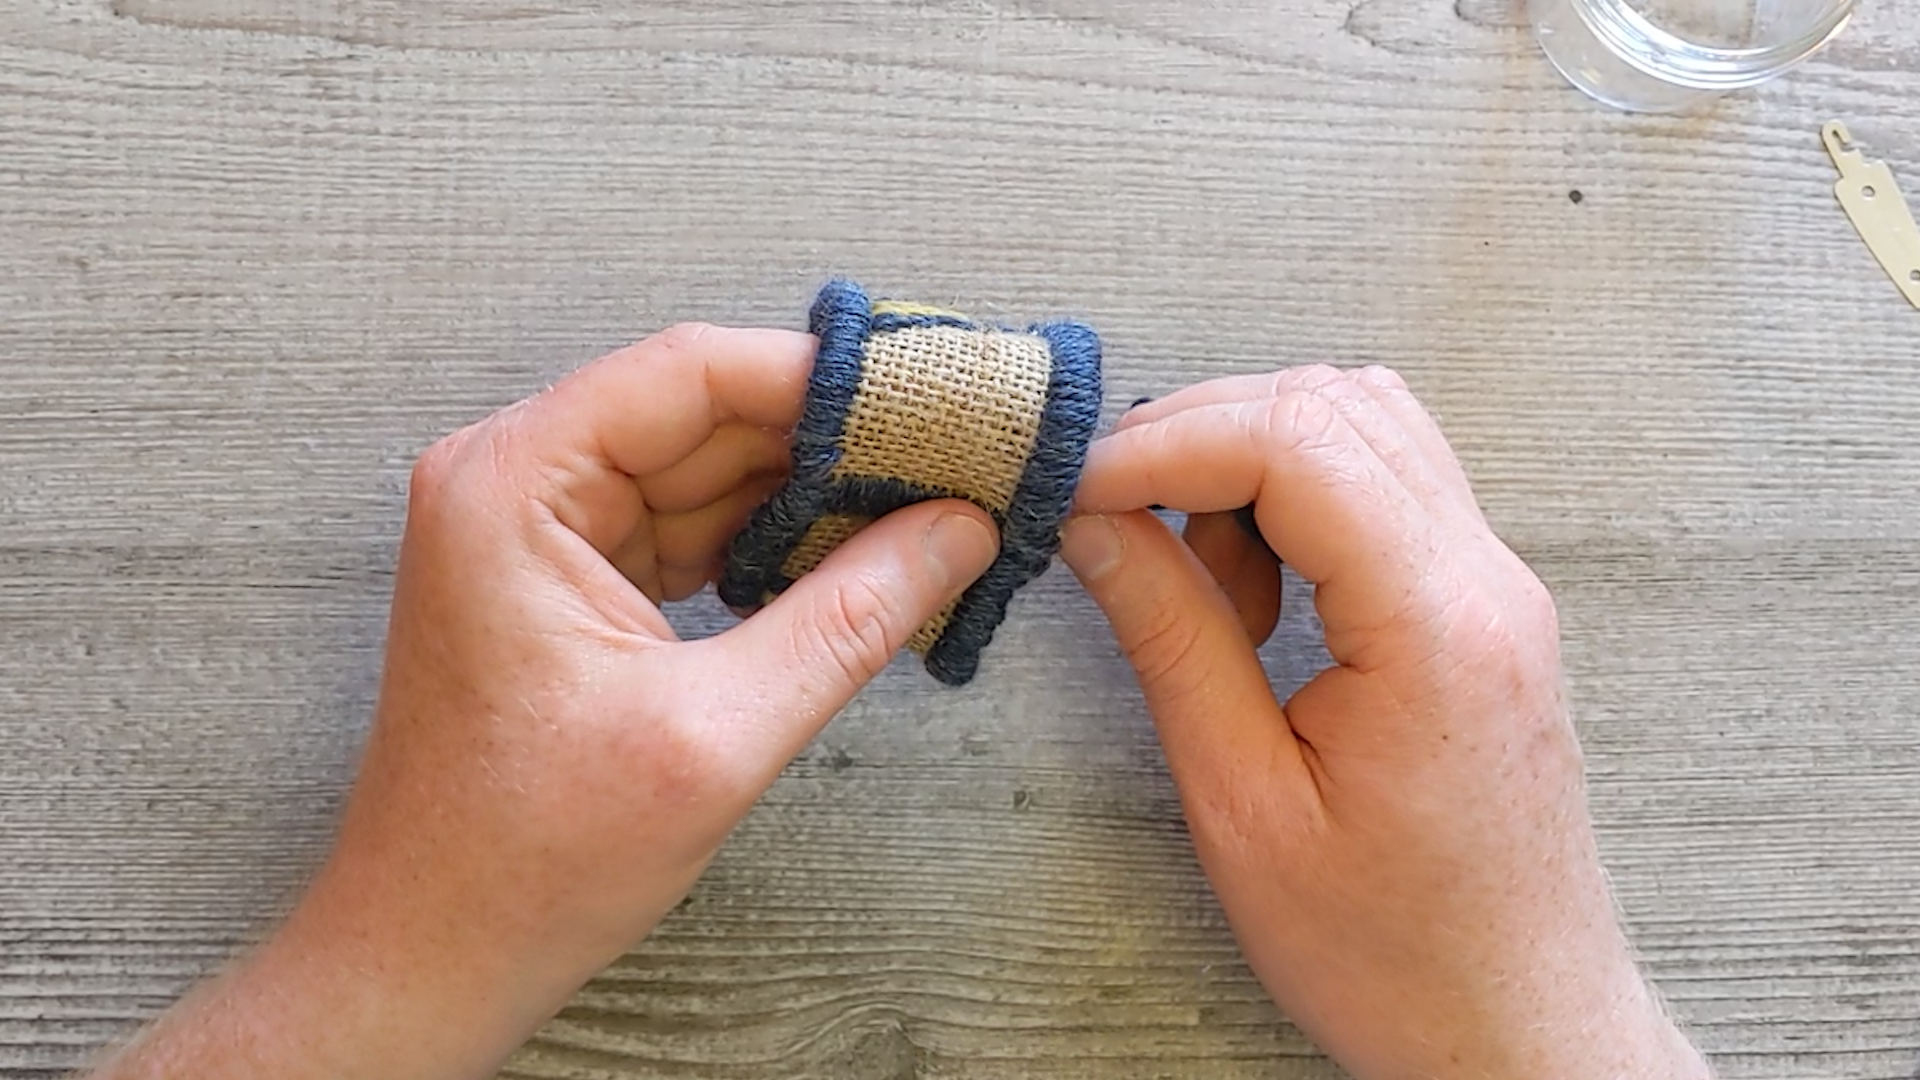
13. Now we need to stitch both short edges together to form a ring. Use the same technique as for the border but start and end about 1cm in from each end
14. Continue the whole way down the edge
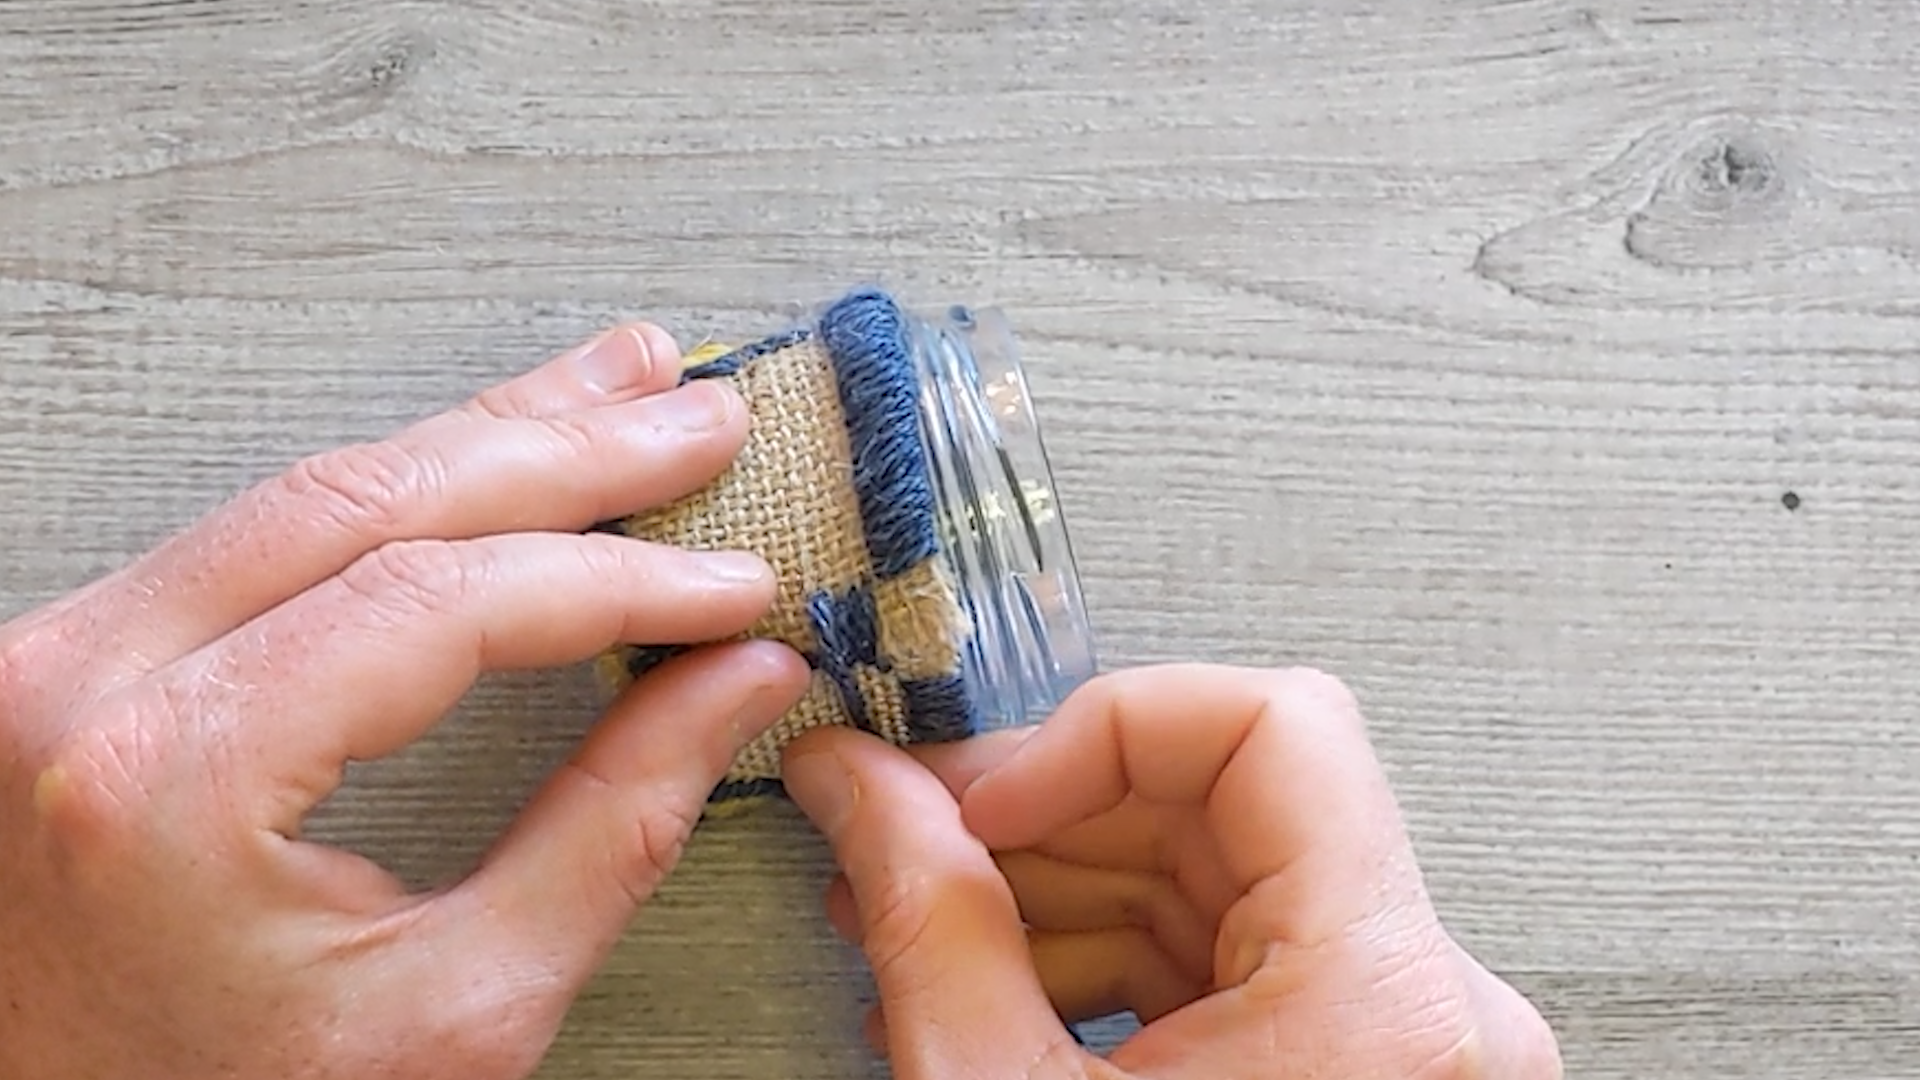
15. Add the last part of the border then…
16. …you’re done!
Video Guide
This video guide is about 15 minutes.
Please leave feedback and share!
I’d really love to know how you get on with this kit. Please share your creations using @craftboxclubuk and if you enjoyed making them, please leave a Google review using the link below:
If you’re not happy with something or have any questions, please drop me a line on adam@craftboxclub.co.uk